Cyberpunk 2077 Guide: How To Save Takemura
One of Cyberpunk 2077's story missions has a hidden objective you might not even realize you missed--here's how to complete it.
Note: This guide contains spoilers for one of the story quests in Cyberpunk 2077. Read on at your own risk!
As Cyberpunk 2077 moves through Act 2, the stakes begin to climb at a rapid rate. After protagonist V gets the biochip and discovers the Johnny Silverhand is in their head, you have to begin learning about the chip and how to remove it before it kills you. The investigation takes you down several different roads, including working with Goro Takemura, a former Arasaka bodyguard.
You'll spend a lot of time with Takemura as you investigate Arasaka and try to get in touch with the corporate brass, without getting yourself killed in the process. But eventually, things take a turn and you're separated from Takemura at a key moment during the story mission Play It Safe. When the pair of you are attacked during a meeting in an apartment building, V falls through a collapsed floor, separating you from Takemura. At this point, you have a choice, although it's not immediately clear: run for your life, or return to Takemura and save him from being overwhelmed by enemies.
Here's how you can get back to Goro and make sure he gets out alive. We've got a whole lot more Cyberpunk 2077 coverage to help you through the game as well--be sure to read our Cyberpunk 2077 review, and check out our essential tips, character attributes and build guide, romance guide, life path guide, and guide for making money quickly and easily in Night City for more tips.
How To Save Takemura
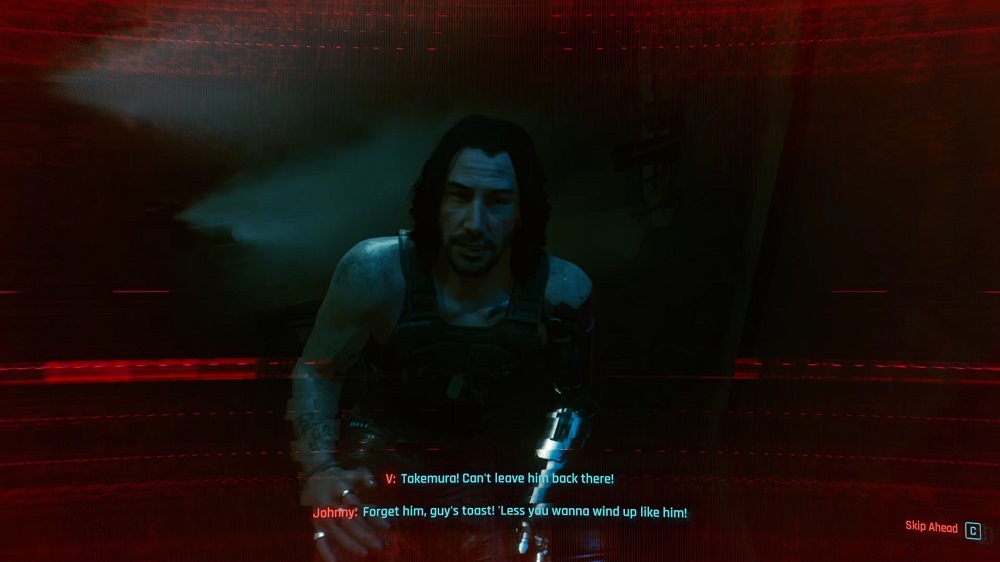
Toward the end of the Play It Safe mission, after your meeting with Hanako Arasaka, Takemura's safehouse comes under attack from Arasaka goons. At the start of the battle, an explosion will collapse part of the building beneath V, sending him sprawling to the floor below. At this point, Johnny will insist that you need to leave the building, while V will mention returning to help Takemura.
1. Ignore Your Minimap
Regardless of what the characters say, getting back to Takemura is a hidden objective, and not marked on your map. You'll have to find the path back to him on your own, and if you follow the one displayed on your minimap, you'll be directed out of the apartment building, leaving Takemura to his fate.
2. Find Your Way Back Up
There is a path that'll lead you back up to the floor above to help Takemura, but it's not obvious. The easiest way is to just jump back up through the hole you fell through. If you have the Reinforced Tendons cyberware (which awards double-jump) or Fortified Ankles (which gives you a charged jump), you can spring back right up through the hole back into the room with Takemura.
If you don't have the proper chrome, you'll have to fight through a mess of enemies to get to Takemura. When you get up in the room where you fell, look for a neon cross on the wall. Beneath it is a hole through which you can crawl. Follow the path and look for stairs to take you back up to the floor above, but be careful of the Arakasa goons you'll face along the way.
3. Kill The Arasakas
The apartment where you find Takemura will have several Arakasa soldiers in it, all unloading on him. The benefit of coming back up through the hole is that you'll get the drop on these guys, allowing you to approach from behind and get takedowns on them. Otherwise, you'll have to fight them head-on as you return to Takemura's apartment. Kill all three and Takemura should accompany you back out into the hallway. (Note: We found this whole area to be pretty buggy, with Takemura sometimes getting stuck in his cover position during this fight. It seems like, if you progress far enough, he'll follow you, but saving before attempting to go after him is a good idea.)
4. Fight To The Street
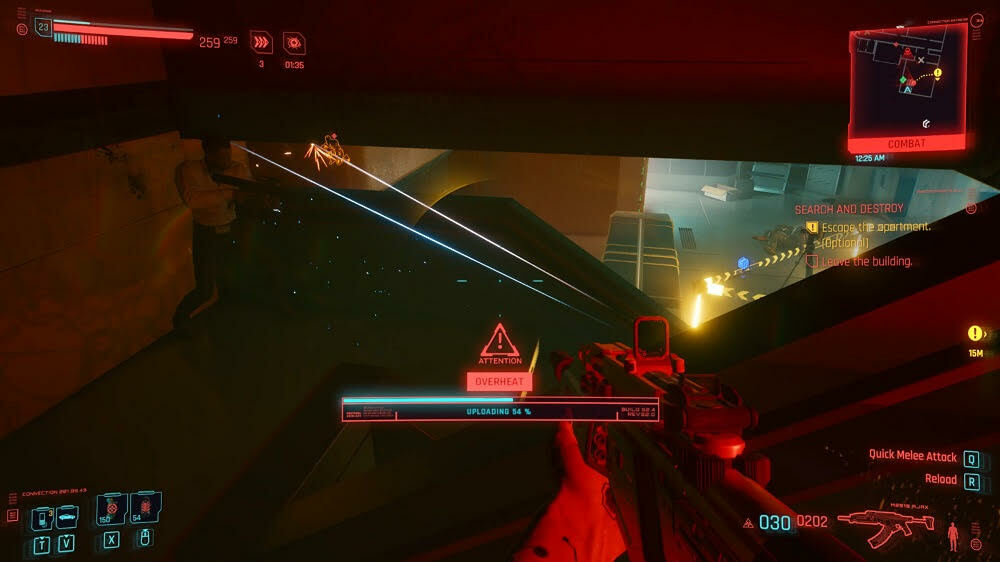
From here, you're going to be bombarded by Arasakas all the way to the exit, and they hit hard. Expect a tougher fight than if you had simply escaped on your own. As you leave the apartment, enemies will come at you from both sides of the hallway. If you have a lot of grenades, you can easily get them down the hall by bouncing them off the walls, which will allow you to avoid exposing yourself. Strong Quickhacks, like Contagion, are useful here too, as you can damage and kill multiple enemies at once. But don't stick your head out too far as you fight, because you're liable to get quickly overwhelmed by Arasakas.
You'll have to keep moving through the apartment building to escape, and Arasakas will keep coming for you, so move carefully and stay behind cover. As you get further out, Takemura should become more helpful, helping to fight the Arasakas in the stairwell. It's not too far to get out of the building, and once you can see daylight, run for it. You'll split up, but Takemura will make contact later to let you know he's doing well.
5. Epilogue Appearance
Unfortunately, saving Takemura doesn't unlock the ability to spend any more time with him. He'll go into hiding for the rest of the game, leaving you to deal with everything else that's going on. Saving him does have the potential to change your ending of the game, however. Takemura will show up in the epilogue depending on your choices, which can earn a Trophy or Achievement for saving him, dubbed "The Devil."
Got a news tip or want to contact us directly? Email news@gamespot.com
Join the conversation