How to Build an Easy DIY Pallet Bar
This post may contain affiliate links · This blog generates income via ads
Looking for a fun way to entertain this season? This DIY outdoor pallet bar is simple to make and it’s a great addition to your patio! Let me show you how to build this super simple pallet project.
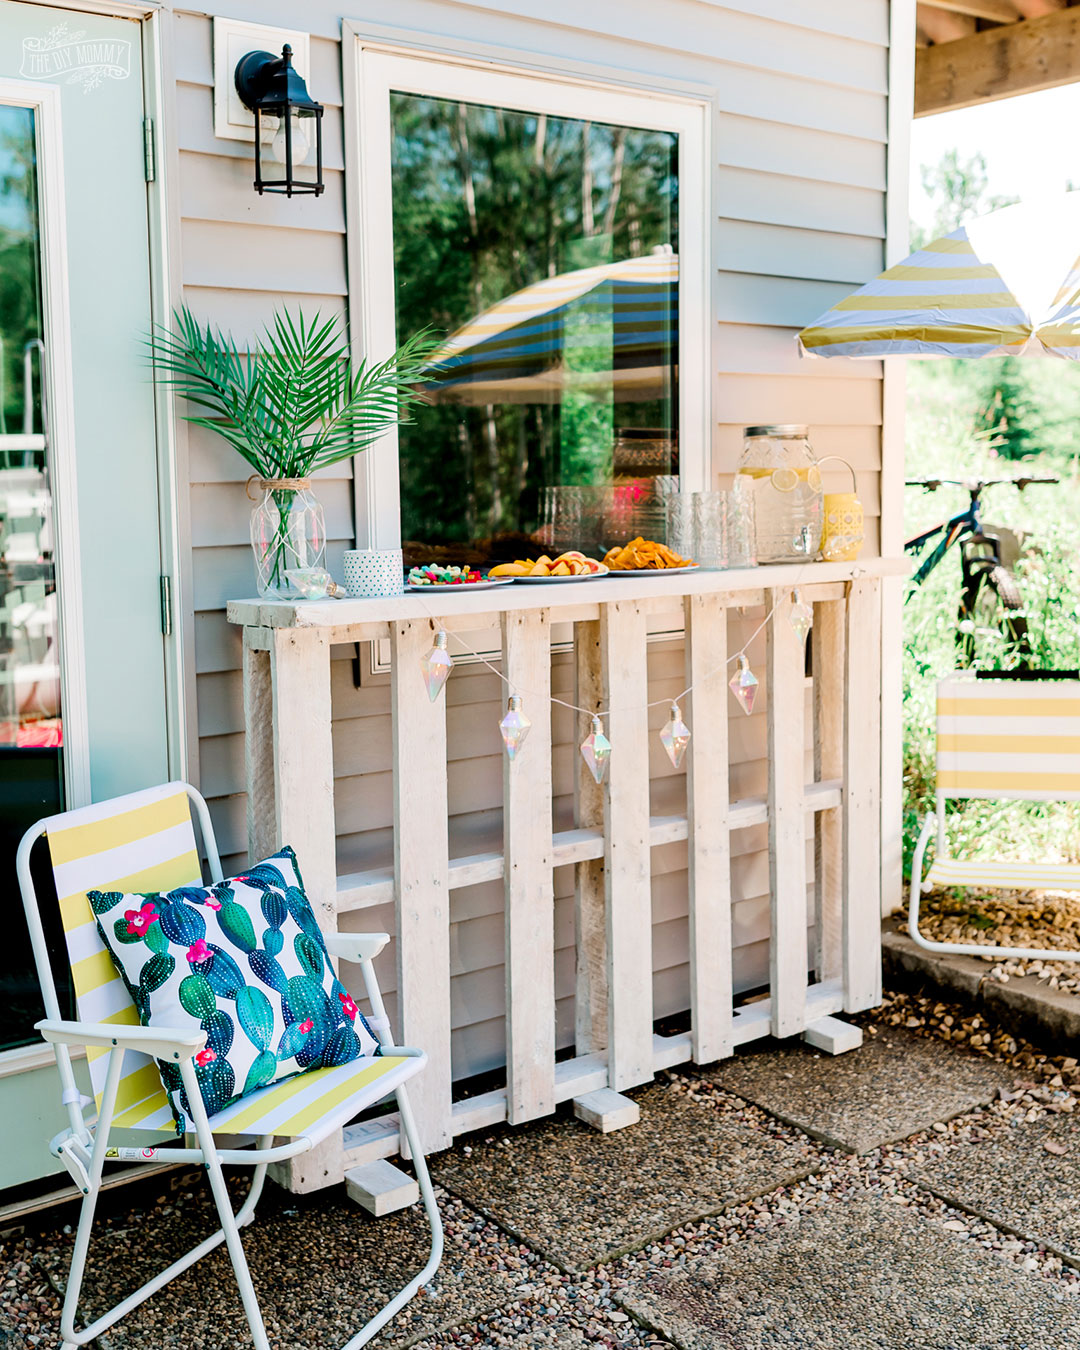
Summer is the time of year where here in Canada we like to be outside as much as possible. Because the season for truly enjoying the backyard in comfort is short, we try and make the most of it! So, I found a way to keep the party going outside without doing any major renovations, and I created a really great place where people can fill up their drinks and dip into the snack bowls and really feel at home. How did I do this, you ask? I created a pallet bar as a fun gathering station, and I couldn’t be happier with how it turned out.

Today’s blog post is in collaboration with some of my favorite blogging friends. After you check out my patio idea, make sure to visit their spring patio and porch ideas linked at the bottom of this post.
How to build an easy DIY bar with pallets
I built this simple DIY pallet bar in a single afternoon! It was extremely easy to make and cost me zero dollars. We use it now all summer and through the fall as a counter for holding our snacks and drinks in the backyard and beside our fire pit. I love it so much that I knew I needed to show you how you could build one too!
How many pallets do you need to make a pallet bar?
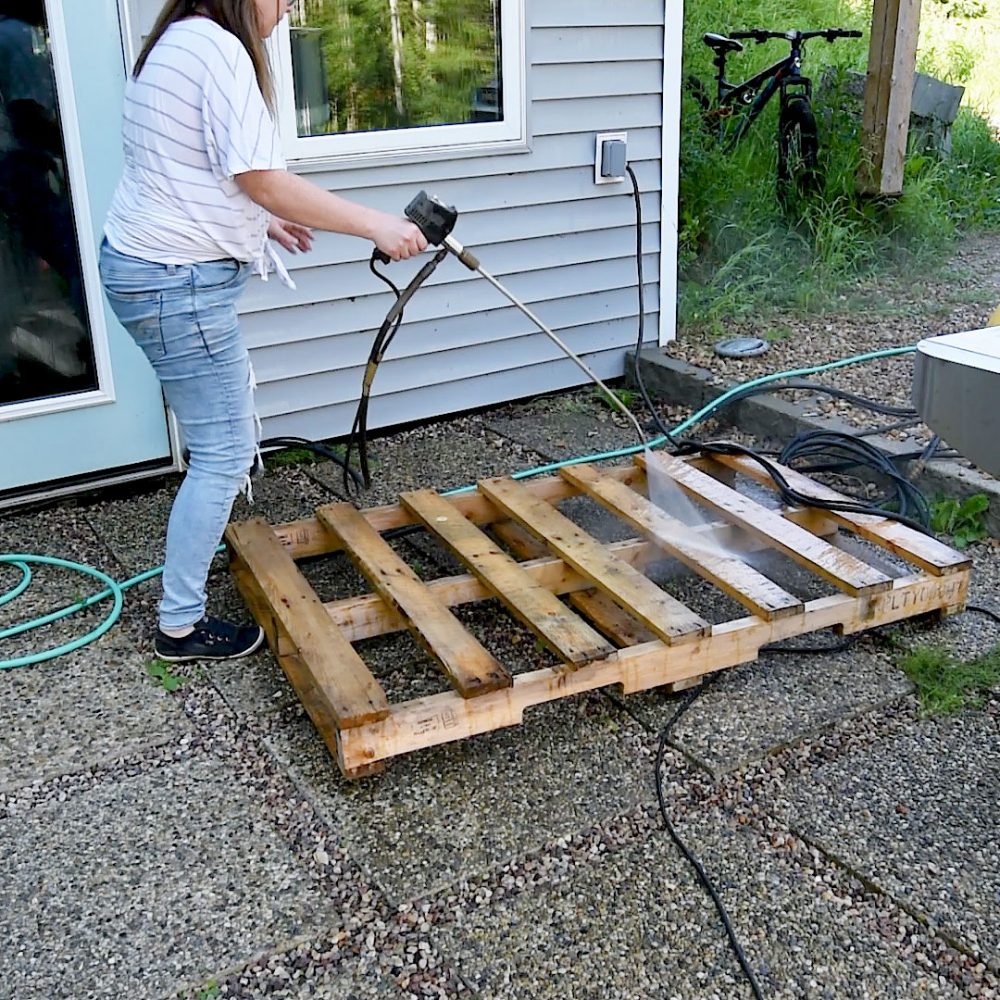
You only need ONE pallet to make this DIY pallet bar! So, your first step is to find a single pallet that is about the height and width you’d like your outdoor bar to be. I was lucky and had a leftover pallet in our backyard from when we had some flooring delivered, but you can often find wooden pallets in reasonably good condition being given away on Facebook Marketplace or Kijiji. If you stop into your local home improvement stores on the right day, they might have some from a recent shipment sitting out back too! Once it’s in your possession, give your pallet a good cleaning with a pressure washer. It’s always good to start with a fresh and clean surface.
I would also go over the pallet carefully and remove or any stray nails that are sticking out of the wood. You might also want to use some wood glue to repair any large cracks or jagged pieces. Make sure your pallet wood project won’t injure you while you’re working on it, or anyone else once it’s in use! Assembled pallets are so handy but they do come with these risks. Be a little careful when prepping for the next step.
Stabilizing the pallet
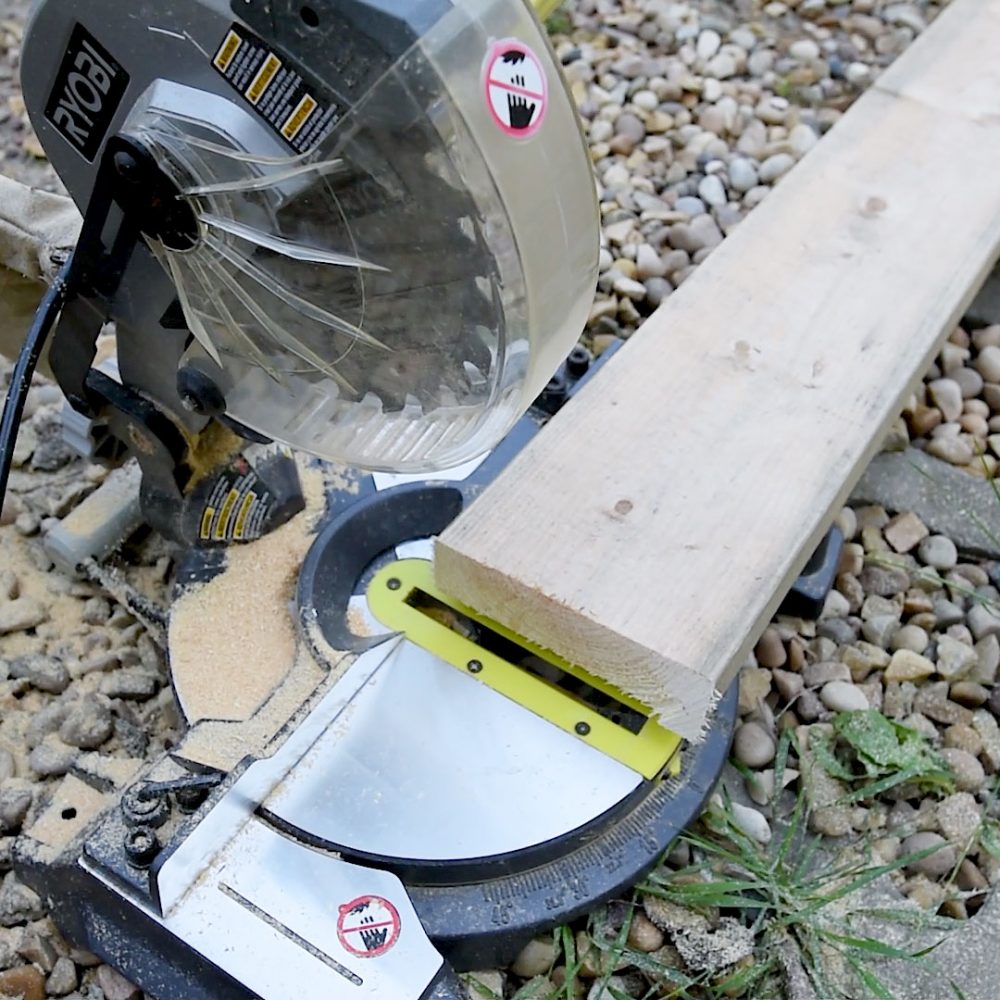
Next, cut a 2×4 piece of lumber into three 6″ long pieces to serve as stabilizers for your bar. Then, cut a 2×6 piece of lumber into two pieces that are the same width as the top of your pallet (this might not be the same for every pallet so make sure you measure). I used a miter saw for this, but a circular saw would work too.
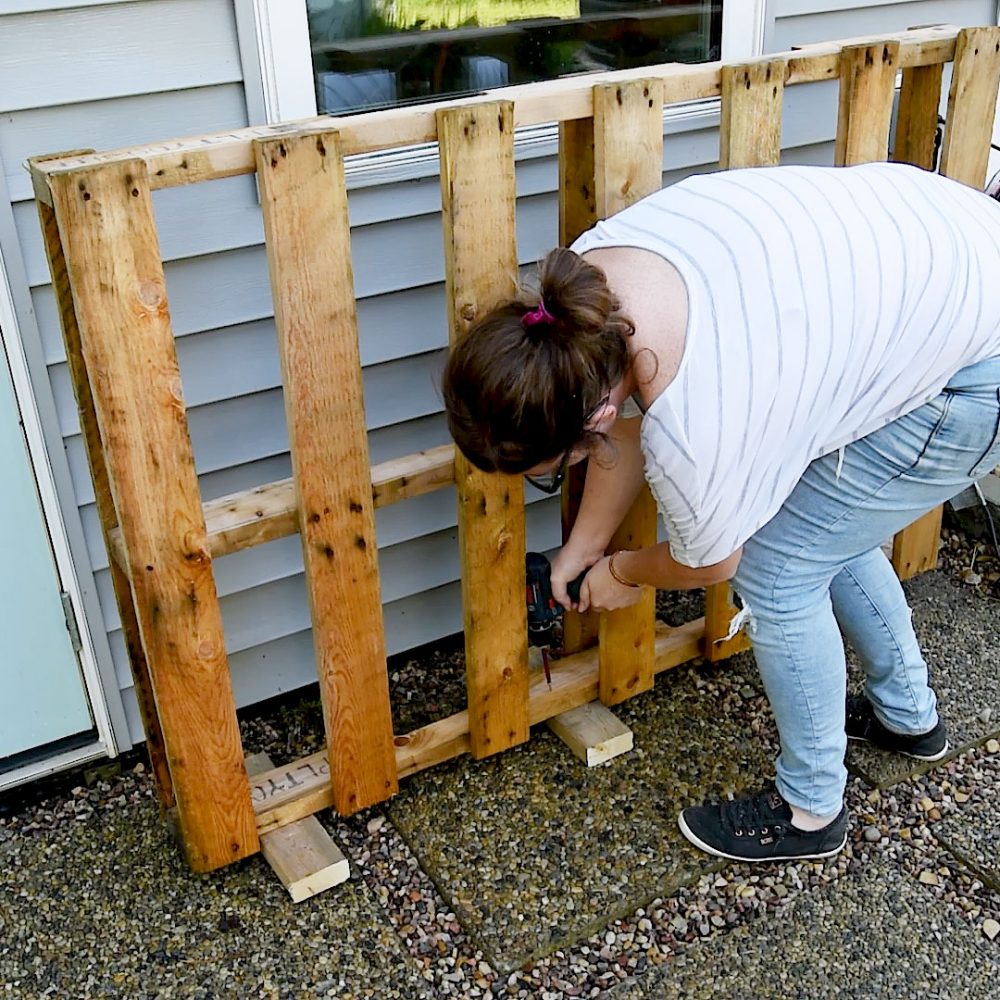
Now, stand your pallet upright and position the 2×4 pieces evenly at the base of the bar to create feet, in between two slats. Screw these small pieces of wood into the bottom of the pallet with long deck screws and a drill or impact.
Building the bar top
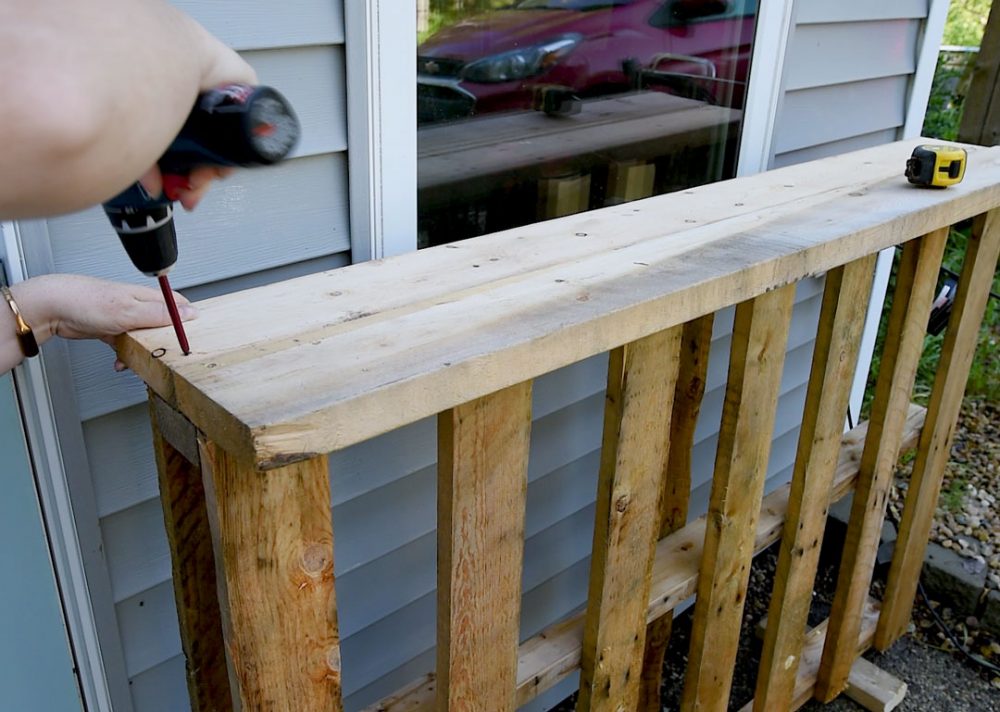
The next step is to position the two 2×6 pieces of wood at the top of your pallet and screw those in place with deck screws. This will create your bar top. I know the top of the bar looks narrow now, but it will hold a surprising amount of food or decor! Just wait and see.
Giving the pallet a whitewash finish
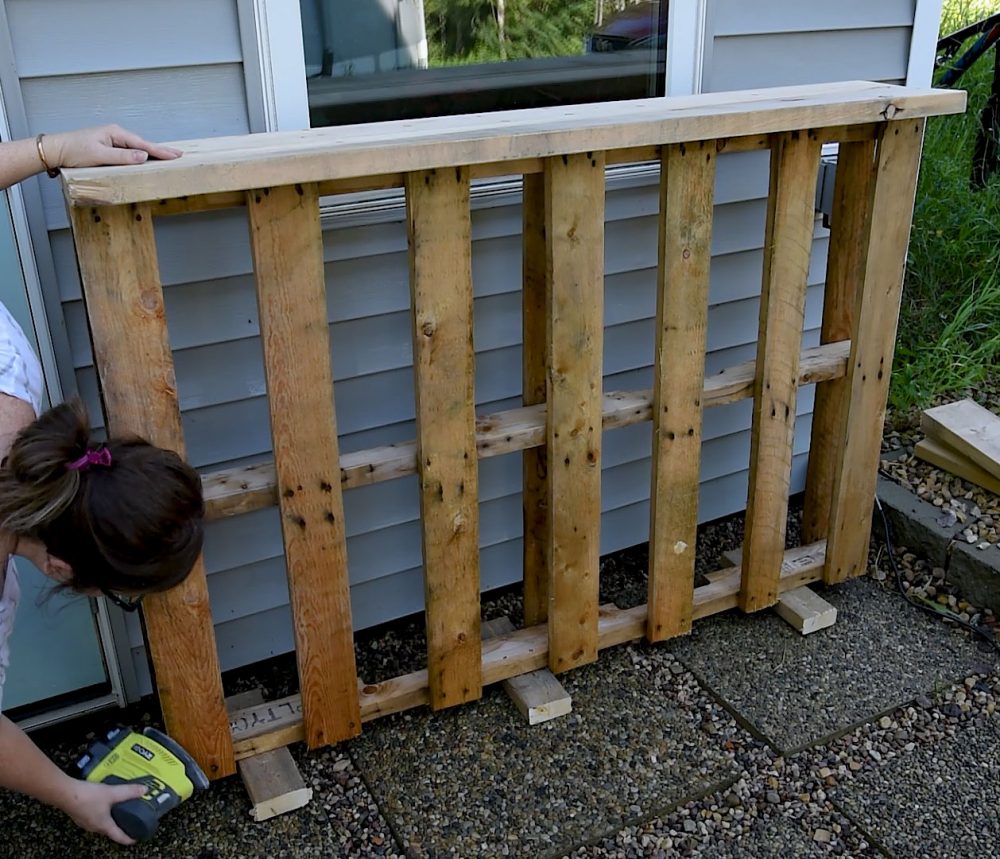
Then, sand your bar with a power sander or a sanding sponge. You can sand it as much or as little as you’d like to create the look you want. I wanted my bar to have a rustic look, so I didn’t sand it too much.
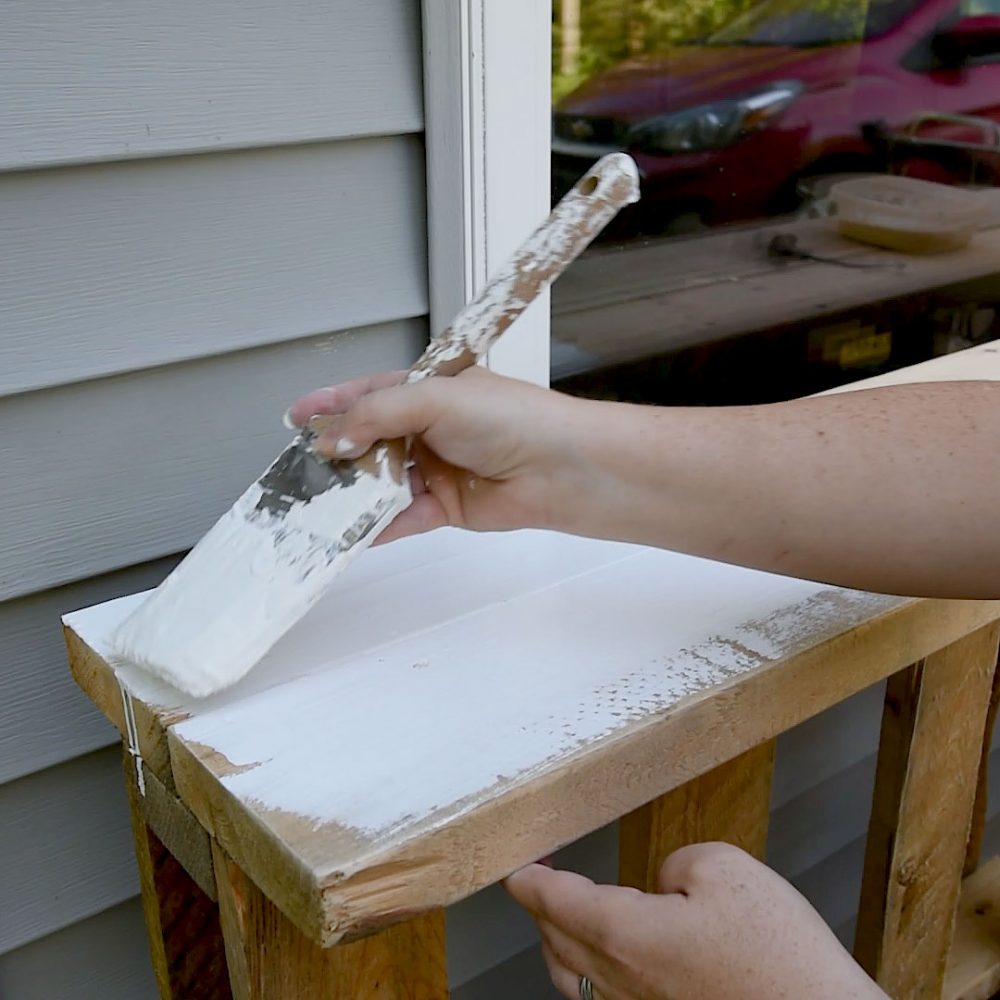
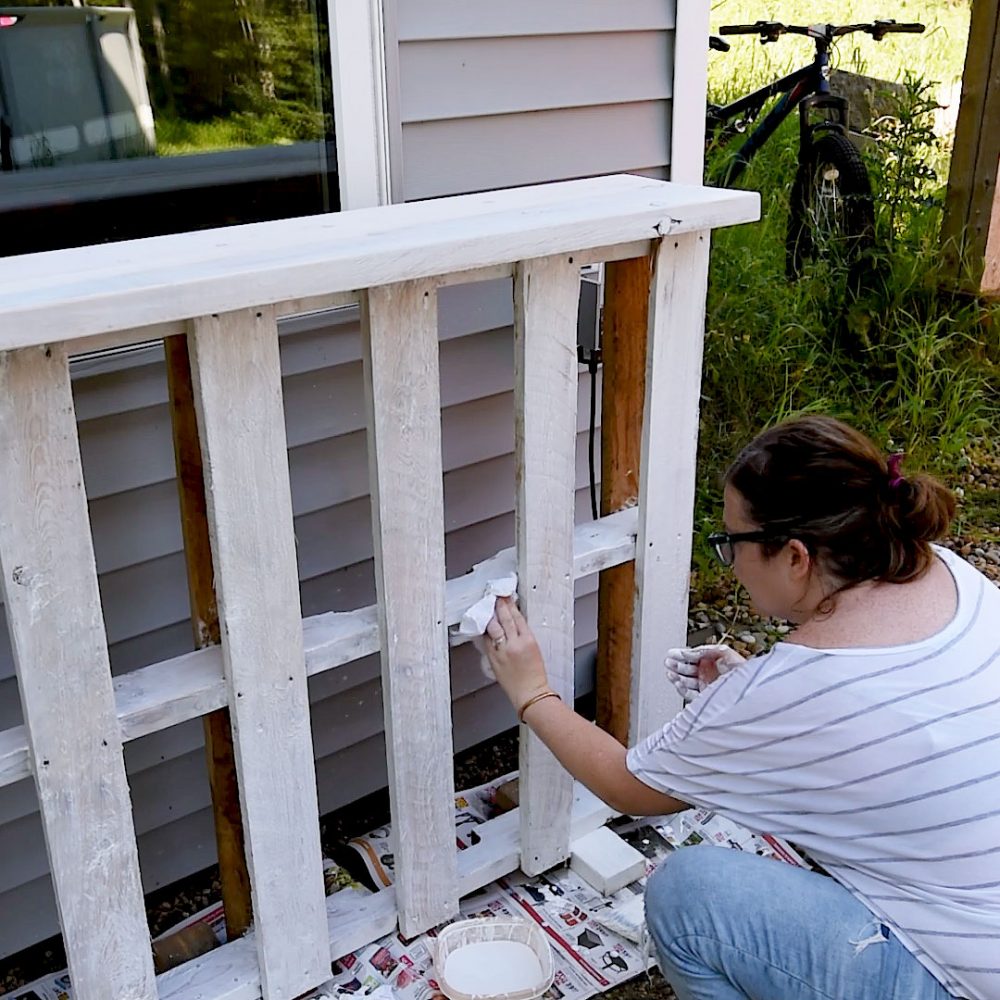
Finally, choose a finishing treatment for your bar. I created a whitewash solution with one part white paint to one part water. I applied that to the entire bar with a paintbrush and then wiped it off immediately with a rag to create a translucent white finish. You could also use paint (use a primer first), stain, or exterior varnish to create whatever look you want. There’s no right way to do this, it’s all about what looks good to you.
After you’re done with the finish, you could add further embellishments. You could add hardware like hooks on the ends to hang mugs off in the fall if you are using this as an outdoor coffee bar, for example. I’ve even thought about screwing handles to the ends to make it easier to carry, but I haven’t yet!
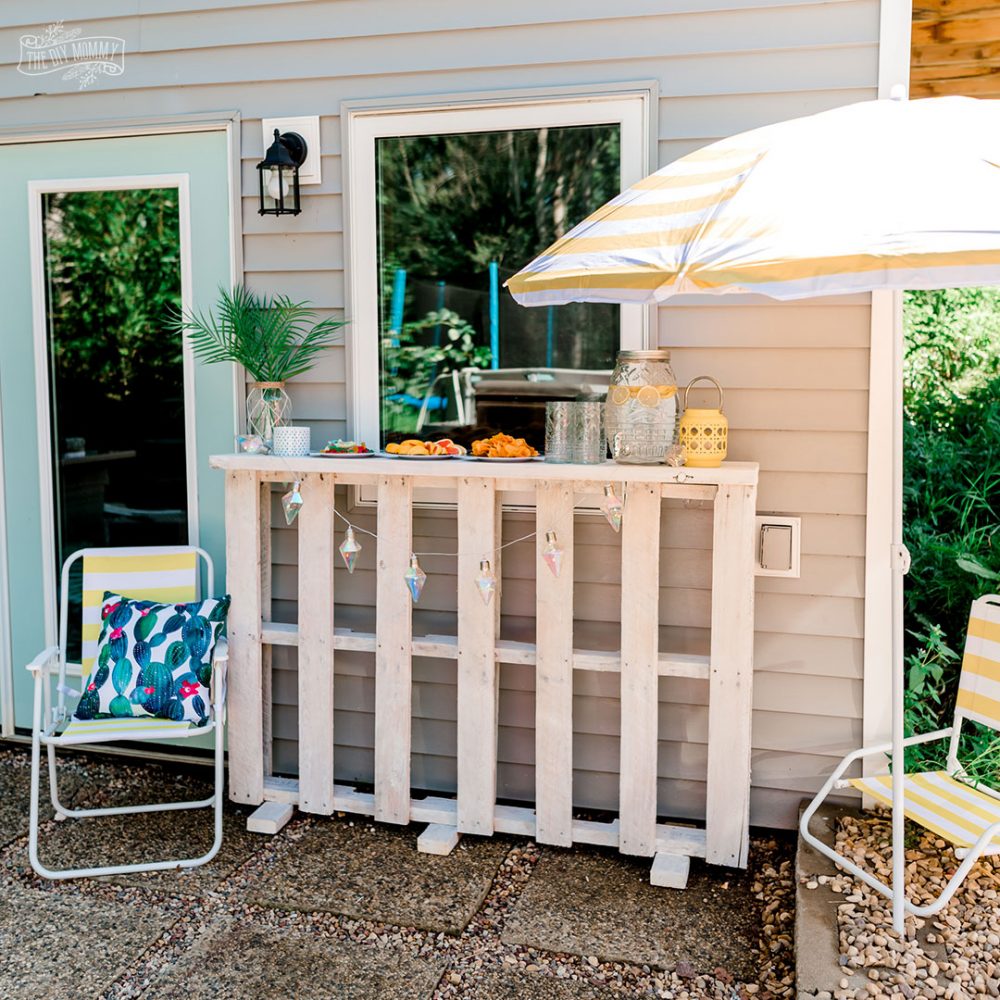
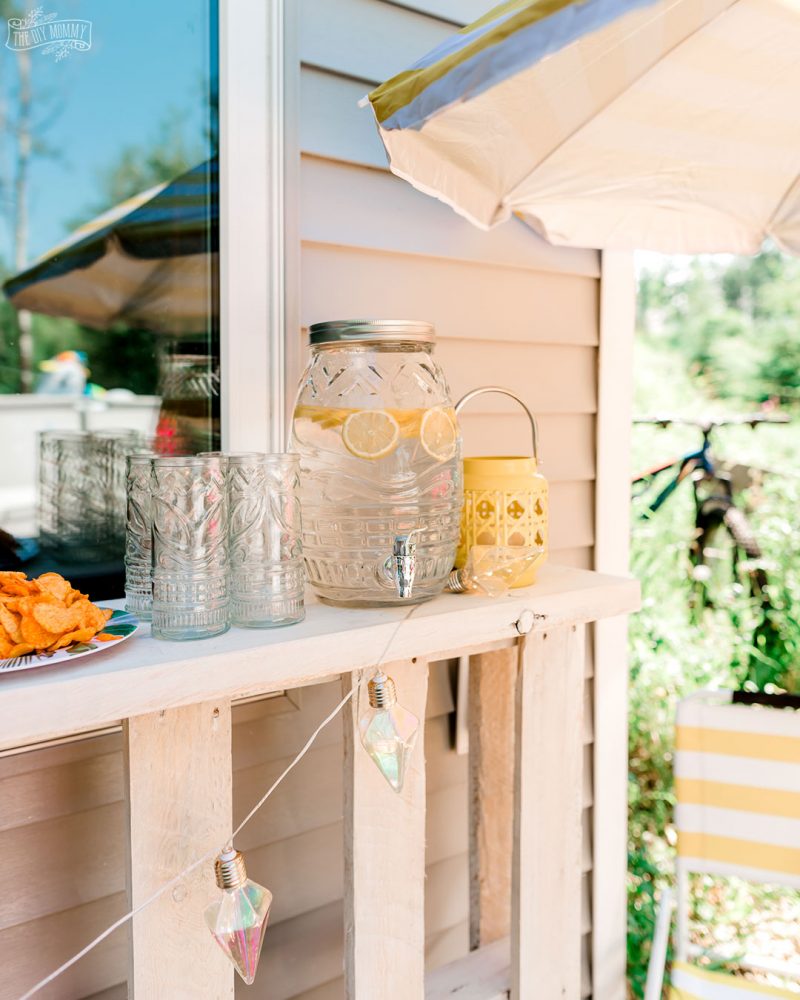
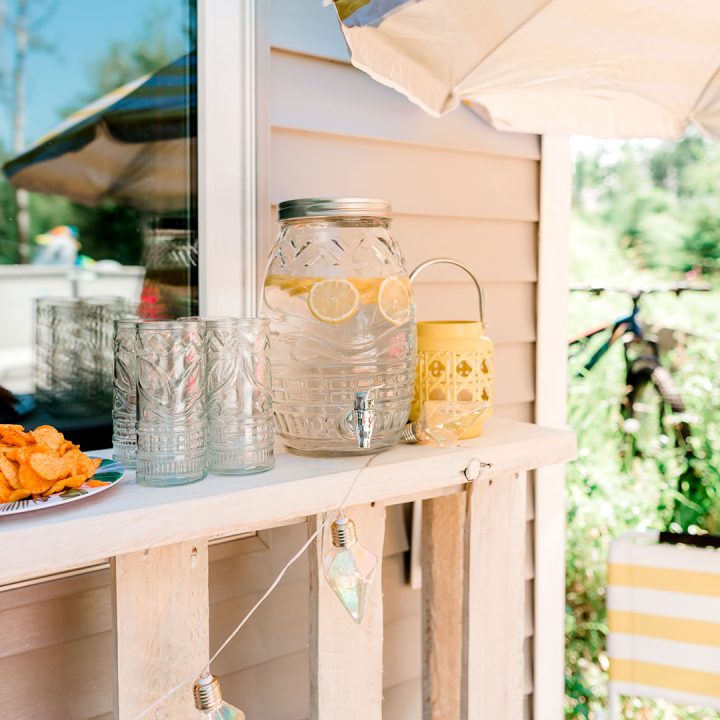
I chose to drape a line of pretty little LED twinkle lights across the whole bar as a finishing touch. But you could use whatever craft supplies and decor items you want for decorations! For example, this bar would look so cute with a banner for your favorite sports team draped across it for a game day party, don’t you think? Picture a spread with:
- A taco bar
- Pig wings,
- Veggie chili
- Jalapeno poppers
- A charcuterie board
- Tiny sausage links, and
- A drink station.
Wooden pallet bars are just a backdrop to weave your party magic using any theme!
How to Build an Easy DIY Pallet Bar
This DIY pallet bar is simple to make, and it's a great addition to your patio this year!
Materials
- Pallet
- 2X4 lumber
- 2X6 lumber
- Long deck screws
- Paint
Tools
- Pressure Washer
- Mitre saw
- Drill
- Power sander or sanding sponge
- Paintbrush
- Rag
Instructions
- To begin, find a pallet that is about the height and width you'd like
your outdoor bar to be. - Give your pallet a good cleaning with a pressure washer.
- Next, cut a 2x4 piece of lumber into 3 6" long pieces, and a 2x6 piece
of lumber into two pieces that are the same width as the top of your
pallet. - Now, stand your pallet upright and position the 2x4 pieces evenly at the
bottom of your pallet to create feet. - Screw them into the bottom of the pallet with long deck screws and a drill.
- Position the two 2x6 pieces of wood at the top of your pallet and screw
those in place with deck screws. This will create a narrow bar top. - Then, sand your bar with a power sander or a sanding sponge. You can
sand it as much or as little as you'd like to create the look you want. - Finally, choose a finishing treatment for your bar. I chose to create a
whitewash solution with 1 part white paint to 1 part water. I applied
that to the entire bar with a paintbrush, and then wiped it off
immediately with a rag to create a translucent white finish. - Now, you can set your DIY pallet bar on your patio and enjoy it this
spring and summer!
How much does it cost to build a DIY bar?
This project cost me absolutely nothing because I already had the pallet, lumber, paint, tools, and screws necessary to put it together. Even if you have to buy the wood for the feet and counter top, this is still a very affordable project! For only a few dollars (or zero dollars depending on your stash) you could have your own pallet bar as quickly as this afternoon. How great is that?
I hope you enjoyed this pretty little pallet bar idea, and may it inspire you to create your own pallet bar! Maybe you liked it so much you want to see what else reclaimed wood can do! If so, have fun exploring the posts below.
Pin Me!

More DIY Projects Using Reclaimed Wood
If you liked my DIY pallet bar, you’re going to love my other easy outdoor projects using reclaimed wood! They are all simple and require just a few tools and a little bit of woodworking know-how to create. They are both perfect for outdoor use and would even make an excellent and unique gift for someone who loves spending time outside as much as you do.
Make a Potting Bench From Pallets & An Antique Window

Learn how to build a potting bench from pallets, recycled lumber and an antique window with this step-by-step tutorial. This rustic, shabby chic DIY is perfect for your farmhouse style garden!
How To Build a DIY Rustic Bench – Free Building Plans!
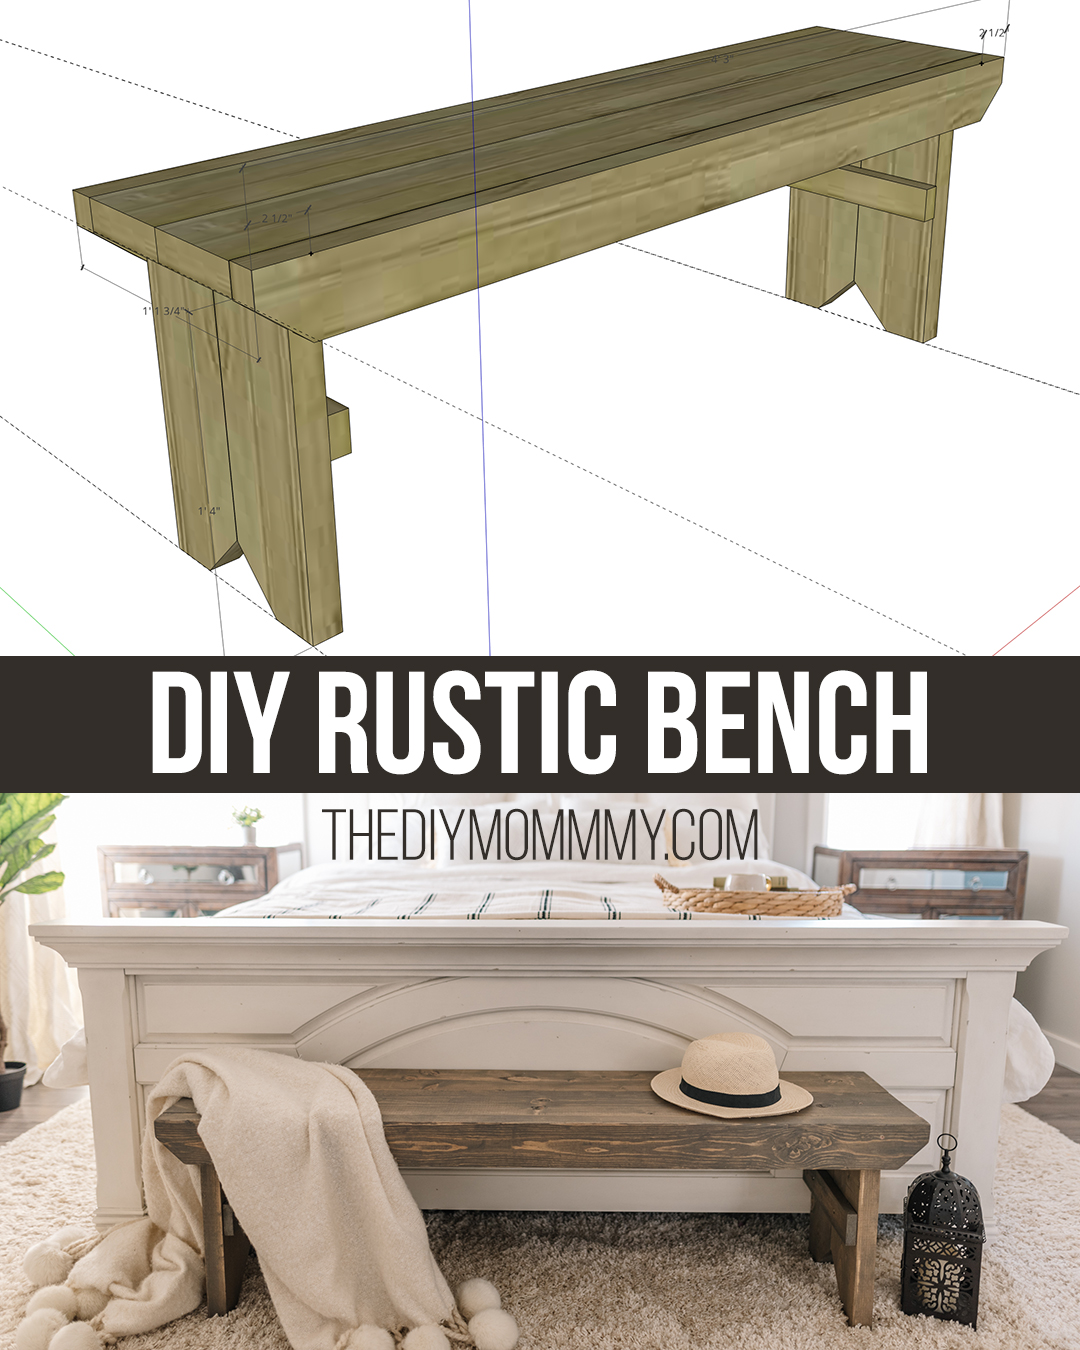
Learn how to build a DIY rustic bench with these free building plans. This primitive look bench is perfect for the end of a bed, a mud room, or to use as an outdoor coffee table.
Now it’s time for more spring patio and porch ideas from my blogging friends!
10 Gorgeous Patio Decor Ideas
How To Create An Outdoor Living Space // Modern Glam
Simple Garden Flower Arrangement // Happy Happy Nester
How to Ready Your Porch for Spring // Twelve On Main
Hanging Basket DIY // Finding Lovely

How to Refresh Your Front Door for Spring // Life Is Better At Home
How to Decorate Your Back Porch for Spring // My 100 Year Old Home
10+ Inspiring Front Porch Decorating Ideas // Lemon Grove Lane

How I Decorate Our Deck For Function and Beauty // My Sweet Savannah
How to Build an Easy DIY Pallet Bar // The DIY Mommy
How to Decorate a Spring Front Porch // Maison De Cinq


I created a pallet bar but put 2 pallets backtoback so the depth would be 2x. for the top i used a 1×8 and it works great