


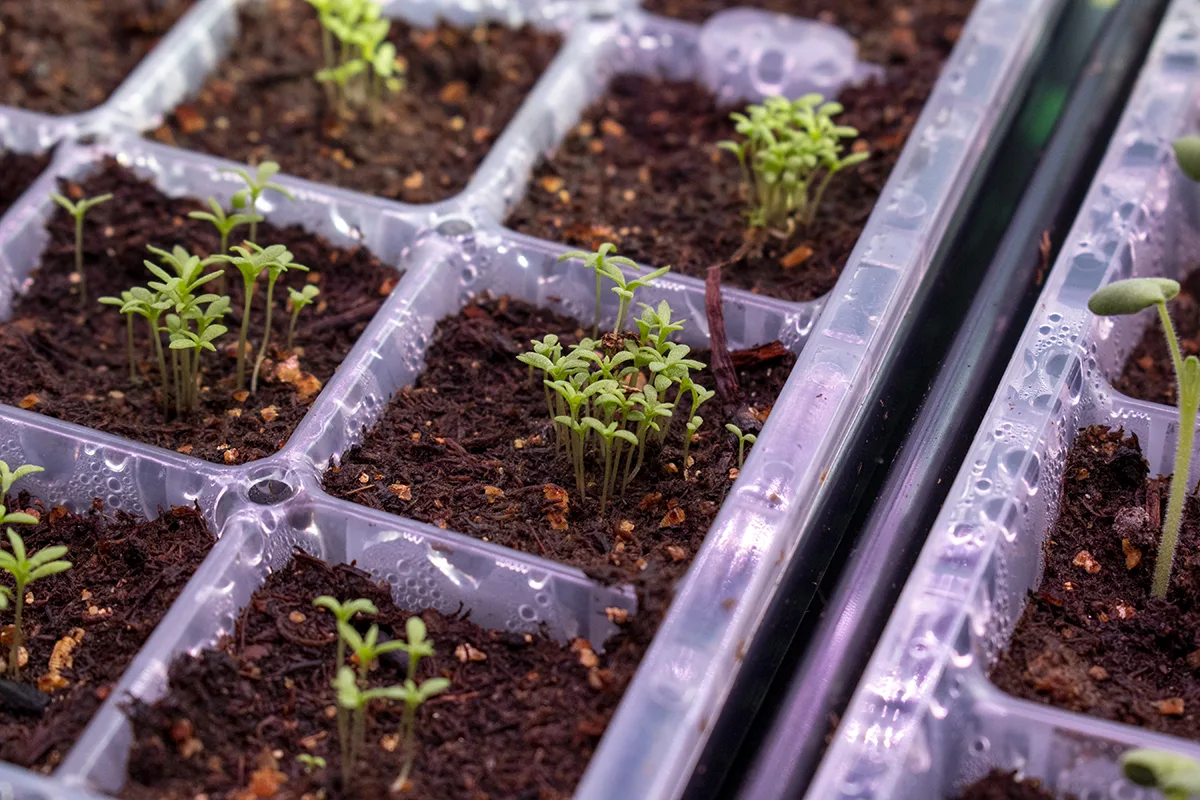
Starting plants from seed is particularly rewarding. There’s nothing more satisfying than surveying your tiny kingdom of sprouts each morning.
But sowing seeds can sometimes feel like a gamble. Luckily, there are numerous things you can do to improve germination rates and speed up the process a bit.
Why Should I Bother Starting Seeds?

If you’re new to gardening, there will come a day when you will want to start your own seeds. Suddenly the offerings from your local nursery and big box store won’t make the cut. Everyone here at Rural Sprout can attest there’s no siren song more powerful than new seed catalogs in late winter. (Seasoned gardeners are nodding their heads with a knowing grin.)
Fellow perfectionists and control freaks, you are welcome here. If you want everything just so, starting seeds yourself is logical. You have total control over everything; you control the grow lights you use, you can mix up your own seed starting mix if you’re anti-peat moss, and you decide what fertilizer to use; it’s all up to you.
You can skip the annual frustration of getting down to Home Depot or Hank’s Nursery & Garden Center before the masses clean them out of everything you want. There’s no more going elbow to elbow with all the other gardeners trying to cram everything they need into their carts. (Anti-social gardeners of the world unite! At home.)
Now, let’s look at ways to make the process go a bit smoother.
Three things are needed for seeds to germinate – water, oxygen and light/heat, usually in that order. These tips optimize these resources to speed up and improve germination rates.
Ways to Improve and Speed Up Germination
Before a seed germinates, water must penetrate the seed coat. The seed coat protects the seed and prevents it from germinating at the wrong time, like in the middle of a drought or right before winter.
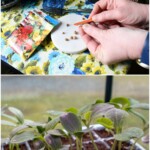
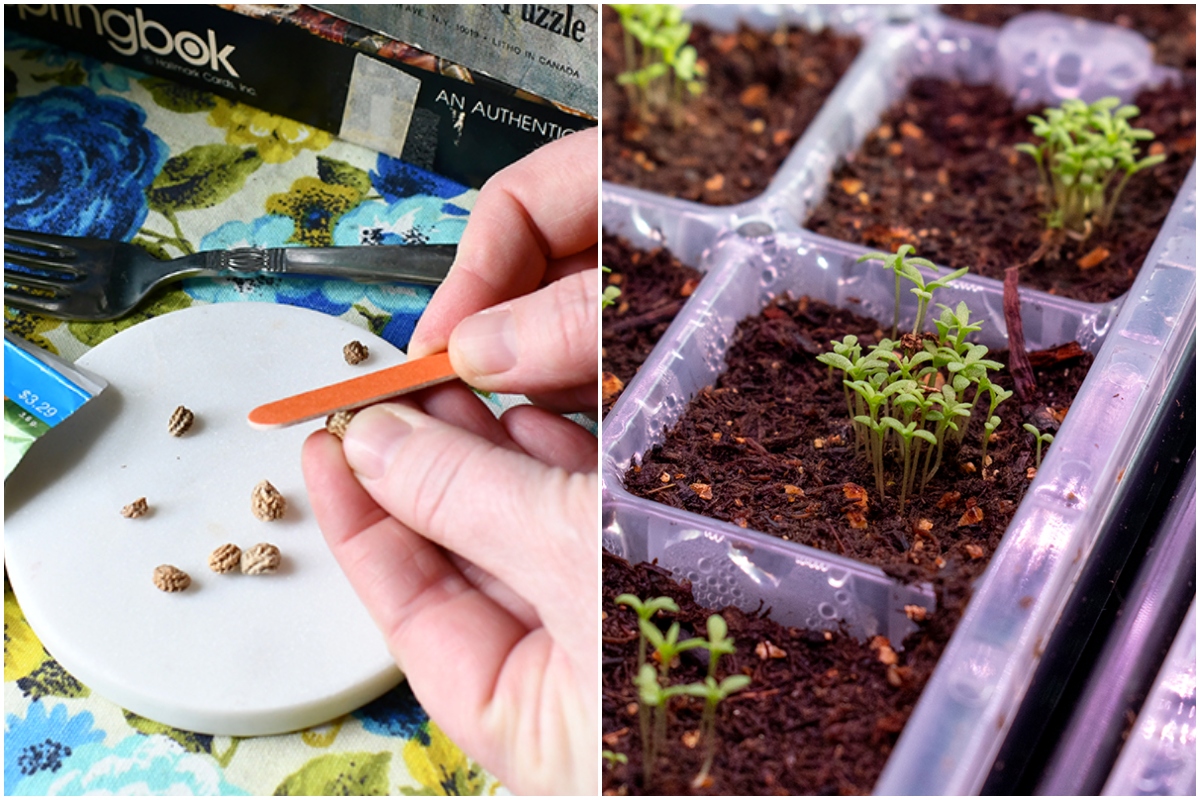
1. Scarification – Forks, Files and Nail Clippers, Oh My!

The first thing you can do to improve and speed up germination is to break down the seed coat; this is called scarification.
In nature, this usually happens mechanically, when the seed is scraped against something, like sand or rocks in the dirt, or chemically when the seed is ingested by an animal and the seed coat is dissolved during the digestion process. Frequently, it happens with a seed simply being exposed to moisture long enough. Water is the great scarifier.
Mechanical scarification is a bit finicky for tiny seeds.
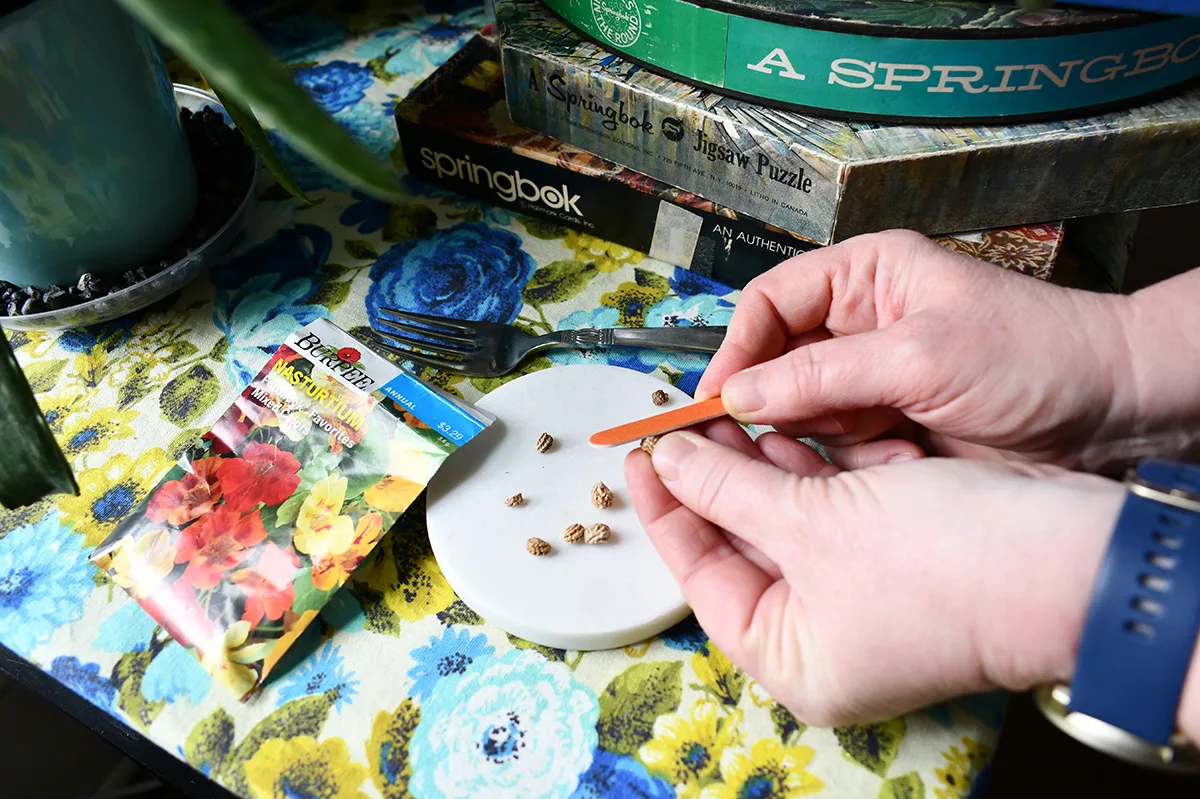
But it’s quite easy for larger seeds, especially if you aren’t planting many of them. If you’ve grown nasturtiums, you’ve likely followed instructions on the seed packet to scratch the surface of the seed with a file before planting. But other larger seeds benefit from a good scratch too. Squash, cucumbers, peas, beans and melon seeds are all large enough to handle. Use an emery board or the tines of a fork to abrade the seed.
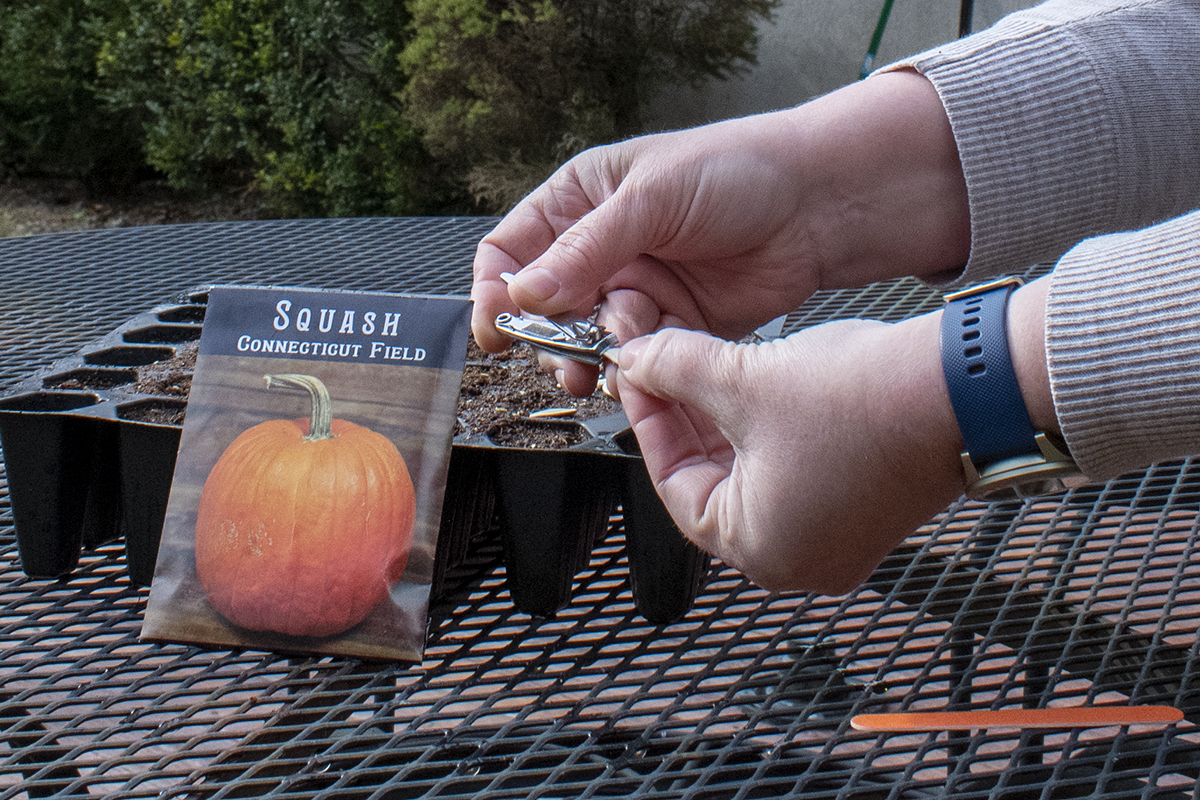

Or use nail clippers to make a tiny snip. Excessive force isn’t needed, but you don’t want to be too gentle. You’re disturbing, not destroying.
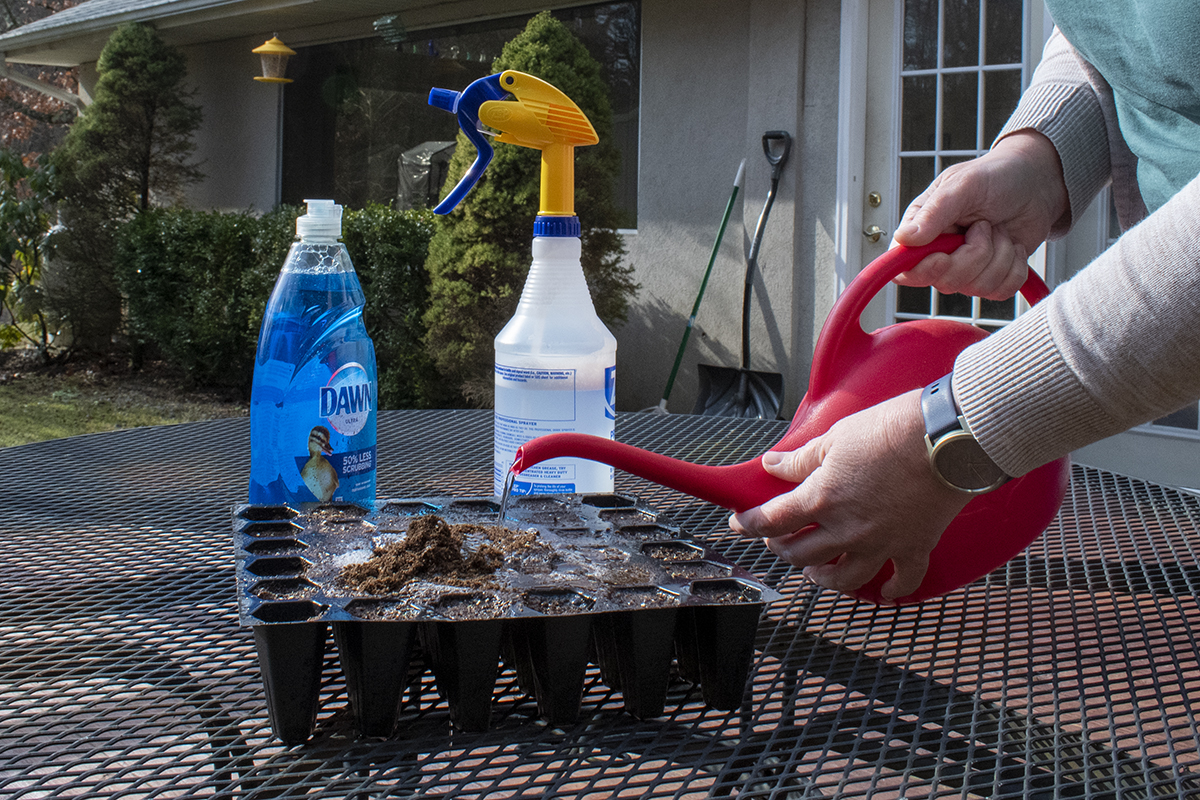
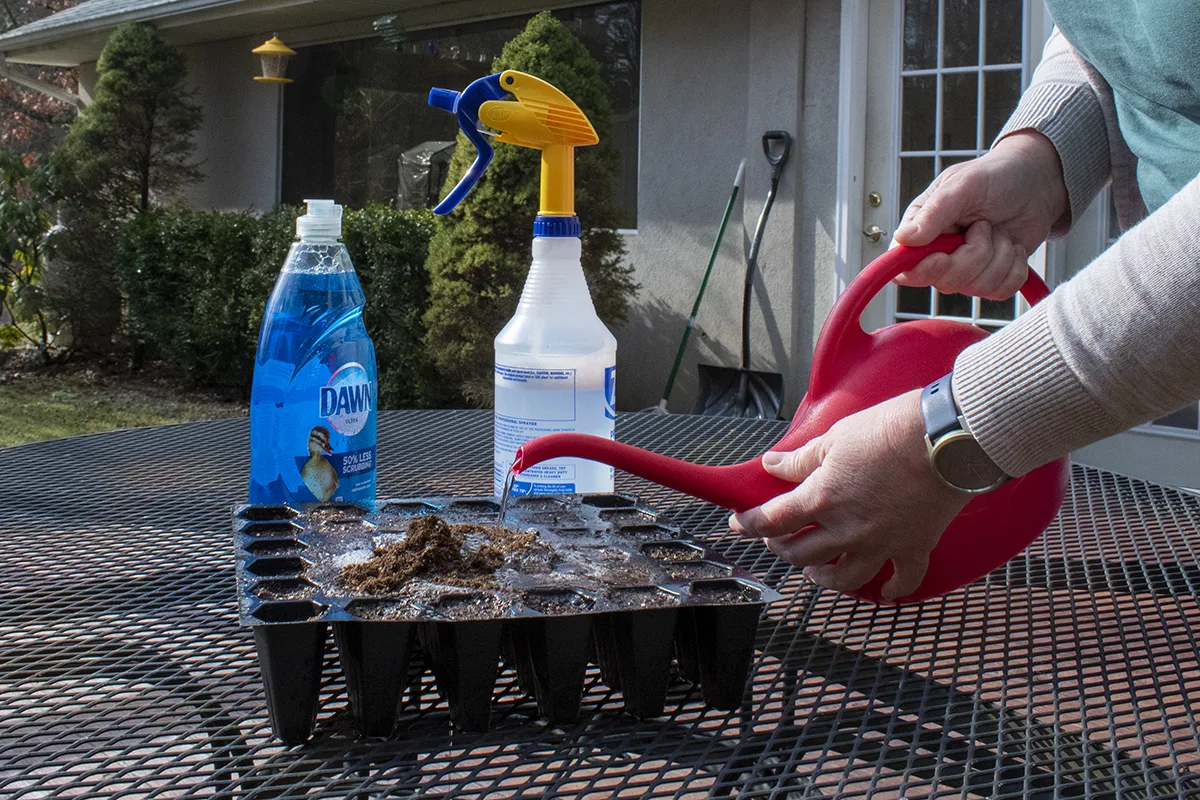
2. Make Your First Watering a Soapy One
Wet seed starting mix with warm soapy water (use liquid dish detergent such as Dawn; you only need a few drops) before planting the seeds. Mist everything with soapy water again once you’ve planted the seeds. The detergent in the soap serves two purposes. It will start to break down waxy seed coats (chemical scarification) and nip hydrophobic seed starting mix in the bud.
If you’ve ever put seeds in dry seed starting mix and tried to water it, you know it’s notoriously hydrophobic.
You’ve got to love those eruptions of dry soil when you add too much water. Not!
To avoid a huge mess, add starting mix to your pots, mist the top with the soapy water, then follow with a slow, deep drenching of the soil using the watering can full of soapy water. This lets the water pass through the starting mix, thoroughly wetting it and breaking the surface tension.
Now, plant your seeds and cover them with the necessary amount of dirt for each seed type. Spray this new layer well with soapy water, too. Using a spray bottle to water tiny seeds keeps them from being unearthed by a direct stream of water, plus you’re applying soap directly to the seed to aid in scarification.
3. Grab a Bottle of Hydrogen Peroxide
Soaking seeds overnight is the gold standard for improving germination rates. You won’t find an article about germinating seeds without it. And while Mother Nature does fine soaking seeds in the wild with H20, we can improve this method by adding another 0. Oxygen atom, that is, to make hydrogen peroxide, H2O2.
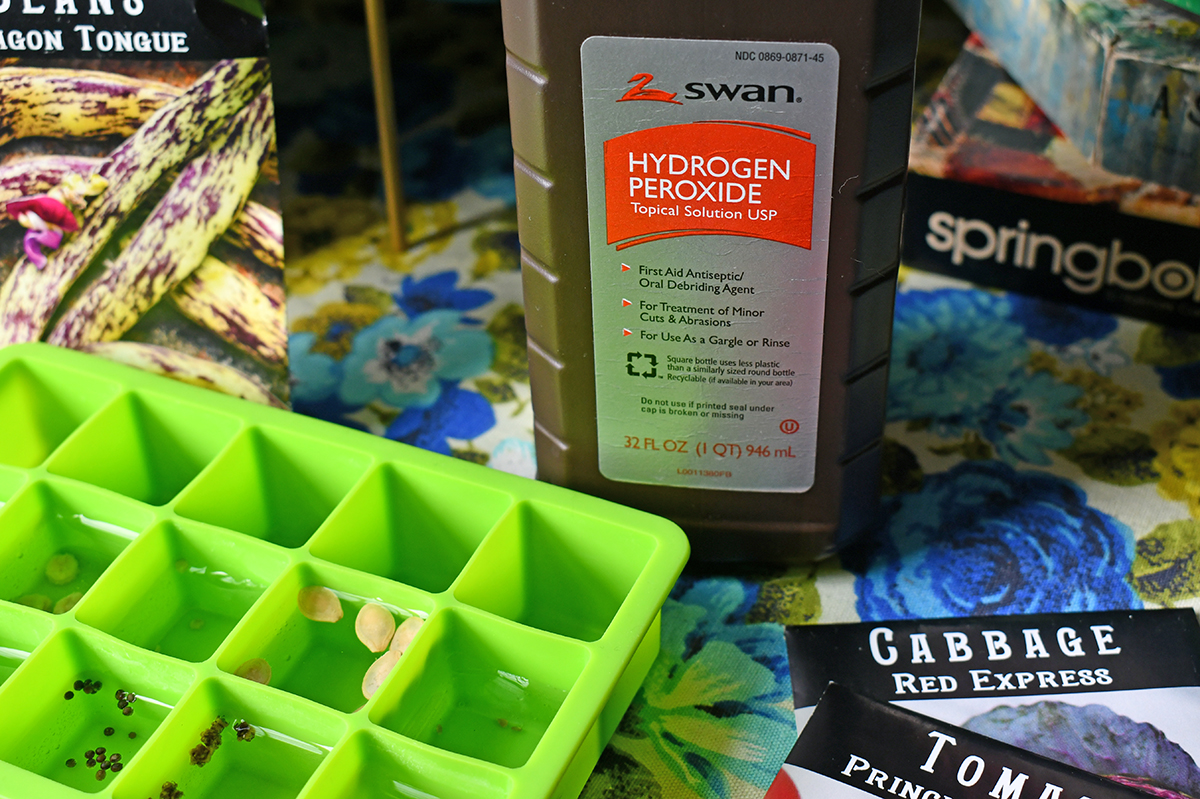

By adding a little hydrogen peroxide to your water when you soak seeds, you’re doing two things – breaking down the seed coat (chemical scarification) and oxygenating the water. Remember, oxygen was the second thing we needed for germination. Adding more oxygen to the water speeds up the germination process. The seed needs oxygen to create energy (aerobic respiration) to germinate and grow using stored nutrients.
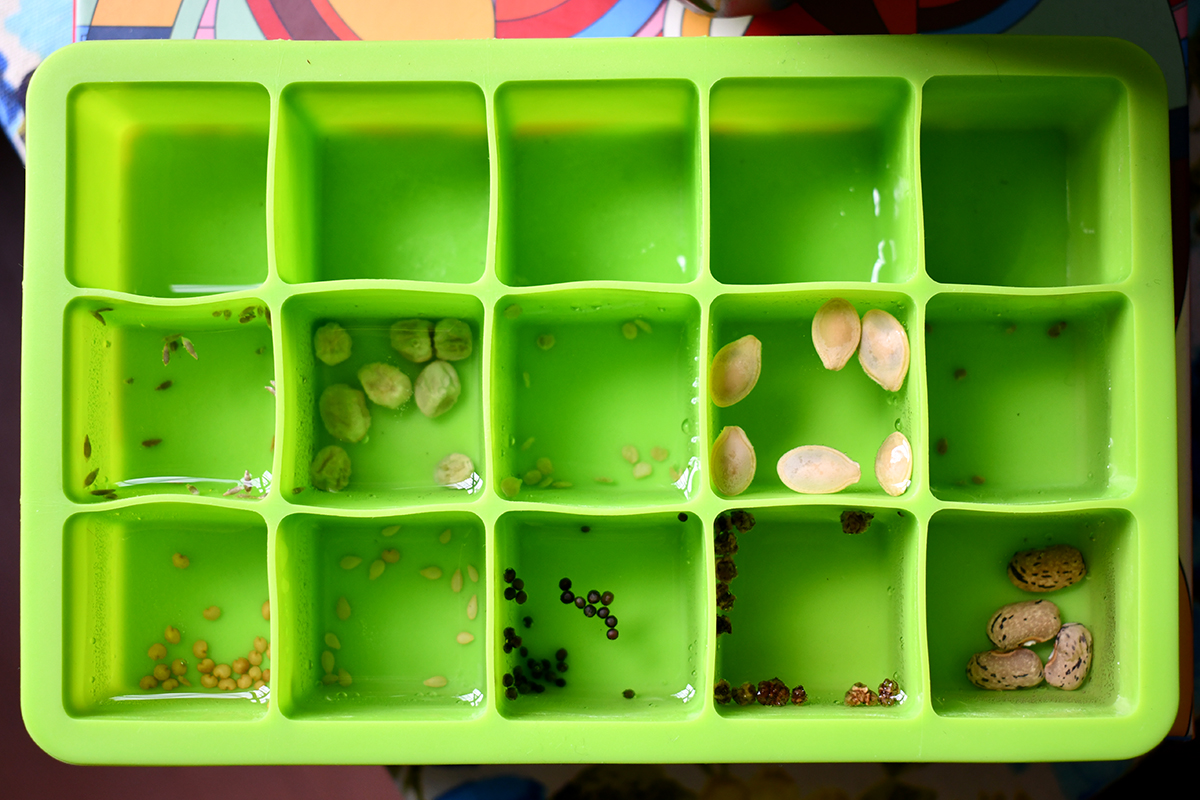
Add a ¼ cup of 1-3% hydrogen peroxide to two cups of water. Add your seeds, and soak for 30 minutes. You don’t want to soak them longer than that. An ice cube tray works great for soaking seeds, but label which seeds are where. After thirty minutes, transfer them to water to continue soaking overnight.

Hydrogen peroxide’s chemical similarity to water makes it exceedingly safe to use in the garden. It breaks down when exposed to water and air. That extra oxygen molecule is where all the benefit comes from. It’s important to use a weak solution, though (1-3%, which is what is usually sold in the store), as higher concentrations will increase acidity and slow seedling growth.
4. Hot Water Treatment
If you’re out of hydrogen peroxide, there’s no need to worry. Soaking your seeds in hot water held to a specific temperature will also break down the seed coating. But this one is a double-edged sword. Soaking seeds in hot water will help speed up germination but can come at the cost of lower germination rates.
Before you rule it out entirely, though, it’s also a great way to prevent seed-born diseases.
Remember, that only applies to diseases that start in or on the seed. But there are enough of them that it might be worth the lower germination rate to try it out. Some common seed-borne diseases killed with this method are black leg, cucumber mosaic virus, Verticillium wilt, Anthracnose and early blight, all serious plant diseases that can put a stop to your growing season.
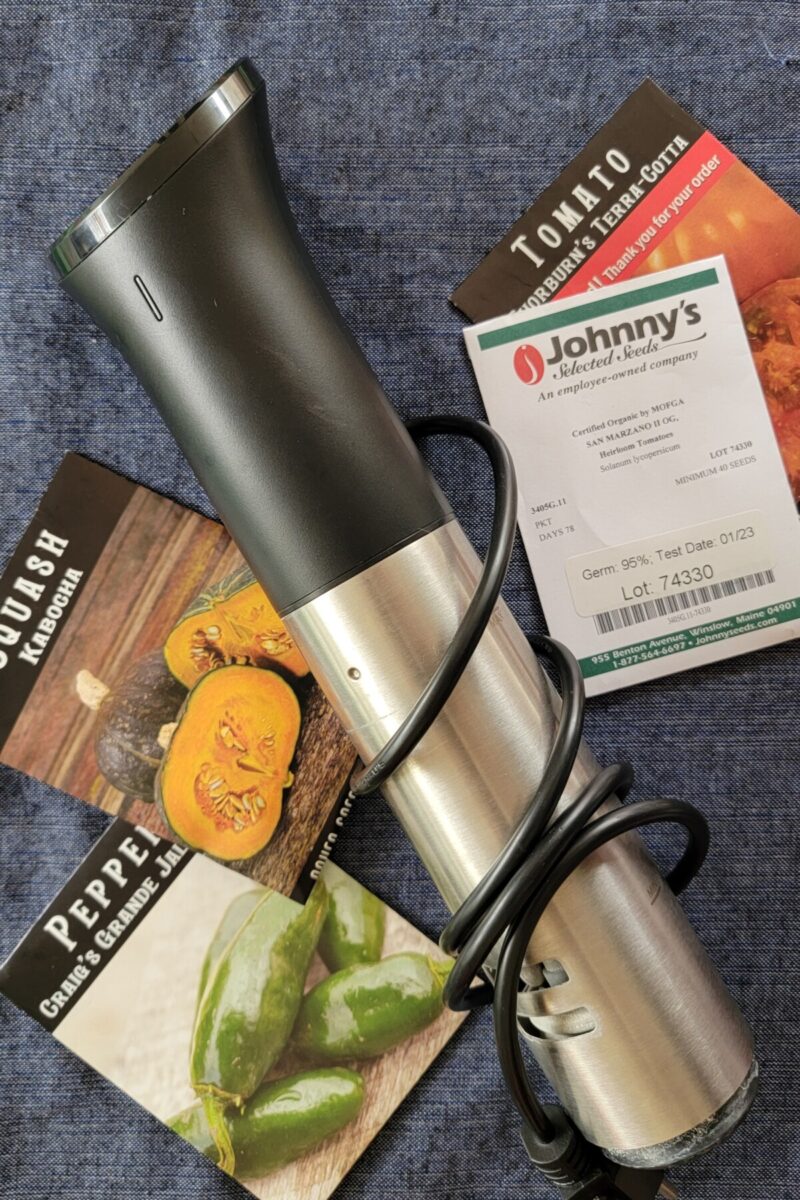
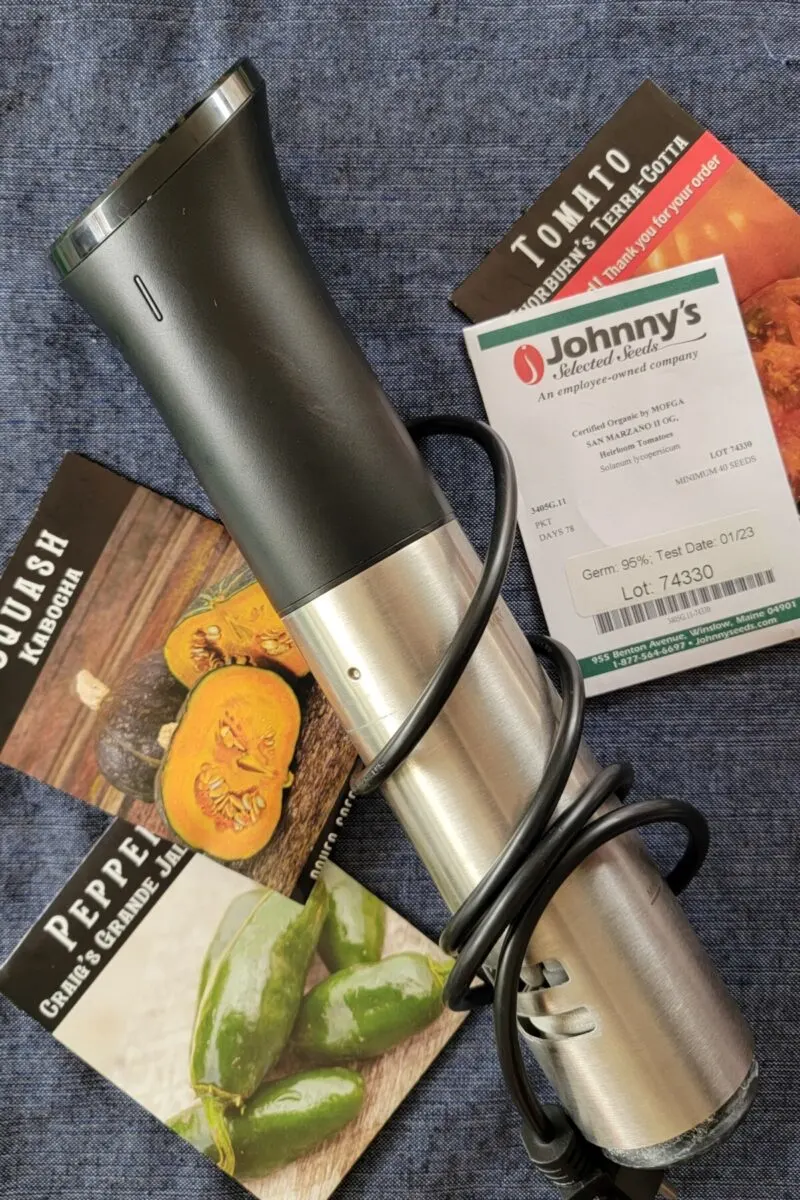
You can read how to do it here. You’ll need an immersion cooker (sous vide setup). If you want the benefits of speeding up germination without the cost of lower germination rates, you can always soak your seeds in hot water, letting them cool as they soak. You’ll also lose the disease-killing benefits this way too.
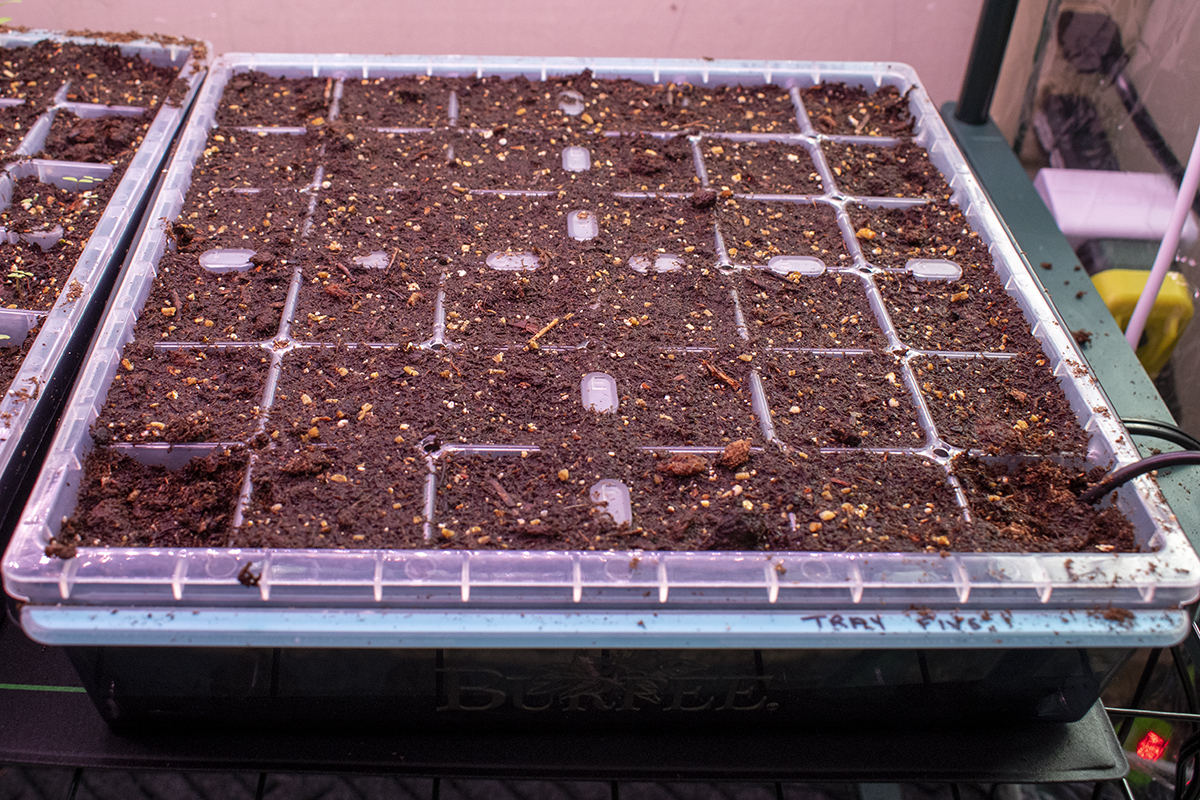
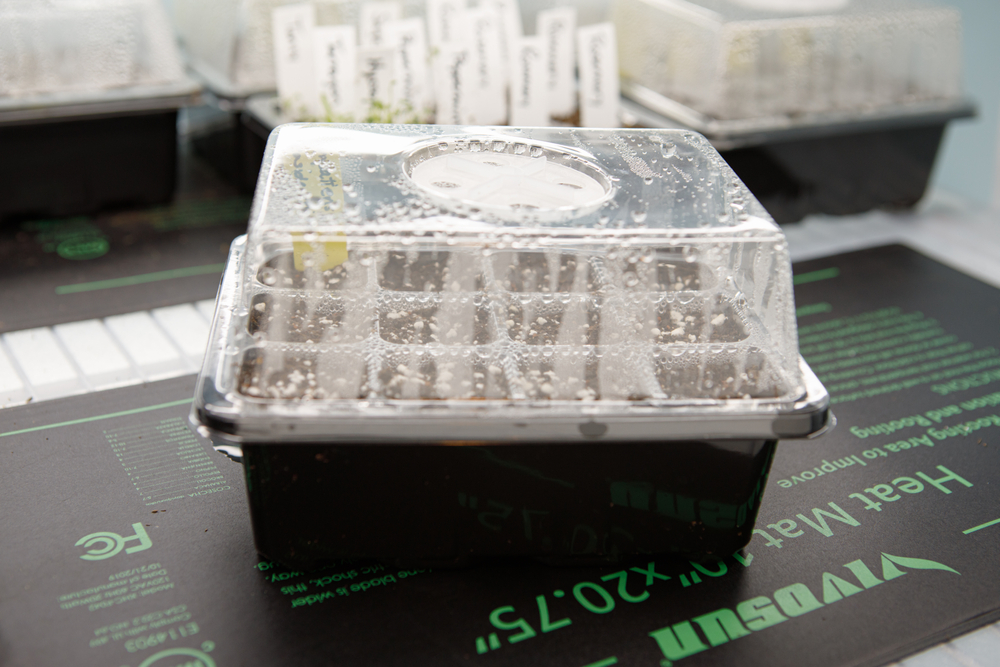
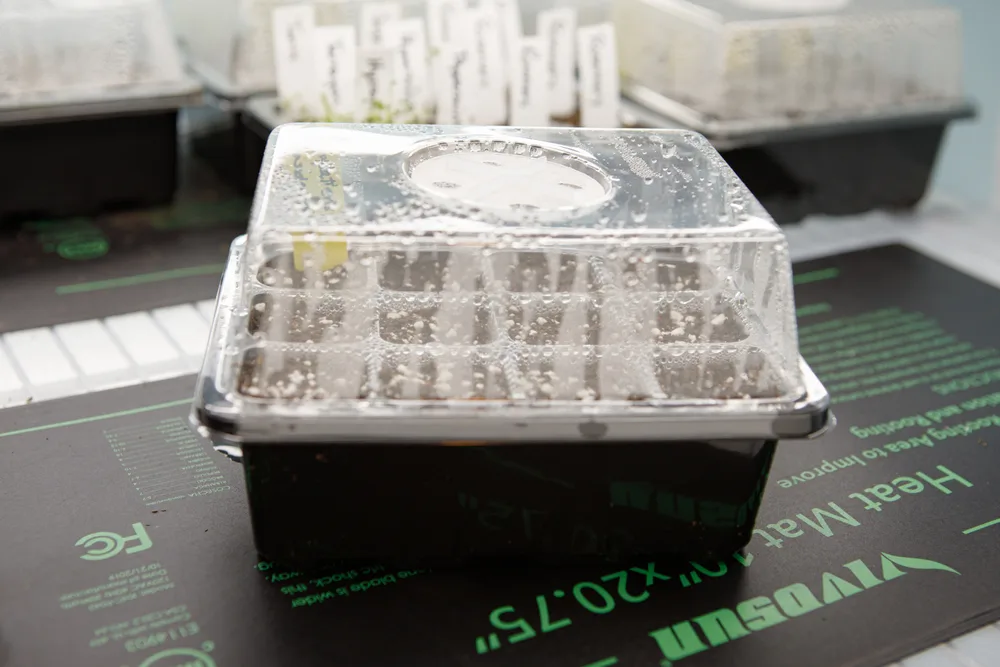
5. Cover Pots to Keep the Soil Moist
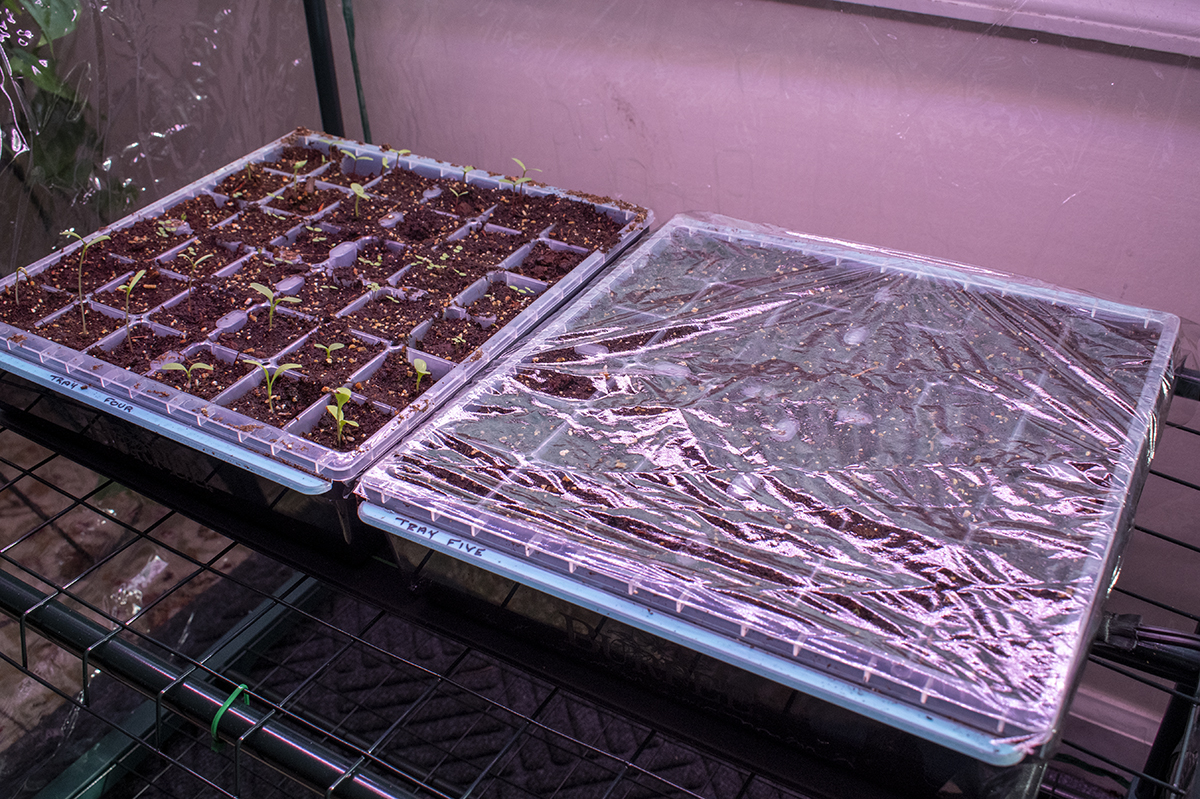

Once you’ve planted your seeds and watered the seed starting mix well, it’s important to keep everything moist. This is seed starting 101, but many people still forget to do it, and the constant drying out and rewetting of soil and seeds can slow down germination.
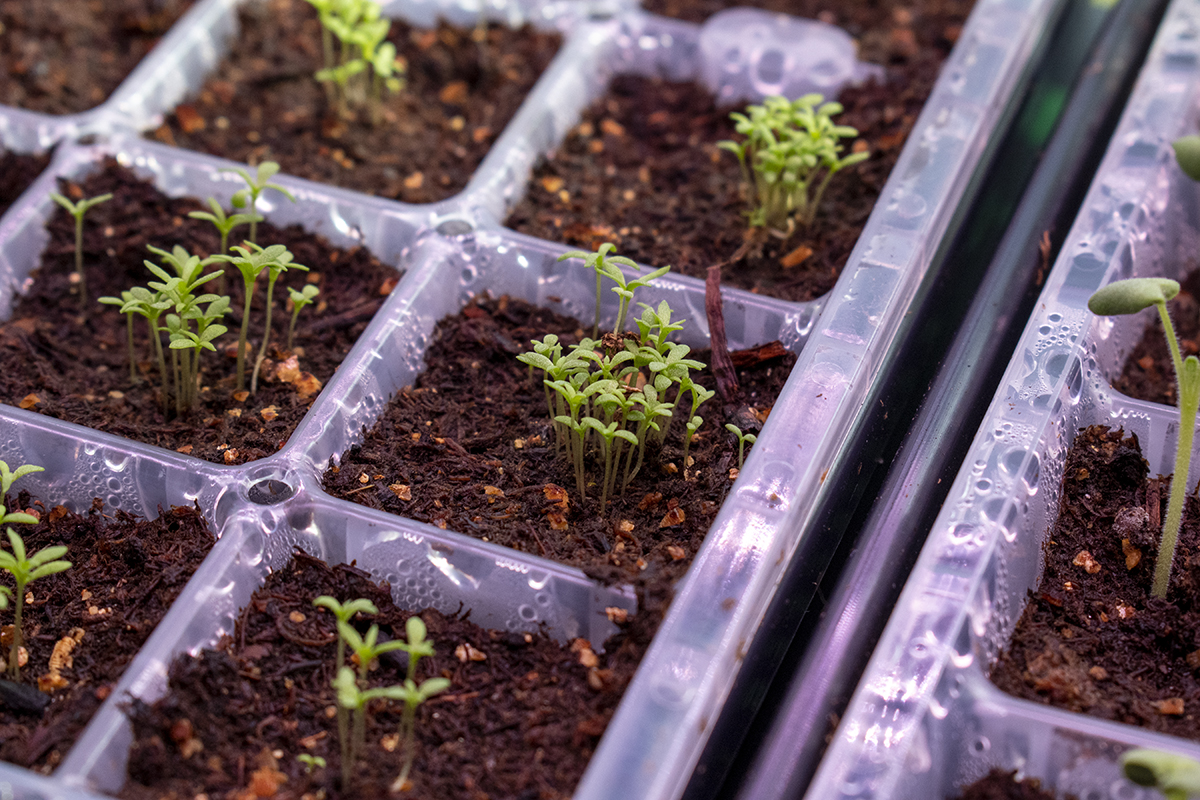
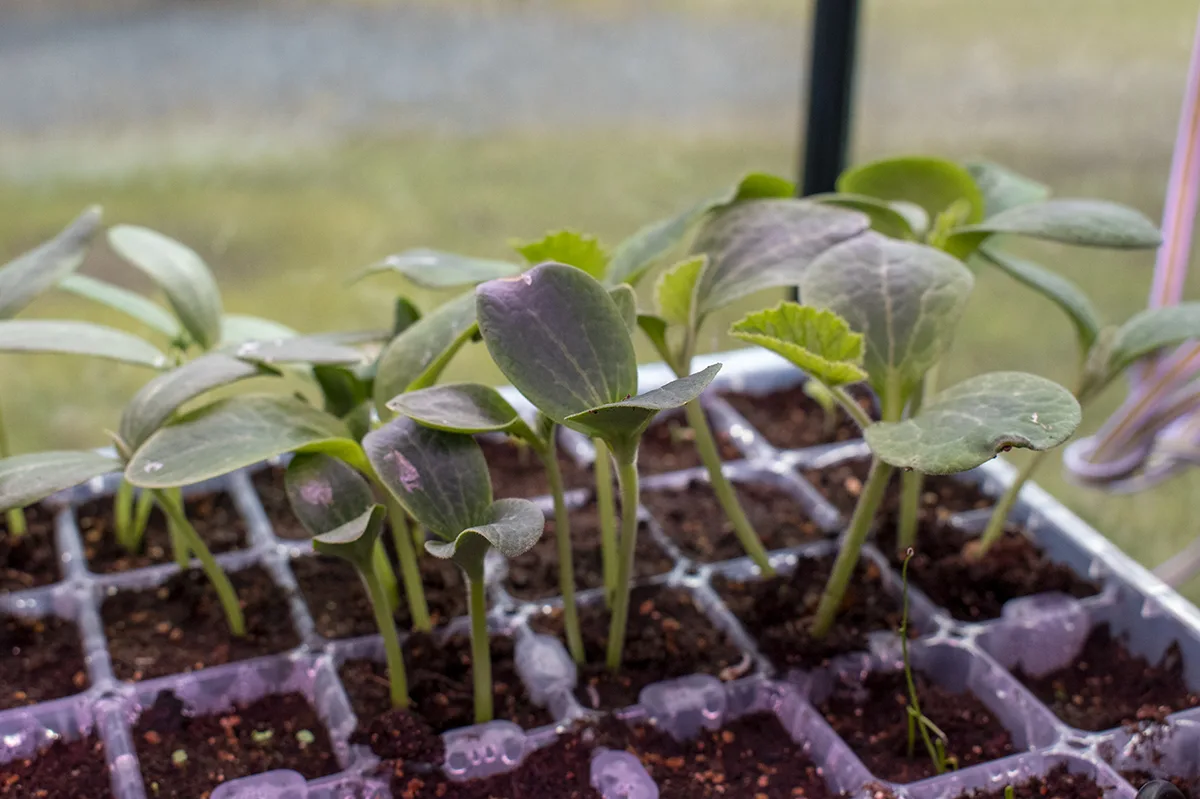
As soon as your seeds have germinated, remove the cover to prevent damping off. You’ll need to keep a close eye on new seedlings, as it doesn’t take much for them to dry out and die.
Finally, we come to Light and Heat.
As we all remember from elementary science experiments, seeds will germinate in the dark, but they need light very quickly after germination to start photosynthesis. This process starts below the soil for some seeds as light filters through the seed starting mix.
Both are important, but the light becomes unnecessary for germination if you can get the heat just right. If you can only get one right, I suggest you aim for heat. If you can accommodate both, you’ll have glorious seedlings in no time.
6. Don’t Rely on Windows
Can you start seeds on your windowsill? Sure. Do most of us have windows that get enough light and heat for the right amount of time to achieve maximum germination? No.
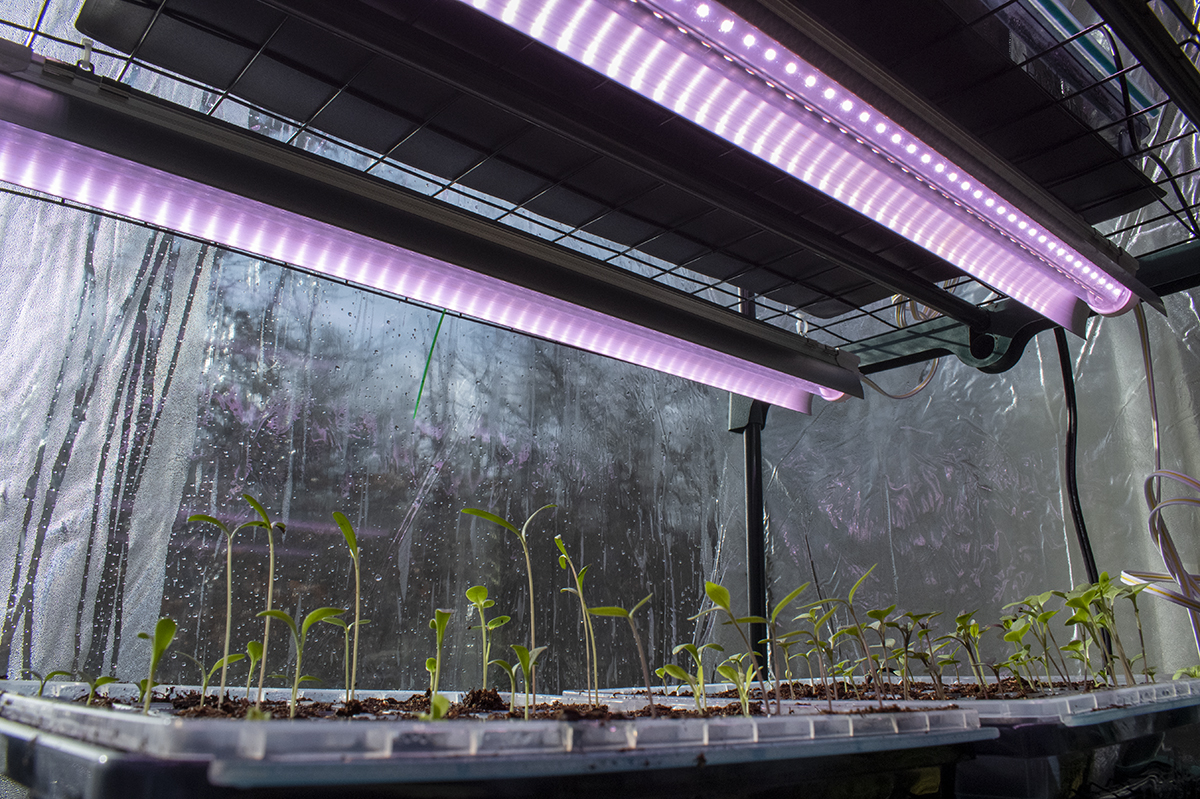
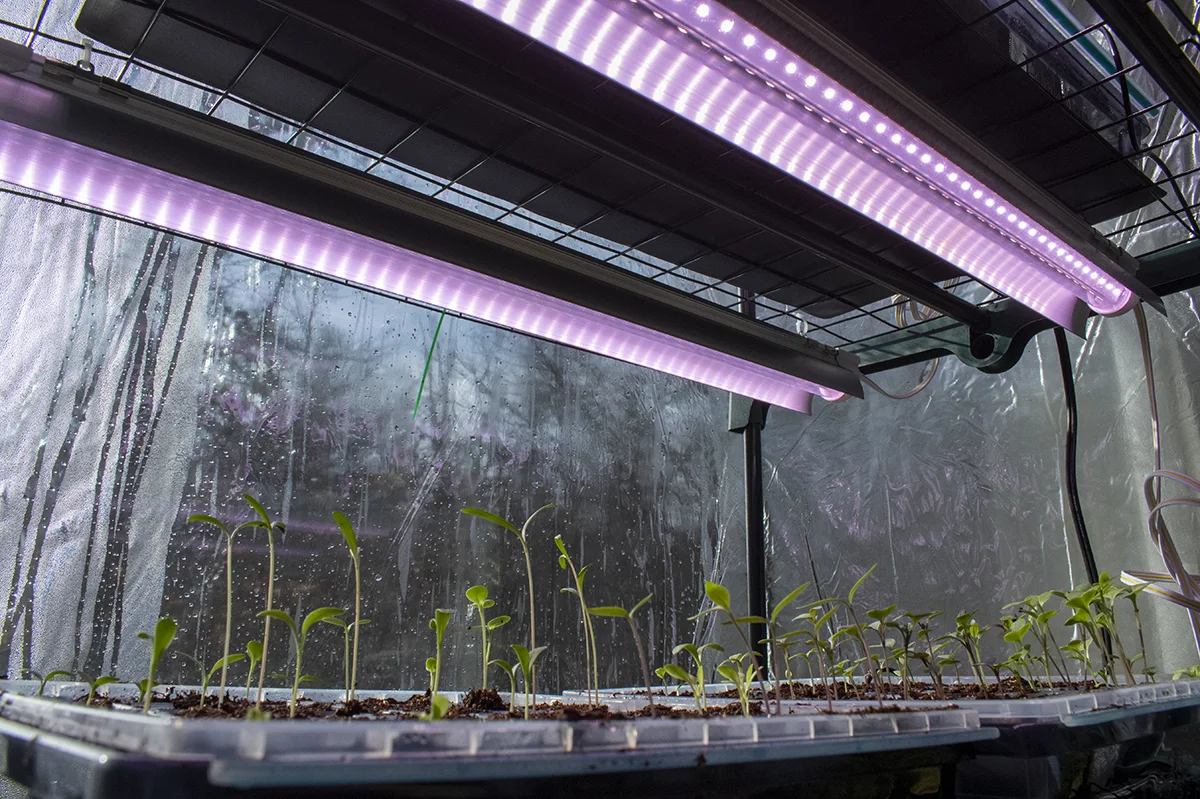
If you’re serious about starting seeds at home, invest in a good set of grow lights. If you do your research and get the right grow lights, you can conquer light and heat with one unit. We use heat mats every year and a piddly set of grow lights. This year we upgraded to these grow lights and realized after the first day that the heat mats weren’t even turning on when we had the grow lights on because they kept the soil nice and warm.
Some folks opt for blue or purple lights as they promote seedling growth. But we’ve learned that plants use all colors in the light spectrum. If you can’t find a good setup that allows you to switch colors, then opt for the best full-spectrum grow lights you can afford. They’re the best option for the entire life of the plant and the closest substitute for the sun.
Obviously, proper grow lights remain in use long after germination, so they’re a good investment in your garden. And once your seedlings are grown and out in the garden, your houseplants can benefit from their use.
7. Skip the Fridge; Use a Heating Mat
You’ll run into countless articles telling you to start seeds on the top of the fridge to warm them. That doesn’t work anymore because most modern fridges rarely get hot on the top. If they do, it’s a sign something isn’t working right. Unless your fridge is a dinosaur, this is one germination tip we can let die.
Warm soil signifies to plants it’s the right time to start growing. Warm soil also helps to prevent damping off, which is more likely to occur in cooler soil temps. Some seeds even need warmer soil temps to have decent germination rates. Peppers prefer soil temps around 80-85 degrees.
Rather than cranking up the thermostat in your home, opt for a heat mat. We have three of these and use them every year. When purchasing a heat mat, always look for one that is either UL or ETL listed. Choose one that allows you to regulate the temperature, and a timer is always nice.
Once your seeds have germinated, you can pull the mats.
8. Plant More Seeds Than You Need

I know, I know, there’s a whole group of gardeners out there that just clutched their trowels and gasped. I used to be one of those gardeners that would plant one or maybe two seeds (if I was feeling generous) in a cell and hang all my hopes and dreams on that one seed. Pfft, then I got realistic.
If you want to ensure you have the seedlings you need when moving them outside, plant more seeds.
This tip doesn’t apply to any of the resources needed but generally assures you’ll end up with the number of plants you want. You can always thin them out later, continue growing them, sell extra seedlings, or give them away. It’s always better to have too many than not enough.
If you’re concerned about waste, let me point something out. It’s unlikely you will use all the seeds before they’re unviable. (Obviously, there are exceptions.) It’s better to “waste” seeds by planting more, so you end up with what you need, than having a packet full of unviable seeds two or three years later.
9. Cold Stratification

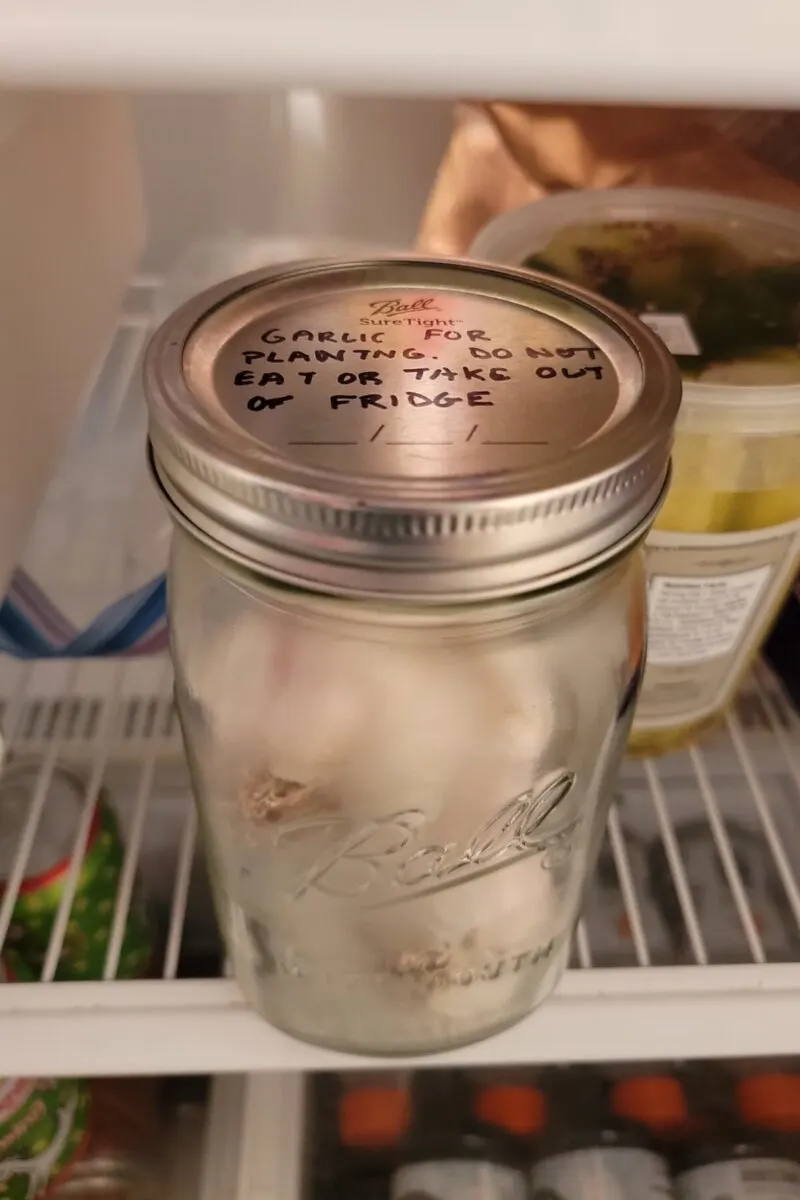
It’s important to address cold stratification when talking about seed germination. This process doesn’t speed up or improve anything, but it is necessary to get some seeds to germinate. Simply put, stratification is what we gardeners do to mimic the seasons. There is both warm and cold stratification, but the one we, as gardeners, need to be concerned with is cold stratification. Some plants need a cold snap to mimic winter’s passage before germinating.
Now, if you’re a vegetable gardener, you’re in luck, as most common vegetable seeds do not need to be cold-stratified.
You may only run into this if you’re planting spring garlic; otherwise, most vegetable crops don’t need it.
However, if you start growing herbs and flowers from seed, you’ll run into species that need cold stratification, or they won’t germinate. Our own brilliant Mickey Gast wrote this fantastic article with some cool ways (pun intended) to cold stratify your seeds, along with a massive list of seeds that need it.
For Best Results – Stack the Deck
Adopting any one of these tips will help you improve your germination rates and speed things along. But you’ll want to implement as many of these tips as possible to see amazing results.
Do You Need to Do Any of This at All?
Nope. Nature is good at surviving. Seeds are meant to grow and will, if left to their own devices. If all of this seems like a bit more than you signed up for, remember it’s optional. Plenty of gardeners start seeds yearly with only sunshine, a little dirt and tap water.
As long as you’ve got water, light and oxygen (and, for those that need it – a cold snap), seeds will eventually germinate. It just takes patience as you wait on nature’s timing rather than your own.
You don’t need to speed up germination to have a nice garden.
It may only gain you a handful of days anyway, which isn’t much over the growing season. But sometimes, it’s fun to tinker and see if you can get better or faster results. Perhaps you’re impatient, like me, and want the satisfaction of seeing those seedlings as fast as possible.

Or maybe you’ve had difficulty germinating seeds, and you’re bound and determined to get it right this year. If you’re working with older seeds or seeds that have low germination rates you might need to give them an added boost. Most of these tips will lead you to better germination rates as well as speedier. So, use the ones that make my life easier and skip the rest.

Get the famous Rural Sprout newsletter delivered to your inbox.
Including Sunday ramblings from our editor, Tracey, as well as “What’s Up Wednesday” our roundup of what’s in season and new article updates and alerts.