


The transition from crisp and colorful autumn leaves to crumbly and dark leaf mold is – normally – a very slow process.
Do nothing more than rake your leaves into one big pile, and the heap will undoubtedly turn into leaf mold, given enough time. Let nature run its course, and the leaves will rot down into a humusy material in about 2 to 3 years.
Putting in a little extra effort when setting up a new leaf pile, though, will shave off the time it takes to create finished leaf mold to just one year.

Many of the same principles for quicker composting apply to leaf mold making. Particle size, pile volume, airflow, and consistent moisture will all make a world of difference in the efficiency and productivity of your leaf pile.
Set up your leaf pile for success now, and you’ll have yourself a predictable annual leaf mold harvesting cycle each and every fall.
1. Build a Leaf Bin

Having a dedicated leaf bin is the first step in making the leaf mold magic.
Building a leaf mold enclosure has practical benefits. It will keep all the leaves together in one place and prevent them from being blown away in the wind. And you’ll know the exact spot to harvest from next autumn.
Binning the leaves is also helpful for achieving the volume necessary for quicker decomposition. Just like with compost, the bigger the pile, the faster the result.
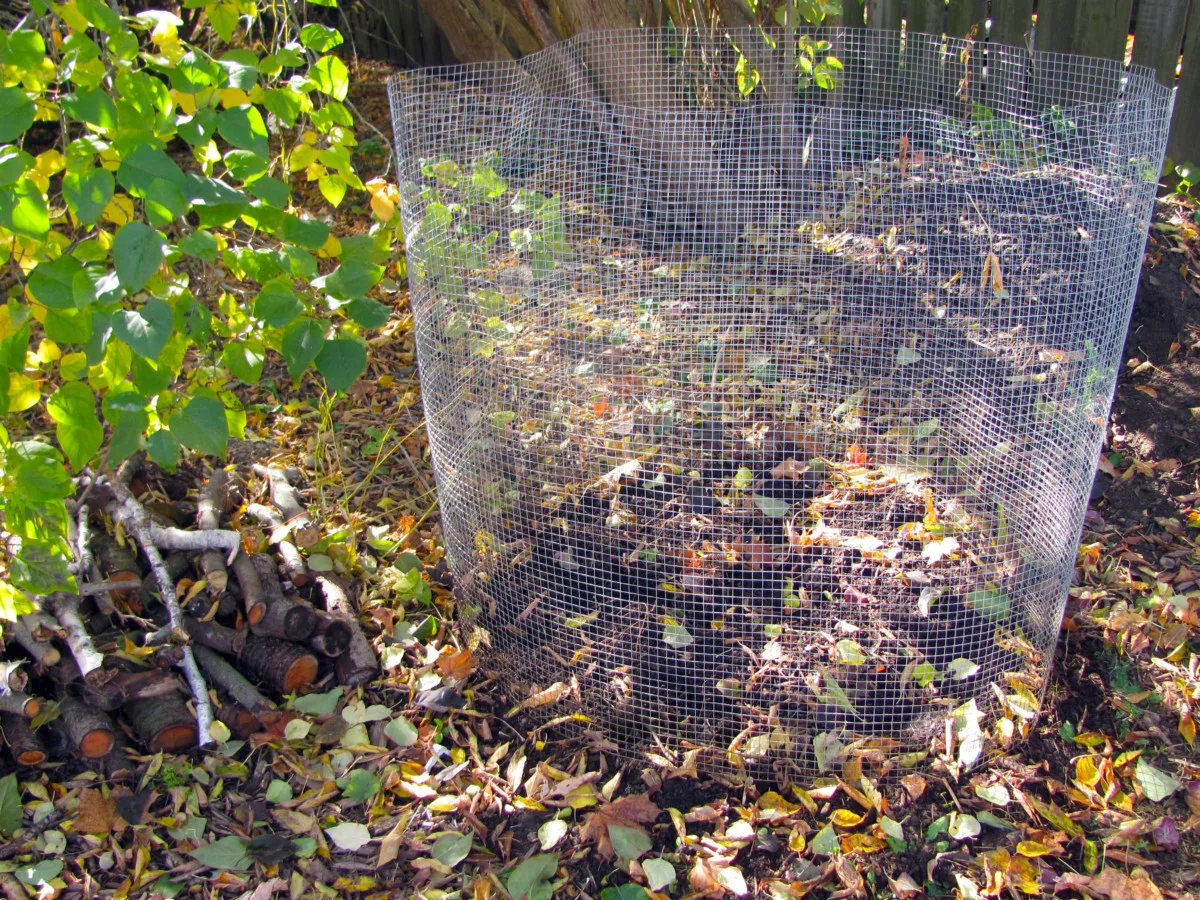
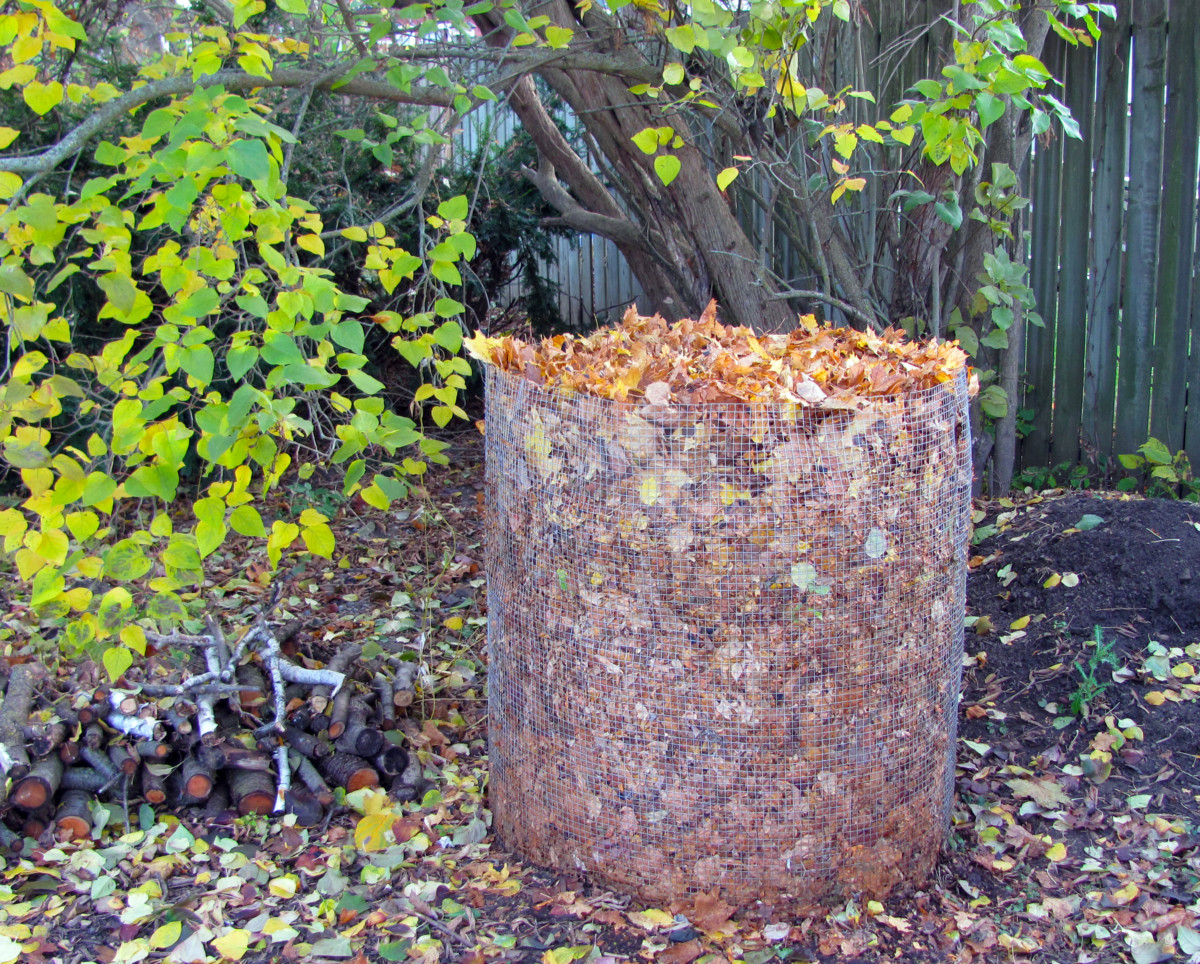
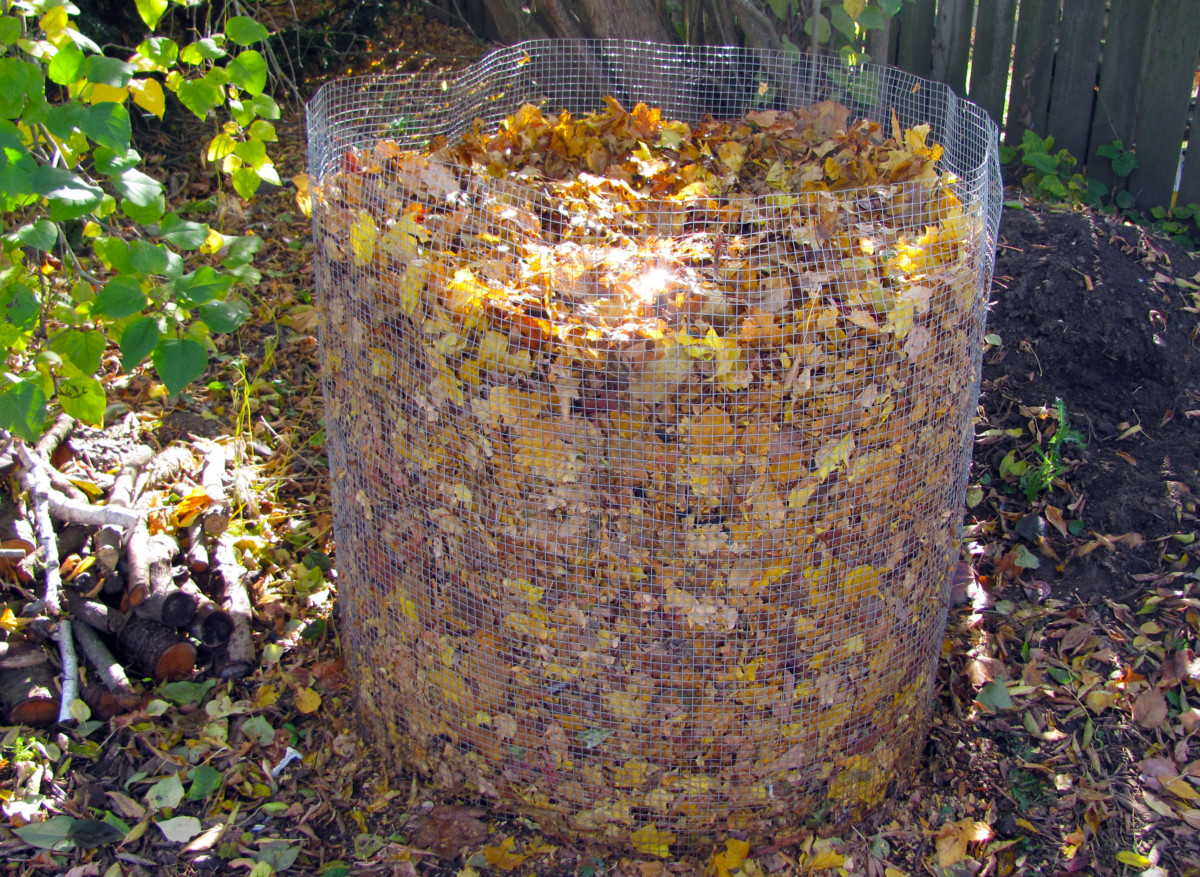
The leaf bin should be large enough to house at least 3 cubic feet of leaves. This is easy enough to do with a 10-foot length of hardware cloth, 36 inches wide.
Roll the wire mesh into a cylinder, tie the ends together, and twist it into the ground. It will create a roughly 3’ x 3’ x 3’ area inside the bin. It’s a quick project that only takes about 10 minutes to assemble and set up.
For a more permanent container, you could also make a leaf bin with wooden pallets, wattle fencing, loosely stacked bricks, or other materials you have on hand. Compost and leaf mold have the same housing requirements, and many of these compost bin DIYs could easily double as leaf mold bins.
2. Set Up Your Leaf Bin Near Trees

The main difference between compost and leaf mold is the types of microorganisms that work to break down the pile.
Compost – a medley of kitchen scraps and yard waste – is an attractive food source for bacteria. The higher the population of microbes, the hotter the heap will get. Maintaining a hot temperature of 150°F to 160°F (65°C to 71°C) will ensure you’ll have your hands on finished compost quickly.
Leaf mold, on the other hand, is primarily worked over by fungi that prefer to operate in much cooler conditions.


There will be numerous fungal species processing the leaf pile. Most are mesophiles that reproduce best in moderate temperatures between 41°F and 95°F (5°C and 35°C). Although some species can survive high heat, many molds will die at temperatures above 130°F (54°C).
So while you would want to locate a compost pile in a sunny spot, a leaf mold bin is best situated in a shaded or partially shaded location.
Setting up a leaf bin in a sheltered place will keep it cooler during the hottest days of summer. It will also retain moisture better when it’s not baking away under the hot sun – which means less watering maintenance for you!
Although any shady spot would do, try to place your leaf mold bin beneath the boughs of trees. This will give the required shade, but it’s also a place where the leaf-loving fungi already live. The pre-existing colonies will quickly find and start reproducing in your leaf bin, giving the pile an excellent head start.
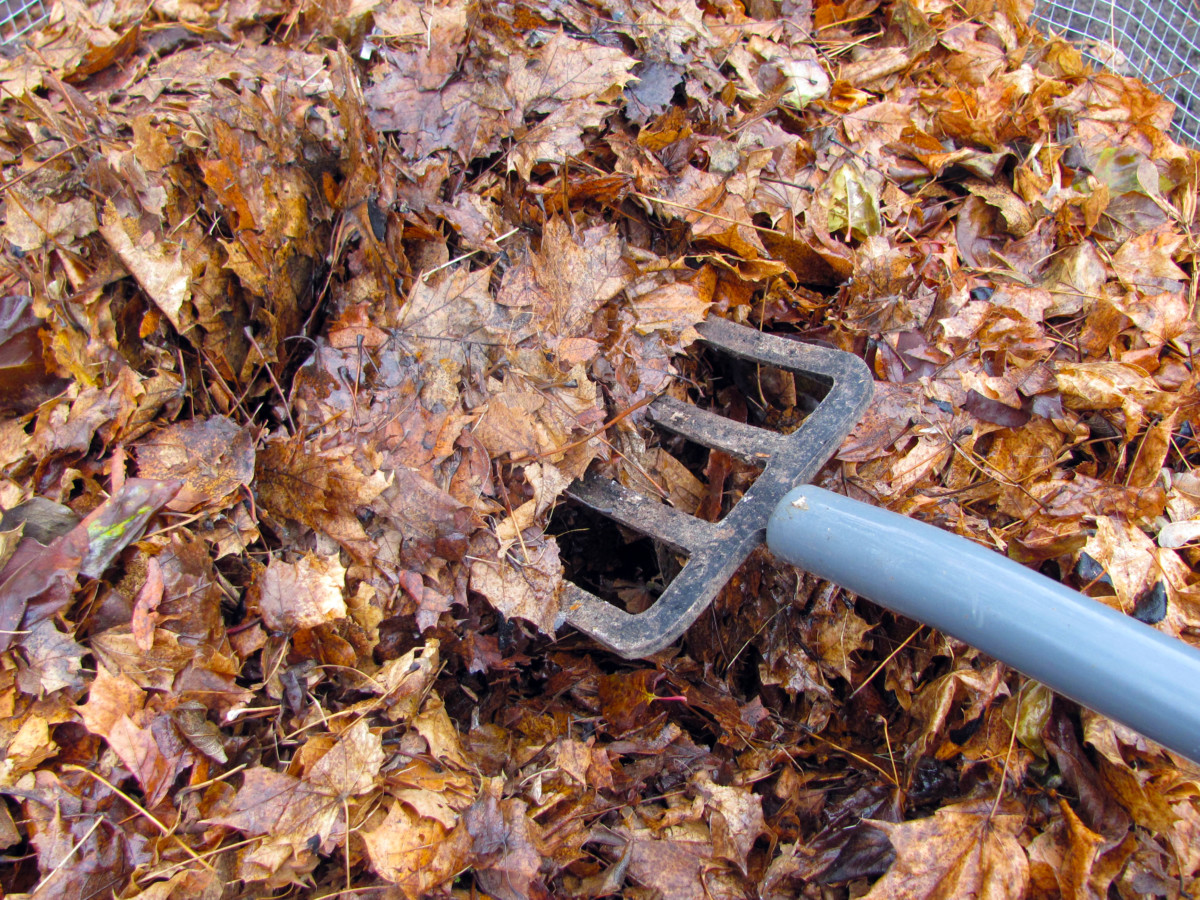
3. Shred the Leaves
The single most important thing you can do to hasten the transformation of leaves into leaf mold is to shred the leaves before piling them up.
The more crushed, chopped, and pulverized the leaves are, the greater the surface area will be for the hordes of fungi, molds, earthworms, and millipedes to process.

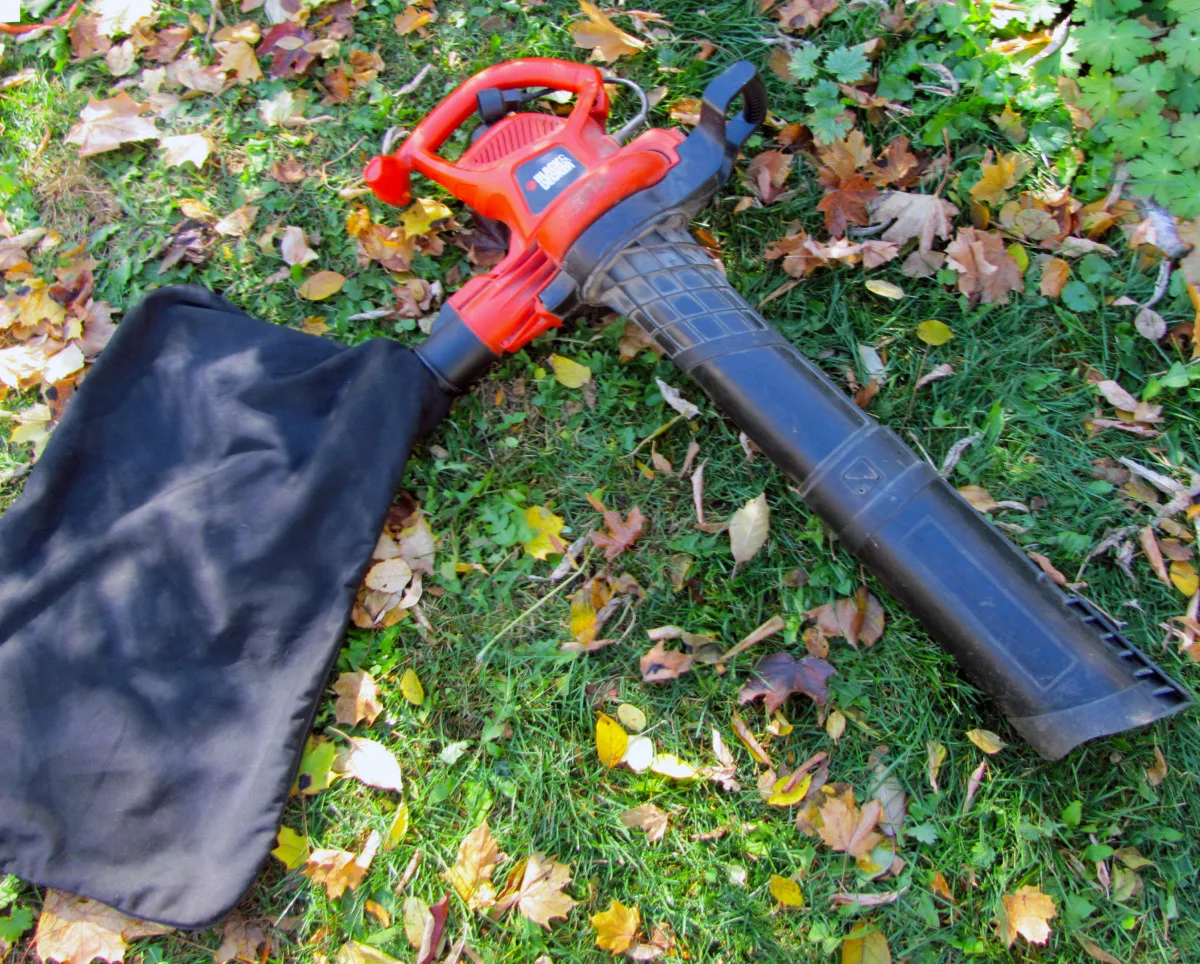
I use a leaf mulcher like this one. It’s great for sucking up fallen leaves and shredding them on the go. And it eliminates the chore of raking – the mulched leaves are collected in the bag and can be emptied directly into the leaf bin.
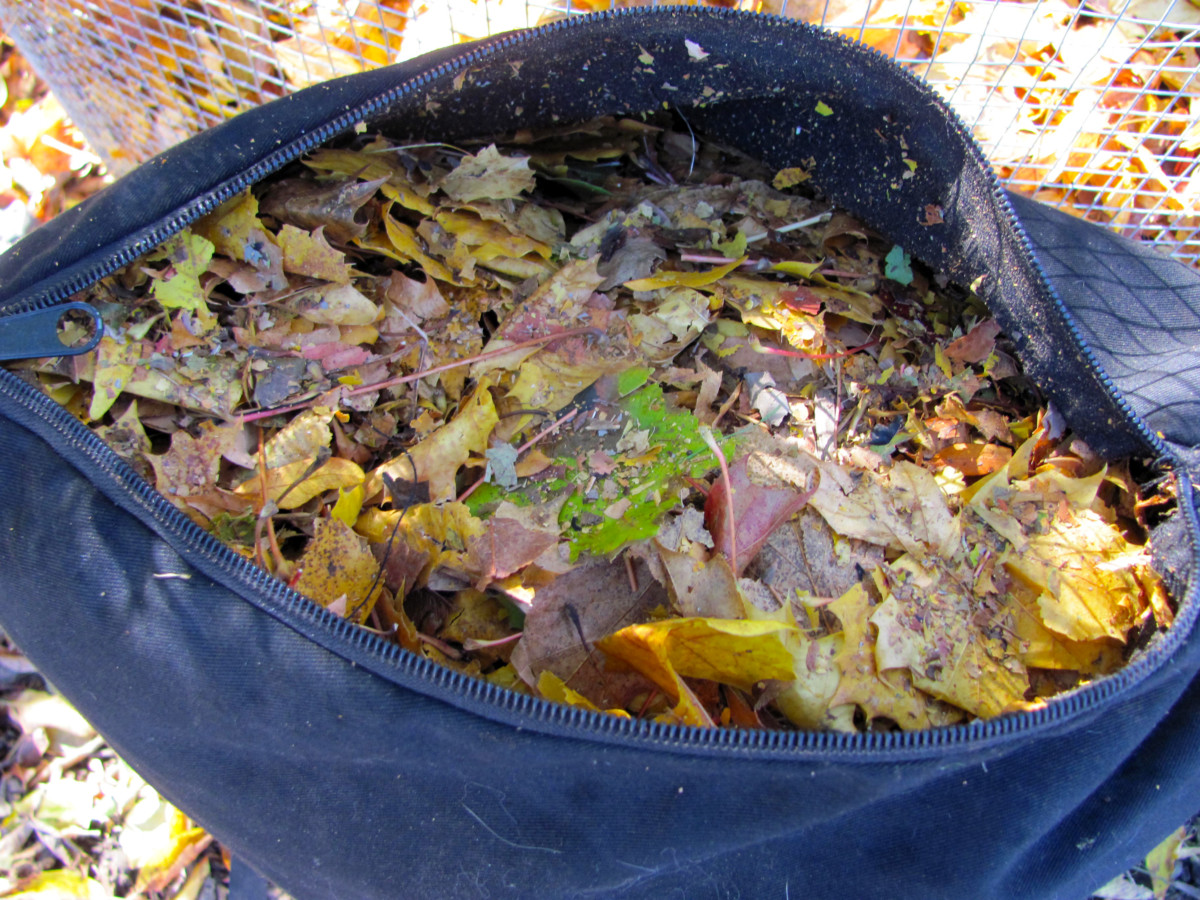

You could also use an electric leaf shredder or a lawnmower with a bag attachment for chopping up leaves.
If you don’t have access to machinery, simply bagging the leaves up and crushing them with your feet will break them into smaller pieces.
Leaf mulching is easiest when leaves are dry and brittle. Wet leaves clump together and have a tendency to clog up the rotating blades. For a less frustrating experience, do your leaf shredding when there hasn’t been any rain for several days.
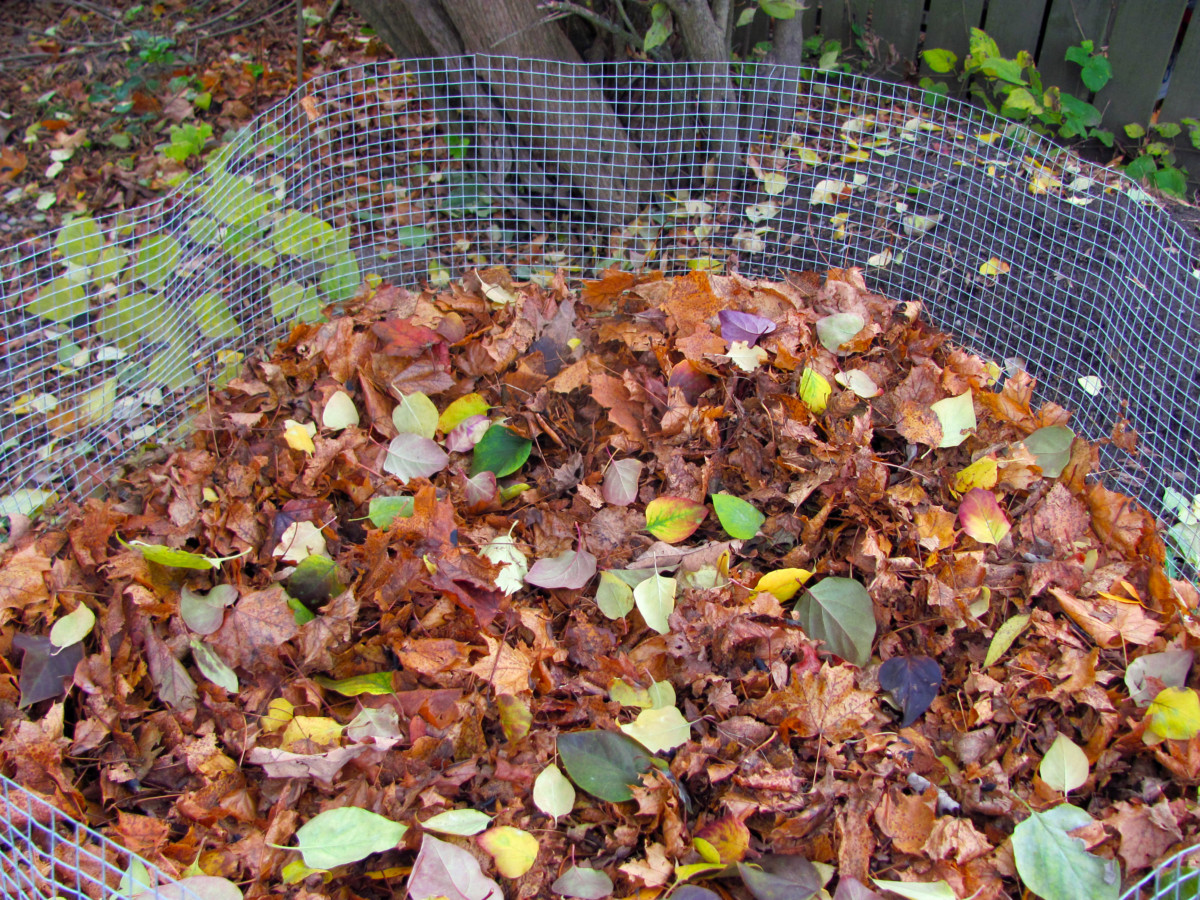

Fill up your bin all the way to the top. Over the next few days, the leaves will settle, giving you more room for fresh leaf deposits.

Top it back up with shredded leaves. You can do this over and over until the bin is full and the pile no longer shrinks.
4. Water the Leaf Pile Thoroughly

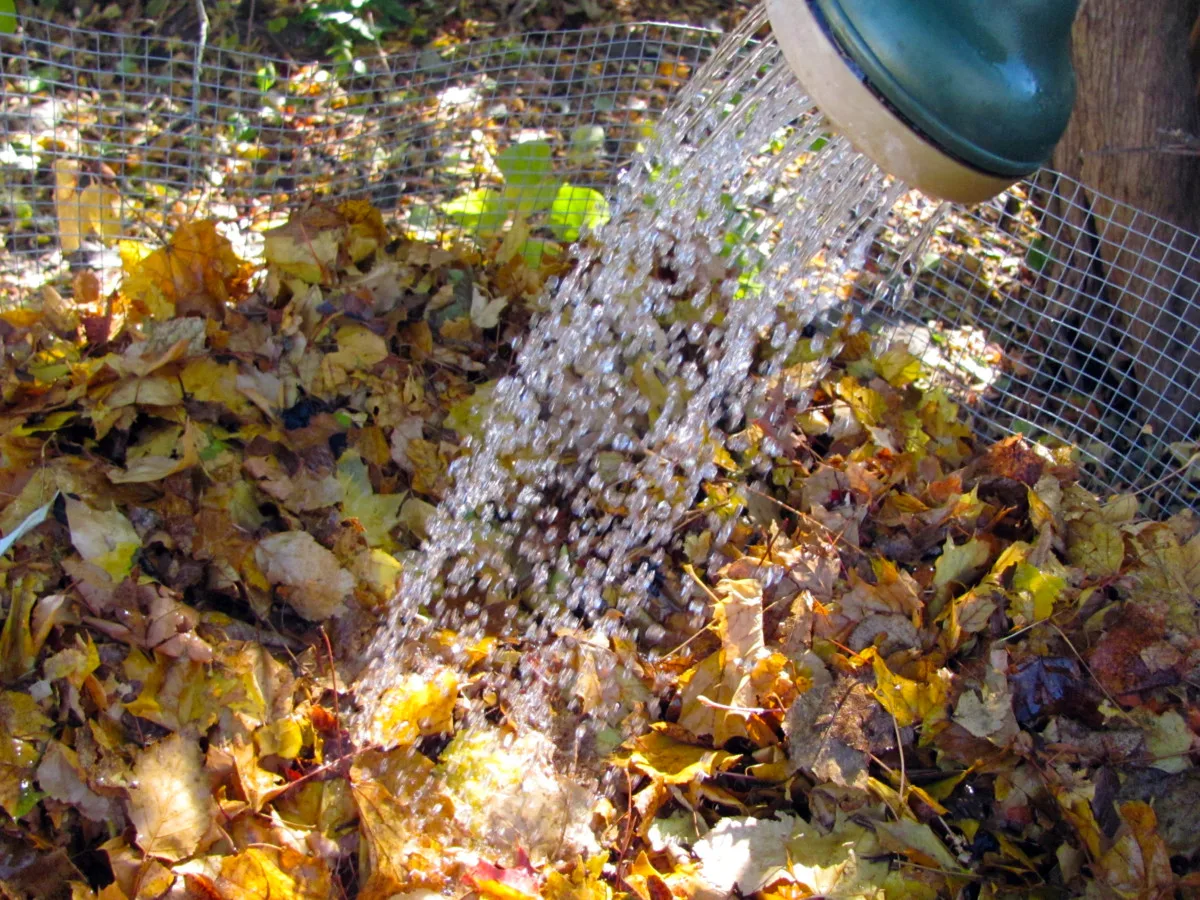
As you dump more and more leaves in the bin, stop every so often and give the pile a good soak.
For every 6 to 12 inches of fresh leaves added, water the pile thoroughly with a garden hose or watering can. This will ensure the entire pile gets the moisture needed for the fungi to grow.
The leaf mold pile should be moist – but not dripping wet – at all times.
Once the bin is filled up, and the leaves inside are well watered, you can let rainfall take care of the rest.
Check-in on your pile periodically – especially during heat waves – and irrigate again if the leaves are beginning to dry out.
5. Turn the Leaf Pile Occasionally

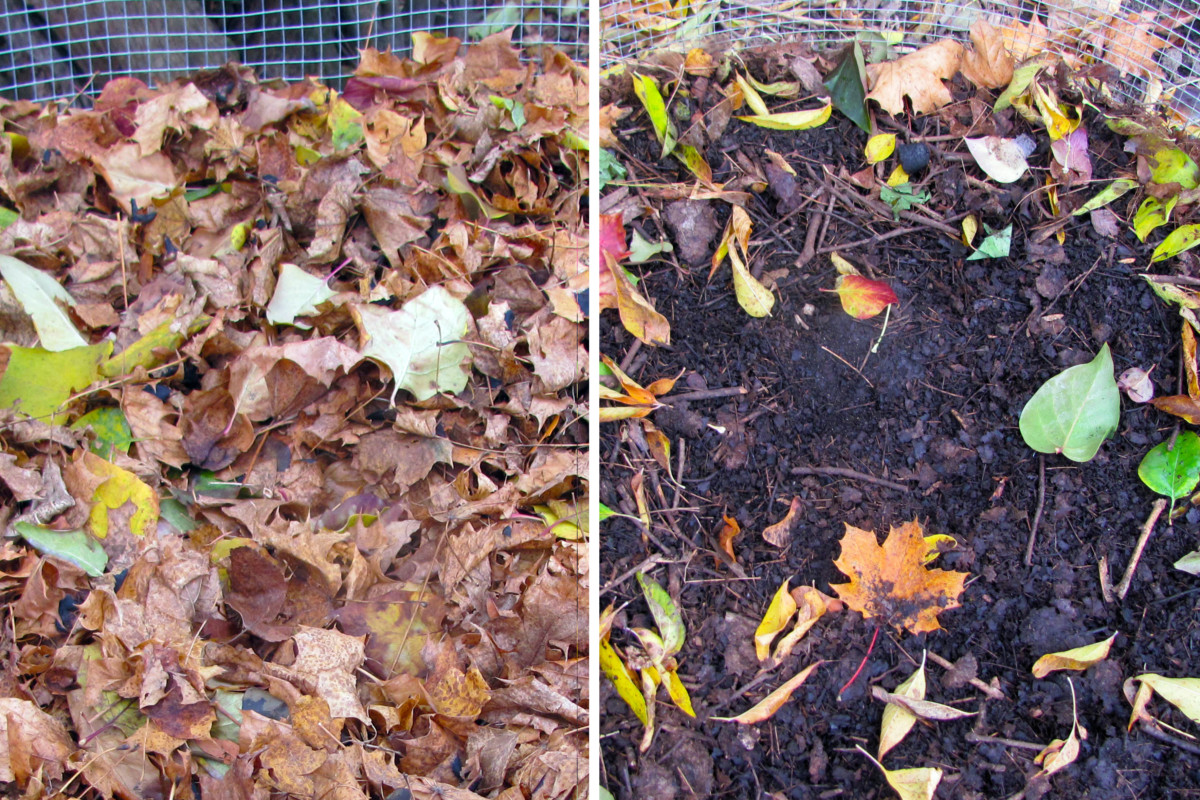
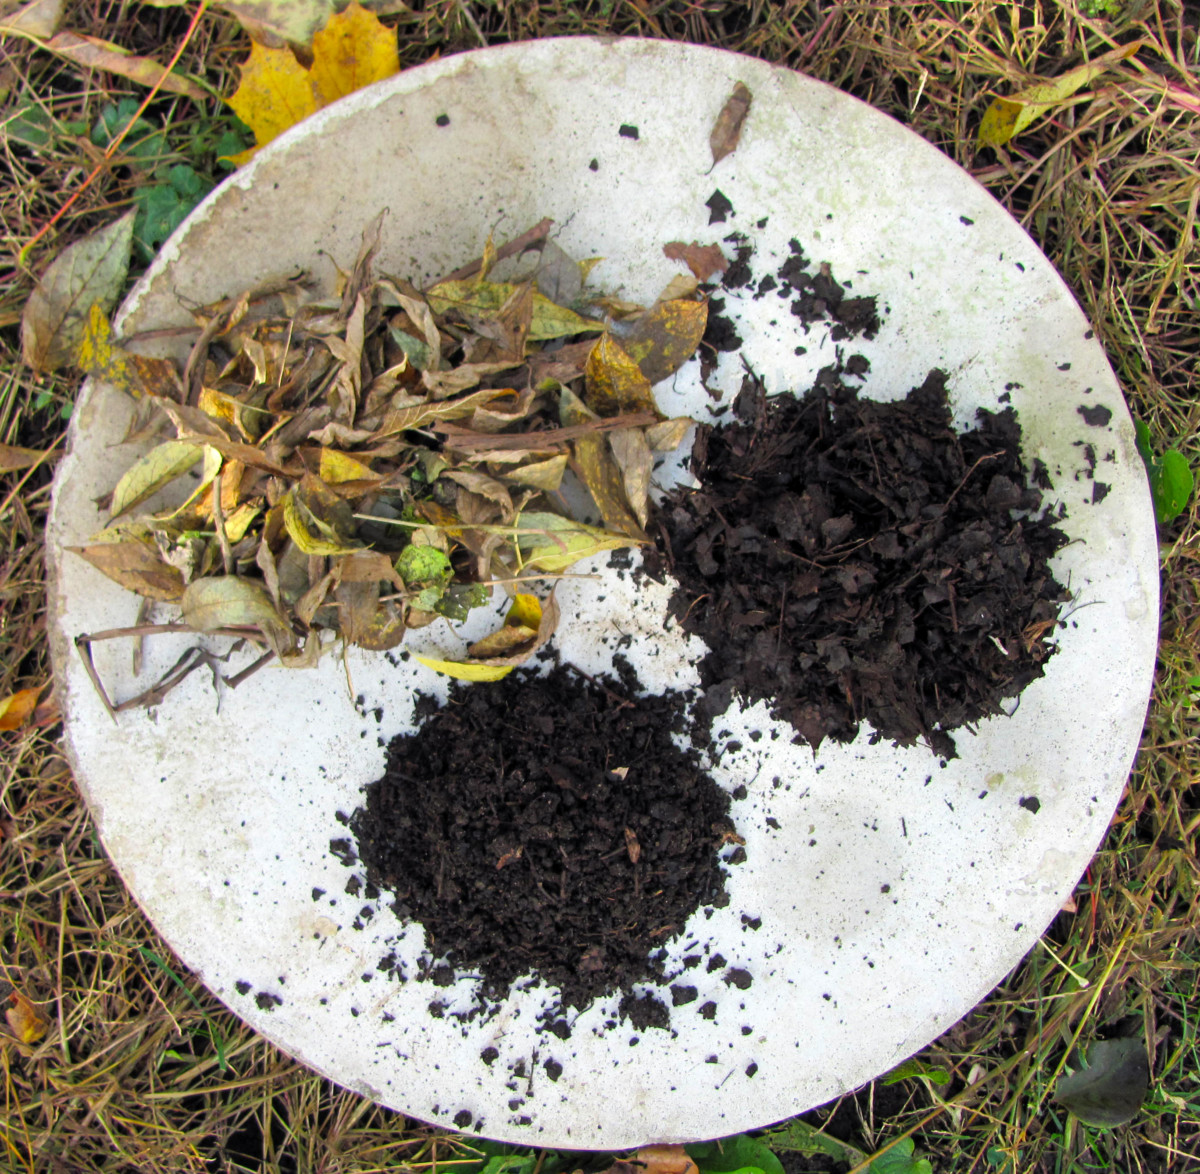
Over the next few months, the leaf mold pile will continually shrink in size. The leaves, once vibrant in color, will turn a solid dull brown.
Let nature do its thing, and you’ll have a pile of leaf mold by next autumn. In an unturned pile, the outermost layer will be partially decomposed, while the stuff in the center will be rich, dark, and crumbly.
Aerating the leaf pile will speed up the rate of decomposition by introducing more oxygen into the heap.
Turning it over will also create a more uniform consistency in the finished leaf mold, giving the semi-rotted exterior leaves a chance to break down too.
The frequency of turning the pile is totally up to you. The more times you stir it up, the better the airflow will be for the fungi and earthworms to spread and proliferate.
Read Next: How to Harvest Leaf Mold & 4 Ways to Use It

Get the famous Rural Sprout newsletter delivered to your inbox.
Including Sunday ramblings from our editor, Tracey, as well as “What’s Up Wednesday” our roundup of what’s in season and new article updates and alerts.