


I’m not typically one to tackle DIY projects. Anything that requires a power tool is largely out of my wheelhouse. That was until I found pictures online of a glass cabinet greenhouse I simply had to have.
I do have an outdoor greenhouse that gets plenty of use in my garden. However, no matter how much I prepare myself, I always find bundling up and heading outdoors in the cold of winter quite unpleasant. While I’ll do it for my plants, I much prefer sunny summer weather.
An indoor greenhouse not only eliminates that problem, but it also comes with a host of other benefits.

From healthy houseplants to quickly sprouting seedlings, you can use an indoor greenhouse for almost anything. On top of that, they make a wonderful indoor feature that adds something different to your interior design.
This DIY is incredibly easy to complete – trust me, if I can do it, you can too. But, it also packs in the benefits and aesthetic value. If you’re looking for a fun project, you can’t go wrong.
The Benefits of an Indoor Greenhouse
Protection from the cold

The most obvious benefit of an indoor greenhouse is cold protection. For those that live in zones with frosty fall and winter weather, some plants are simply out of reach for planting outdoors.
However, bring them indoors and the world of plant possibilities opens up. Tropical plants, seedlings, and even vegetables that are out of season all suddenly become options when you have the power of an indoor greenhouse at your disposal.
Yes, I suppose bringing the plants indoors adds some level of protection already. But even areas near windows or in front of an accidentally open door can quickly kill your plants in winter. A closed greenhouse keeps temperatures consistent and limits stress, giving you the ideal environment for growth.
Better environment for your plants
Temperature is not the only environmental factor that an indoor greenhouse can help with. Since the cabinet is closed and contained, you can recreate the perfect environment with very little effort.
Adjustable grow lights give you strict control over light levels, whether you are growing sun-dependent succulents or shady houseplants. Throw in a humidifier and any tropical beauties will be much happier than they would be exposed to the dry air. Pests also have limited access to the plants, preventing any unwanted bug damage.
For so-called ‘black thumbs’ who can’t seem to keep any plants alive, this control over plant care makes the process much simpler.
Saves money

This benefit is reserved for those who use their indoor greenhouse to grow veggies, fruits and herbs. With plenty of space for produce, you’ll be saving money on groceries week after week by growing your own food.
You also avoid trips to the grocery store for any fresh items, with your movement limited to wherever you decide to place the greenhouse (as a tip, leave it in the kitchen for the easiest access possible).
This option is also great for those who really want to grow their own produce, but simply don’t have the outdoor space. This leads to our next benefit…
Dedicated space to garden

An indoor greenhouse marks out a space in your home exclusively reserved for plants. Rather than having houseplants dotted around various rooms – leading you to forget about a few of them – an indoor greenhouse makes easy access and care a priority.
For those with small gardens or perhaps no outdoor garden space at all, an indoor greenhouse will make a world of difference. Depending on the size of your cabinet, you can grow almost anything without needing a single square foot of outdoor space. From microgreens to cacti and more, the options are endless.
Interesting décor feature

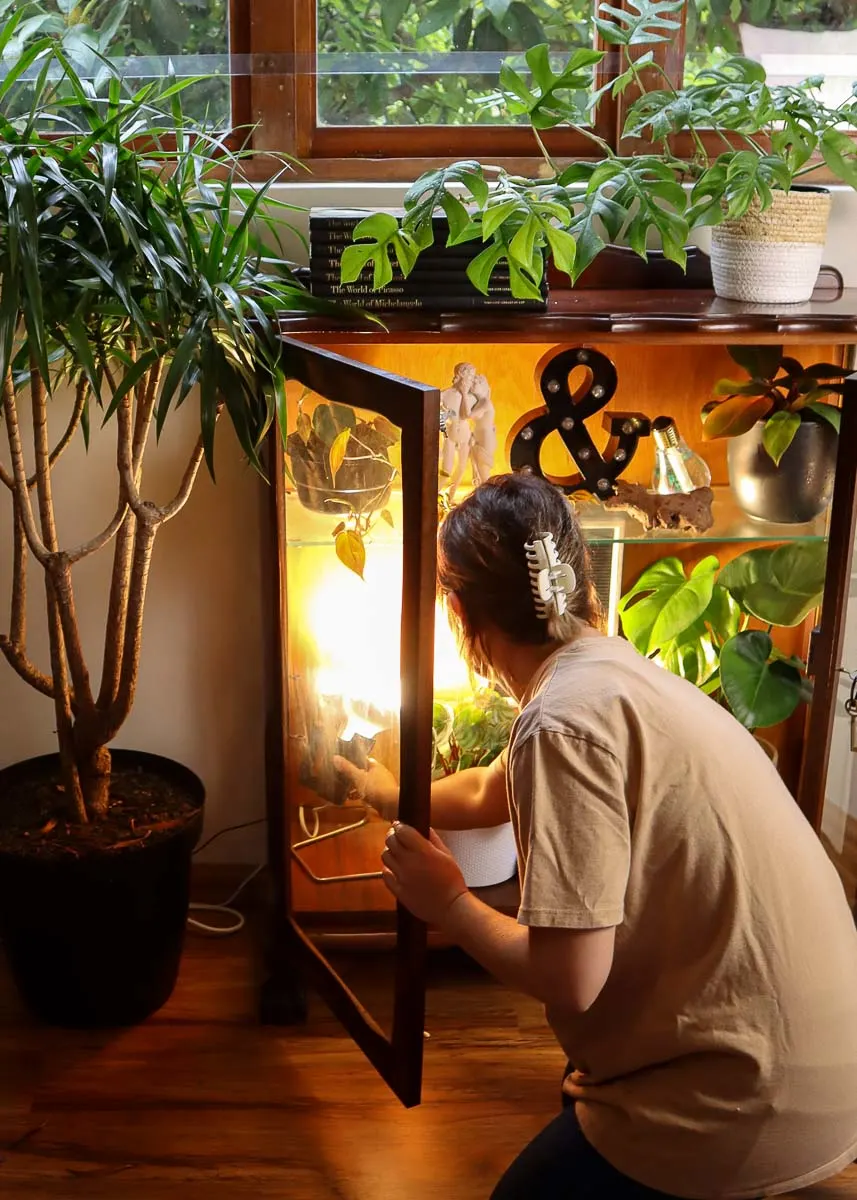
And lastly, we can’t ignore the aesthetic value of a bright and thriving indoor greenhouse. This is by far my favorite benefit and the reason I chose to tackle this DIY project in the first place.
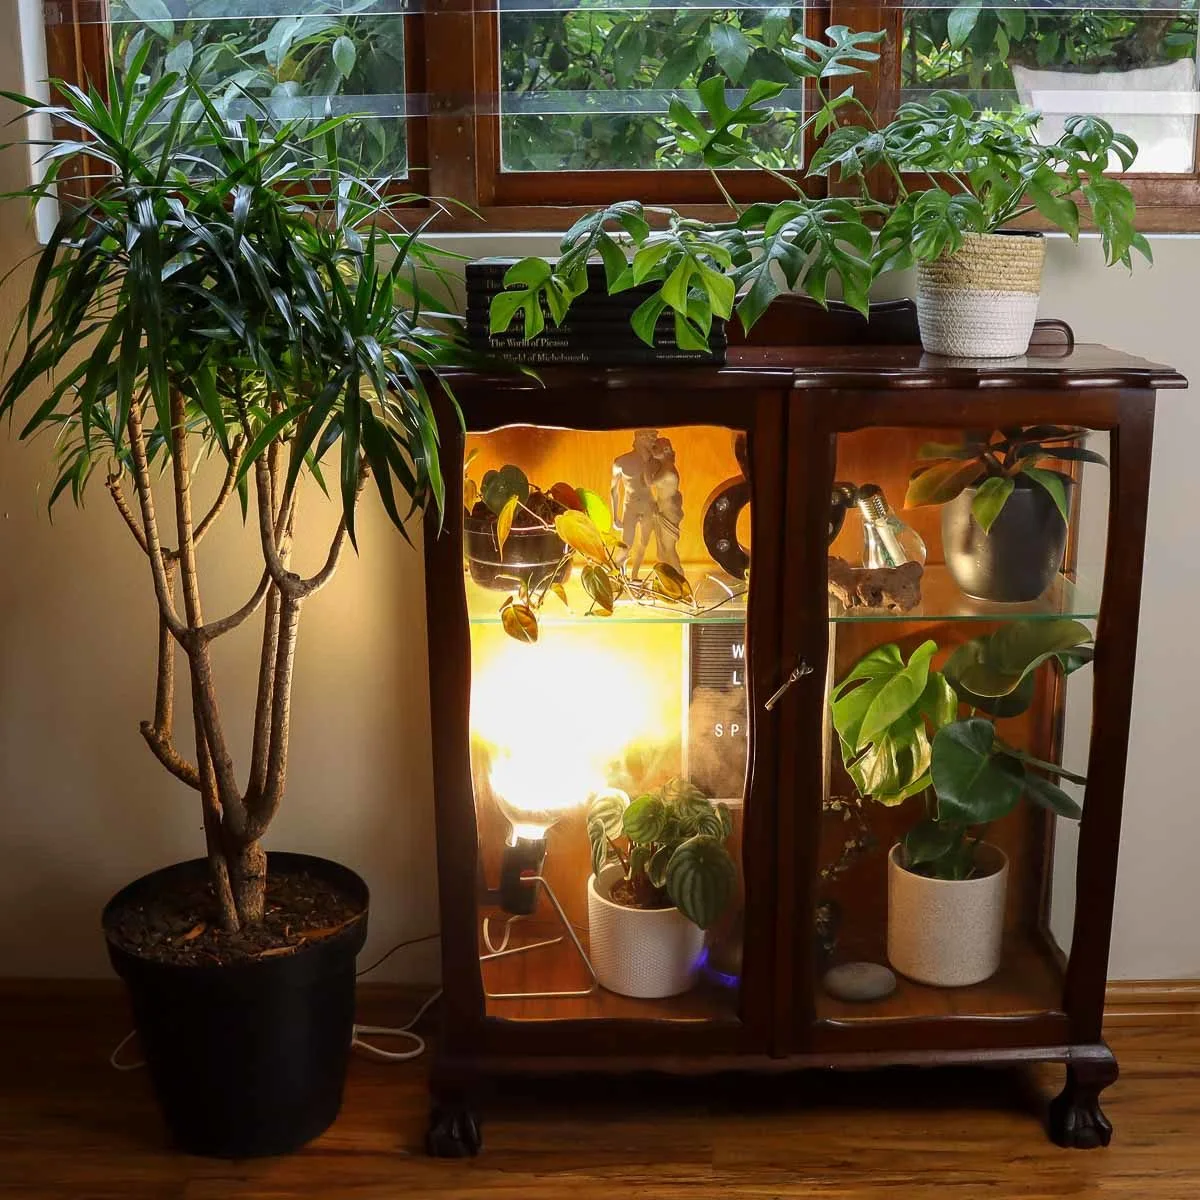
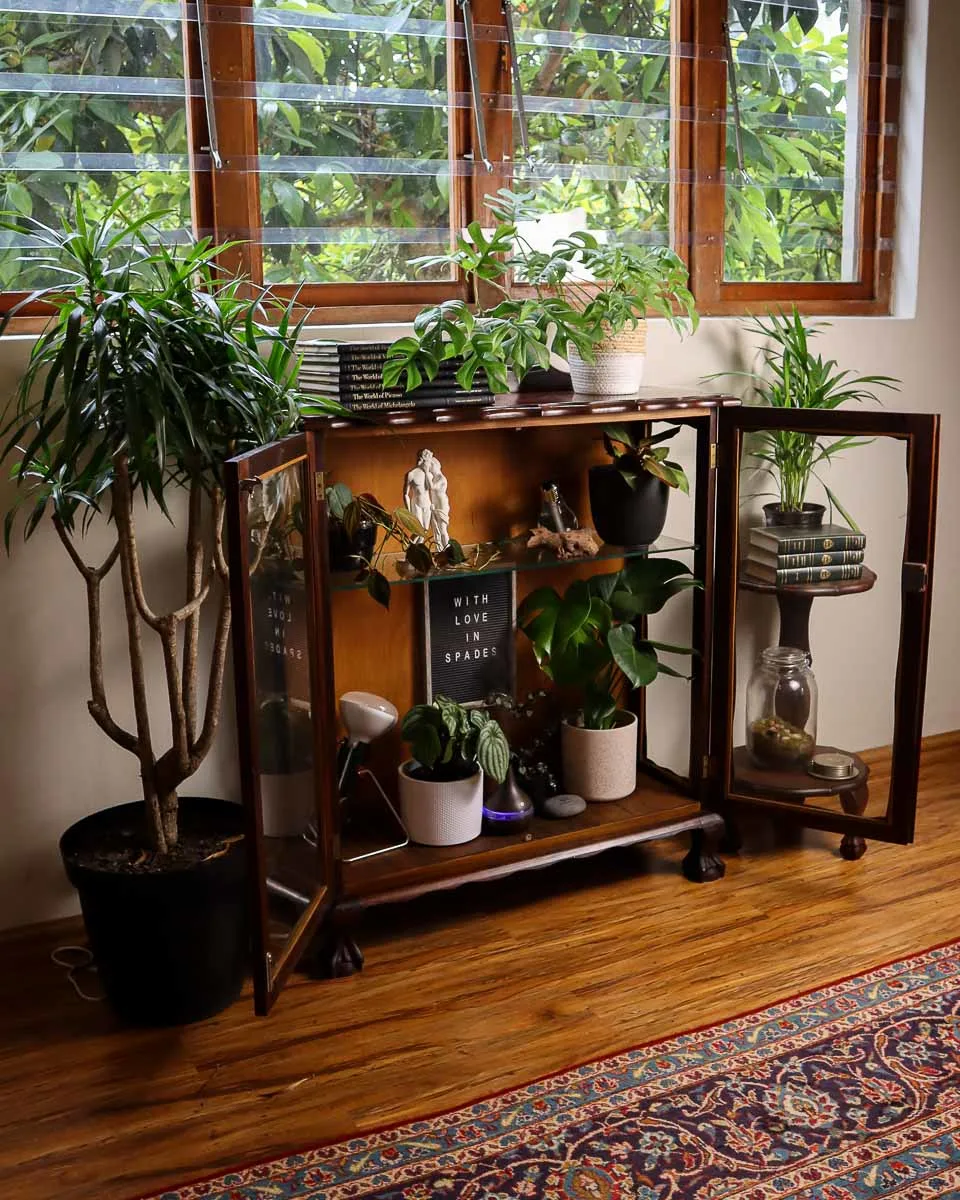
With over 50 houseplants under my care, I’m always looking for new and interesting ways to display them. This cabinet was specially designed for placement in low-light areas of my home where houseplants struggle to grow without extra lighting support. It fits seamlessly into my interior design and makes the plants the highlight of the room in the process.
To maximize this benefit, make sure you choose a good-looking, high-quality cabinet that fits with the rest of your interior. There are certainly cheaper options that don’t require much adjusting, but they may not look as good as a DIY cabinet perfectly tailored to the spot it’s in.
How To Build A DIY Indoor Greenhouse
Now that you’re convinced, it’s time to get into the details of this DIY project.
Keep in mind, there are hundreds of ways to put an indoor greenhouse together. This is how I built mine, with a focus on houseplant growth and design, but you may find other options that work better for you based on your needs and what you want to grow.
Step 1: Find a cabinet
The first task was to find a cabinet to turn into the greenhouse. There are a number of ready-made indoor greenhouse options available to buy online, but I wanted one that would fit with the rest of my furniture.
Collected over many years, my house is filled with vintage second-hand furniture (mostly solid wood) so that is the goal I started with. Conveniently, thrifted furniture is also the cheaper option if you can find what you’re looking for.
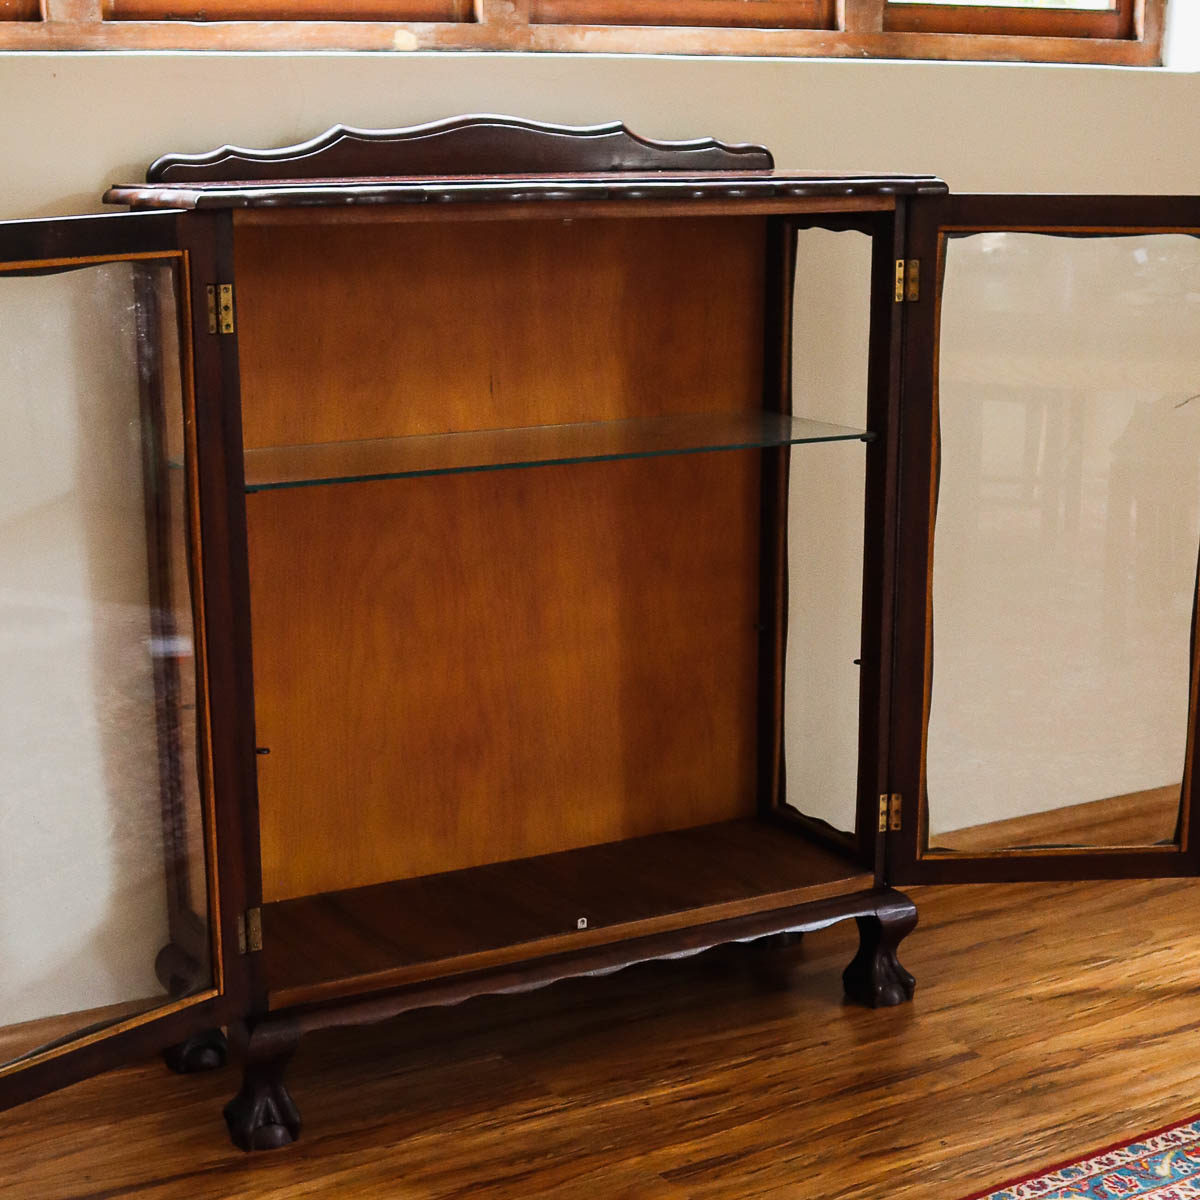
The only real requirement for an indoor greenhouse cabinet is a glass front. You don’t want your plants locked away in a dark cabinet without being able to see them. Other than that, materials, colors and shapes are all up to your personal preference.
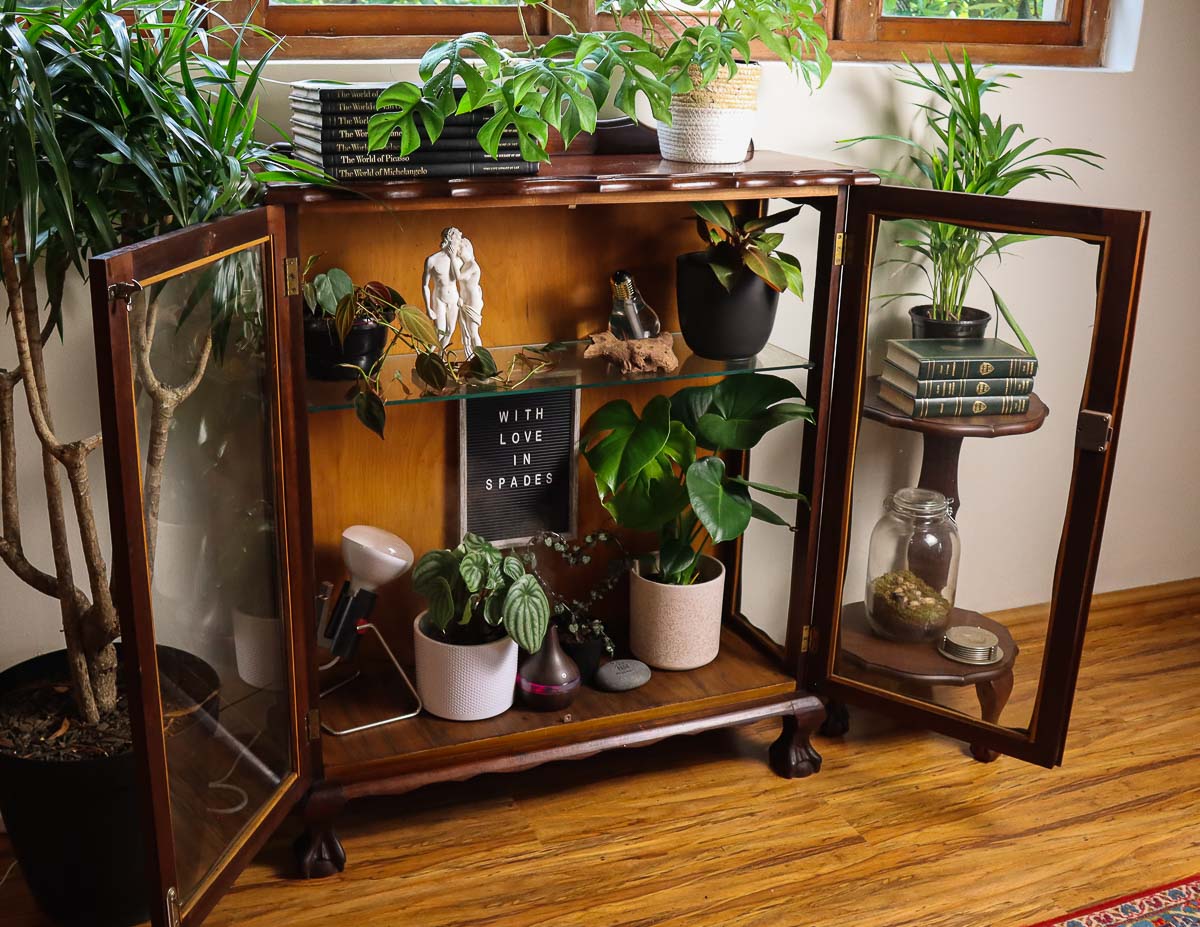
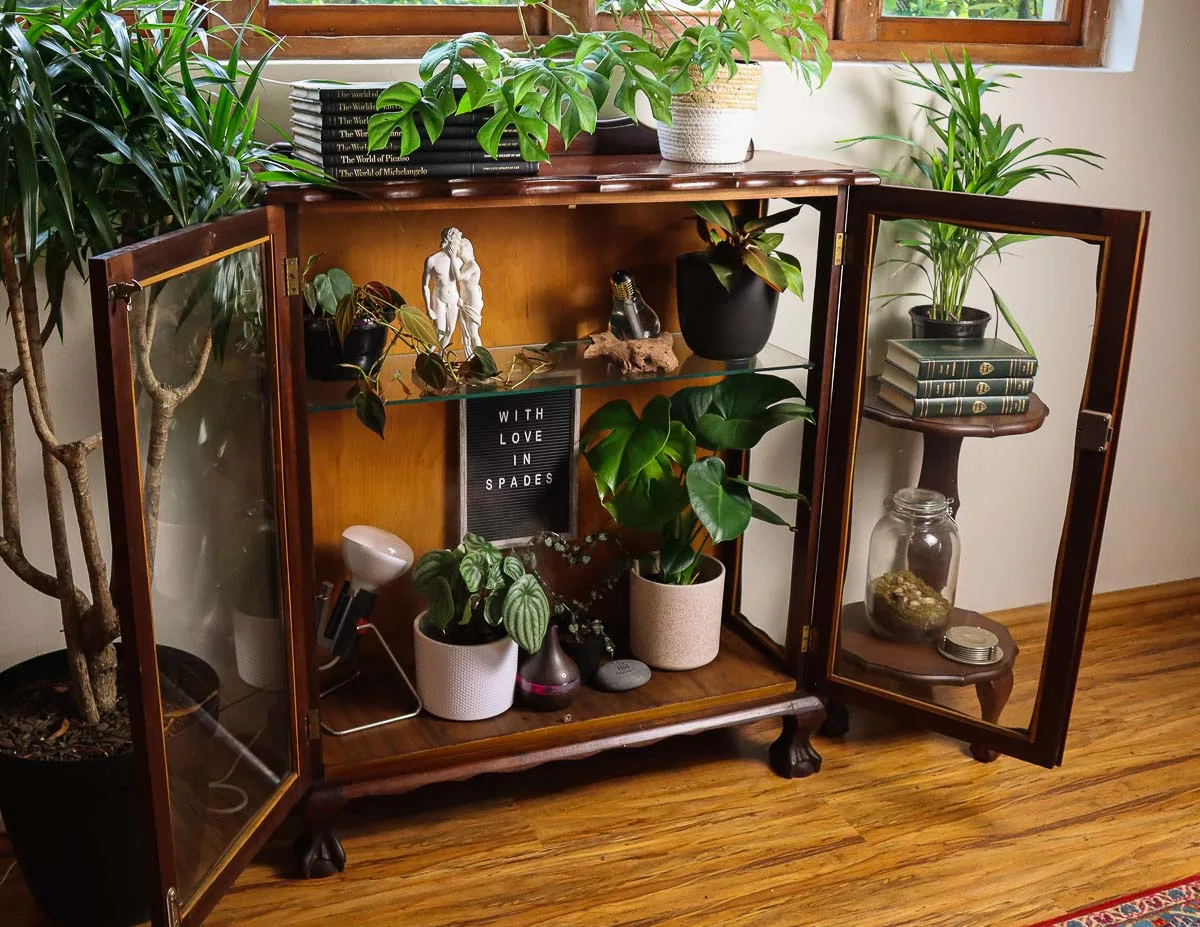
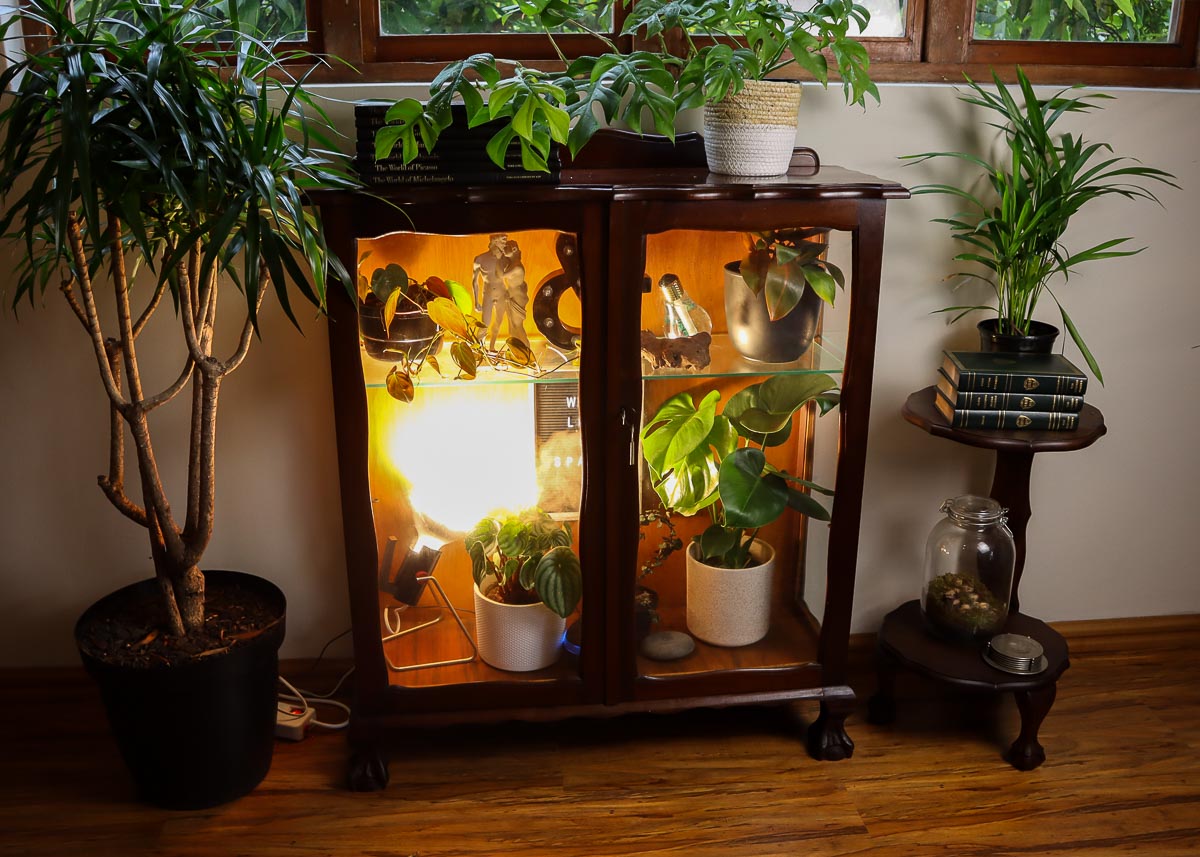
After a week or two of scrolling online second-hand marketplaces, I found this solid wood cabinet listed on Facebook Marketplace for $45. I immediately knew it was the one and jumped at the listing.
While the cabinet was a bargain, I unfortunately didn’t save much money because I impulse bought a chair and side table set at the same time. Luckily they all match so I have a small excuse (this time).
Thrifting is always recommended for a DIY project like this. However, if you can’t manage to find the right cabinet after weeks of searching, you can try these alternative options:
Step 2: Gather your materials


Next, you’ll need to look for all the other technical items to put in your cabinet. This will depend on which plants you want to grow and how decorative you want your cabinet to be.
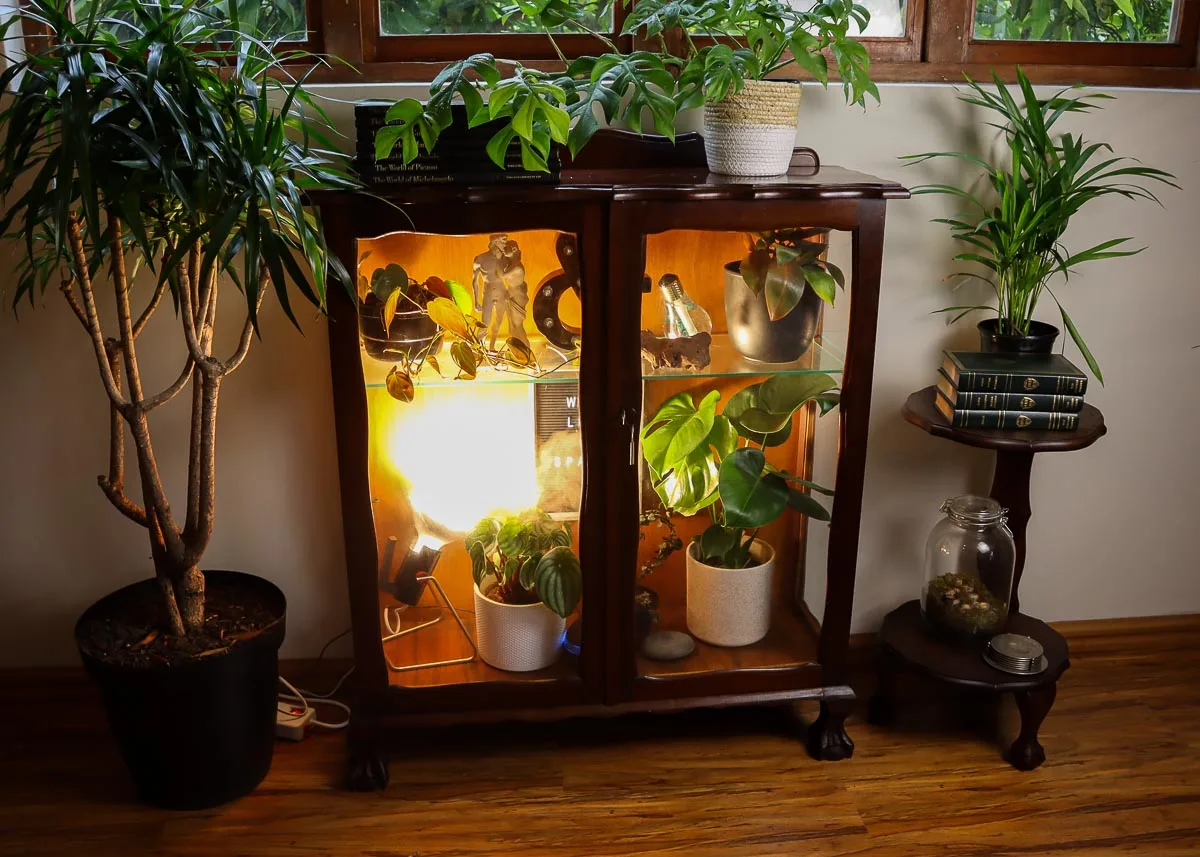
The first thing to look for is a grow light. If your cabinet is in a bright area and you’re only filling it with low-light-friendly houseplants, you can skip this step. However, if you want to grow anything else, a grow light in a dark cabinet is essential.
This not only maintains strong growth in whatever plants you choose to grow, but also makes the cabinet look good too.
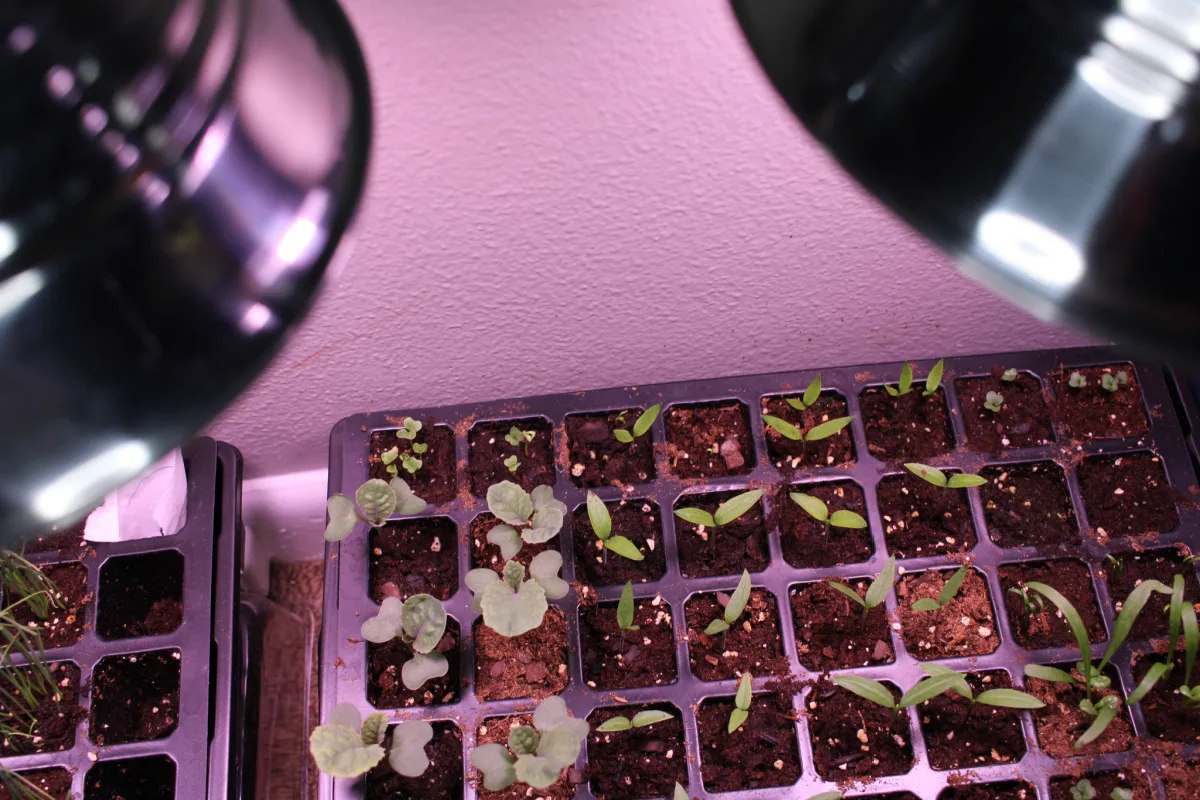
Opt for adjustable grow lights that can be suited to a range of plants. Houseplants won’t need much extra light, but seedlings or veg certainly will, and succulents and cacti require even more.
I used an old second-hand grow light from a neighbor. But, due to the heat it produces, I angled it away from my houseplants and will likely only keep it on for an hour or two per day.
Related Reading: LED Grow Lights: Everything You Need To Know
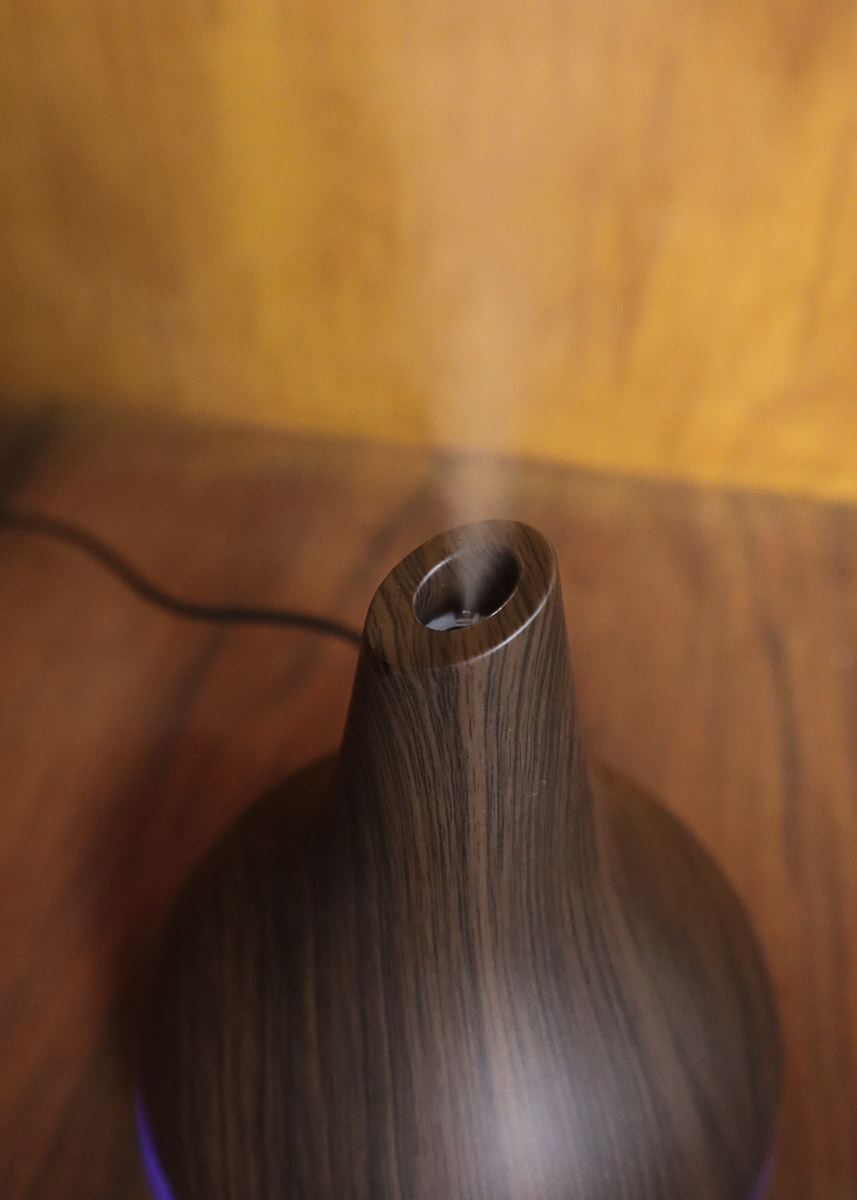

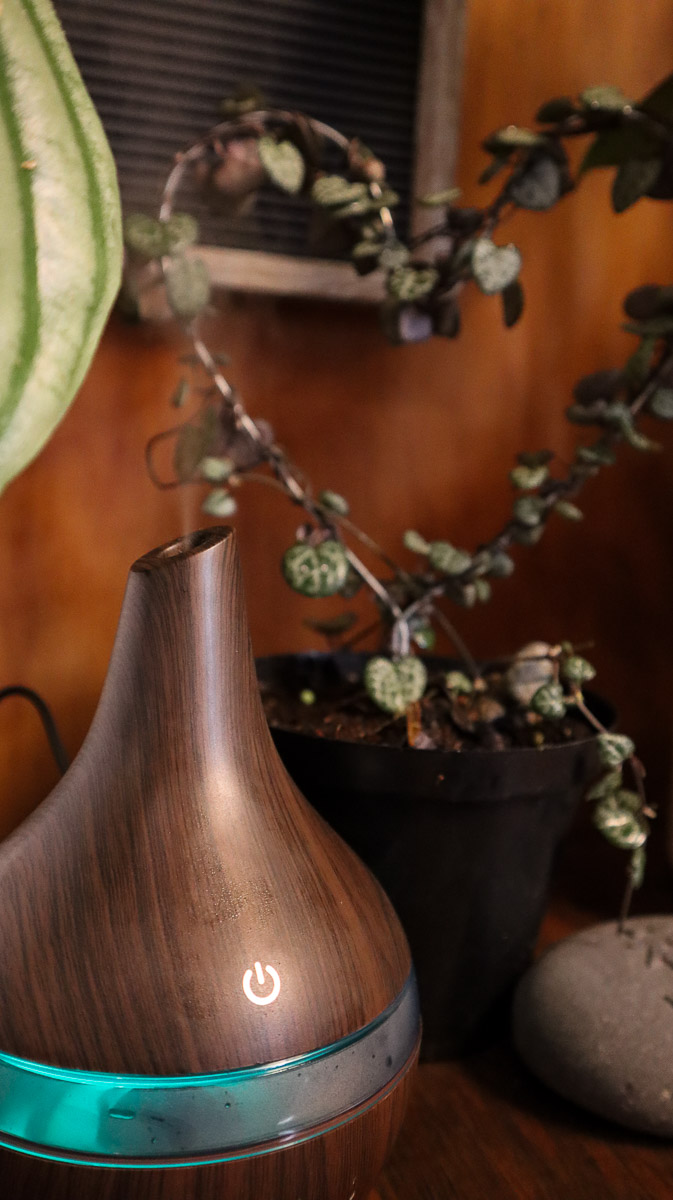
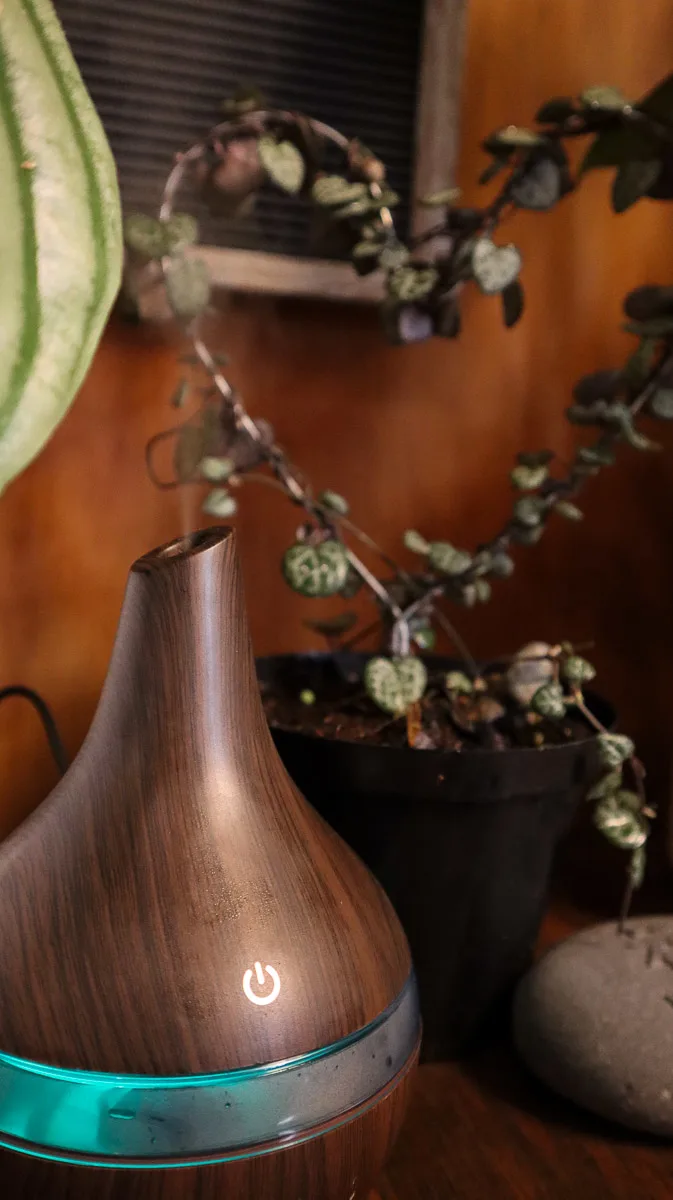
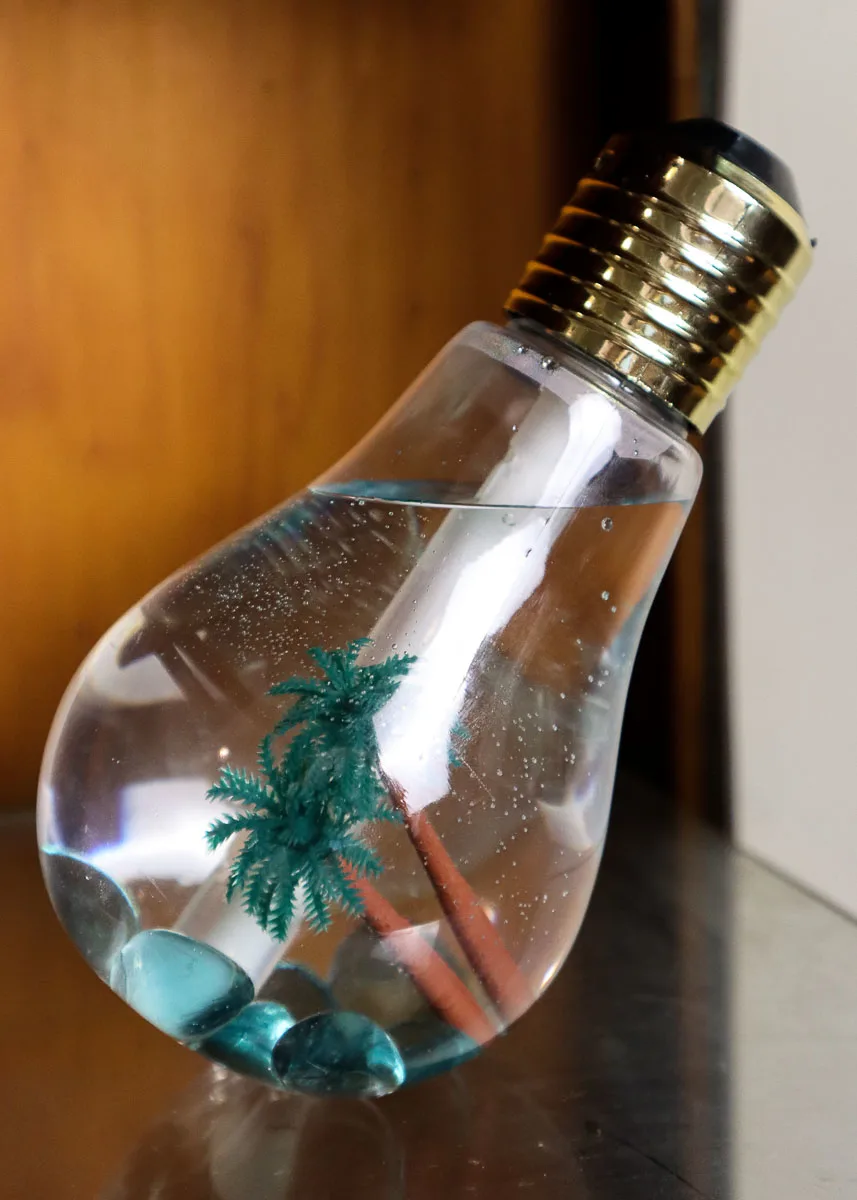
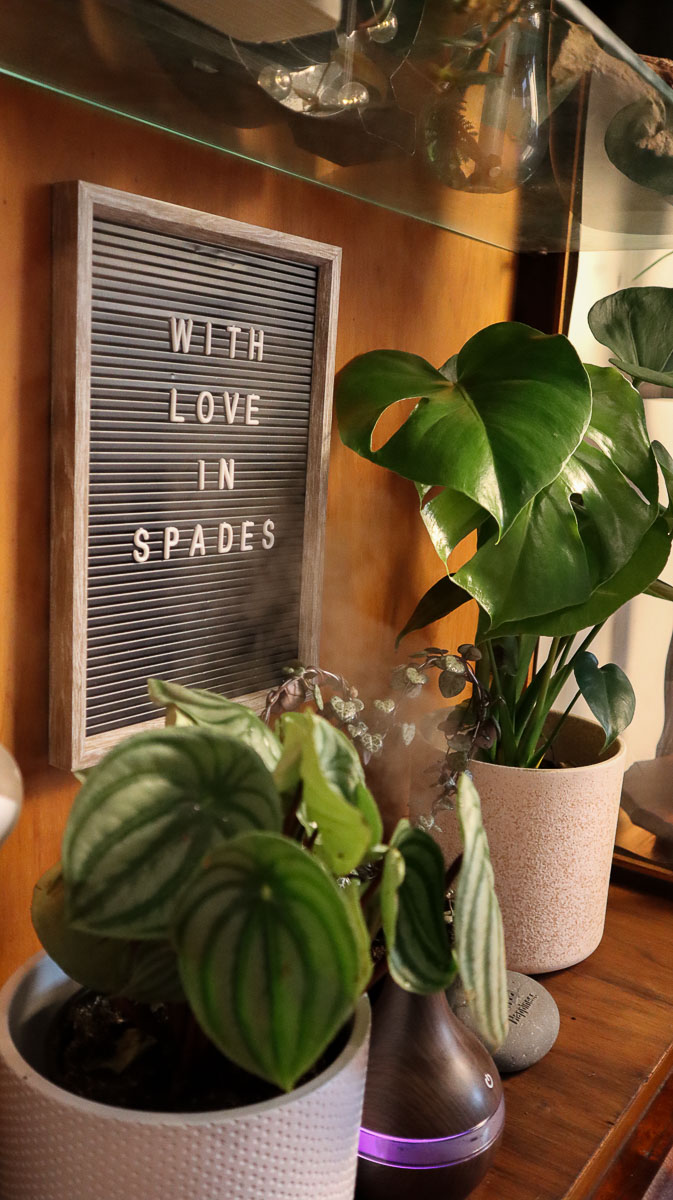
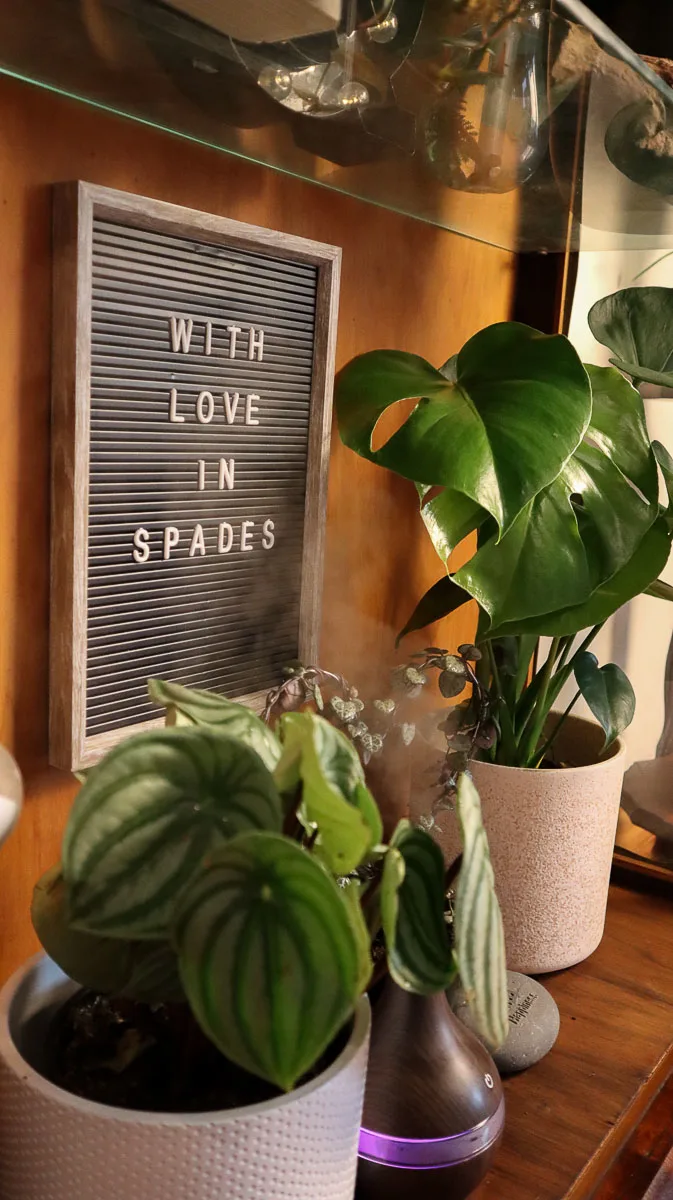
The next item on my shopping list was a humidifier. Although the humidity is already relatively high where I live, I wanted to up the humidity levels as much as possible to replicate the jungle habitat of my tropical houseplants.
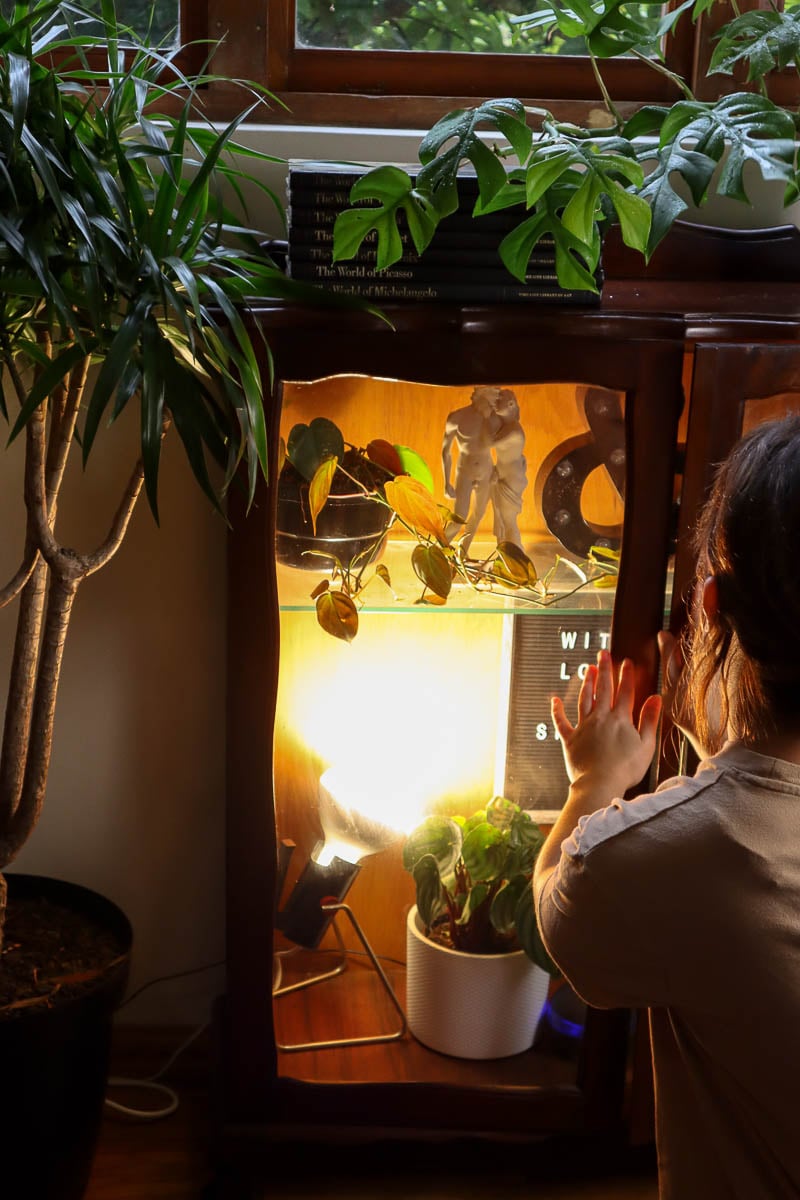
I found two cute humidifiers online, one for the top shelf and one for the bottom, to really fill the space. One is shaped like a lightbulb, while the other has a wood finish matching the interior of the cabinet. While they aren’t adjustable, they also weren’t expensive and add a décor element to the cabinet too.

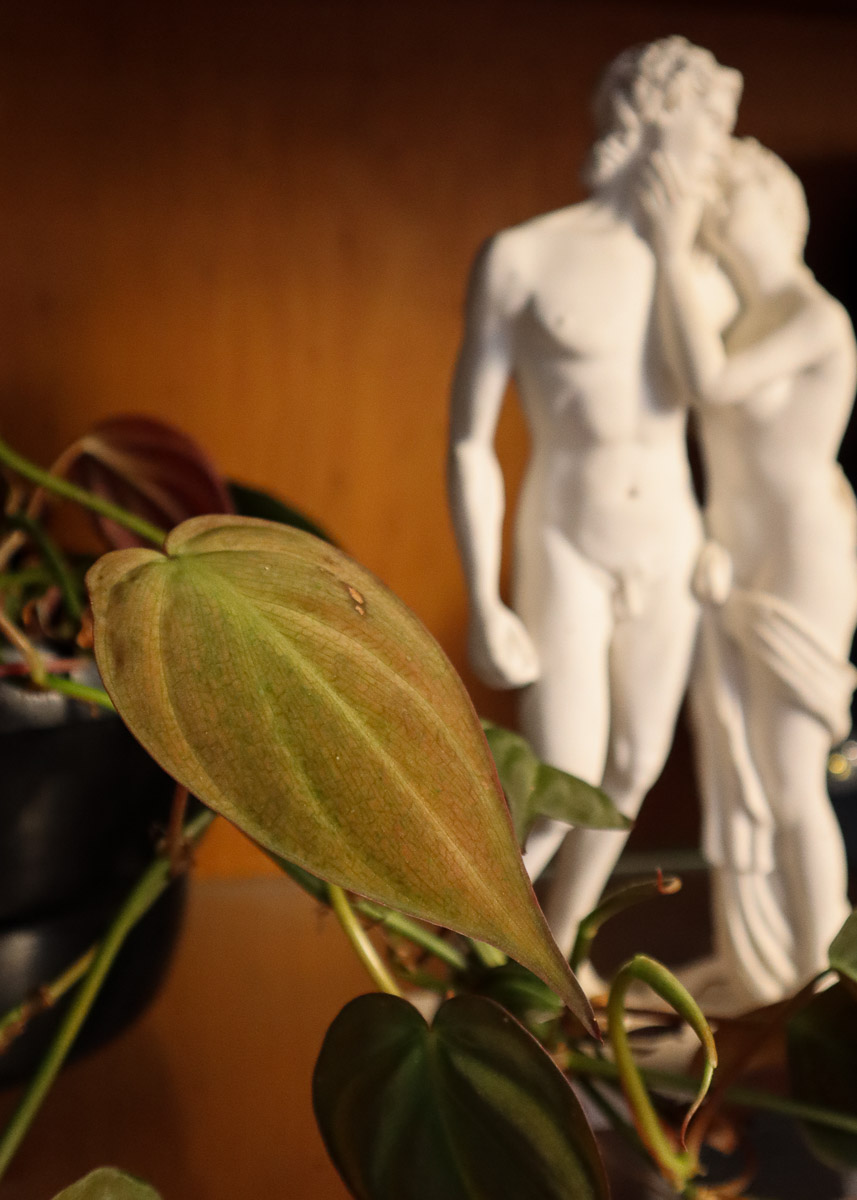
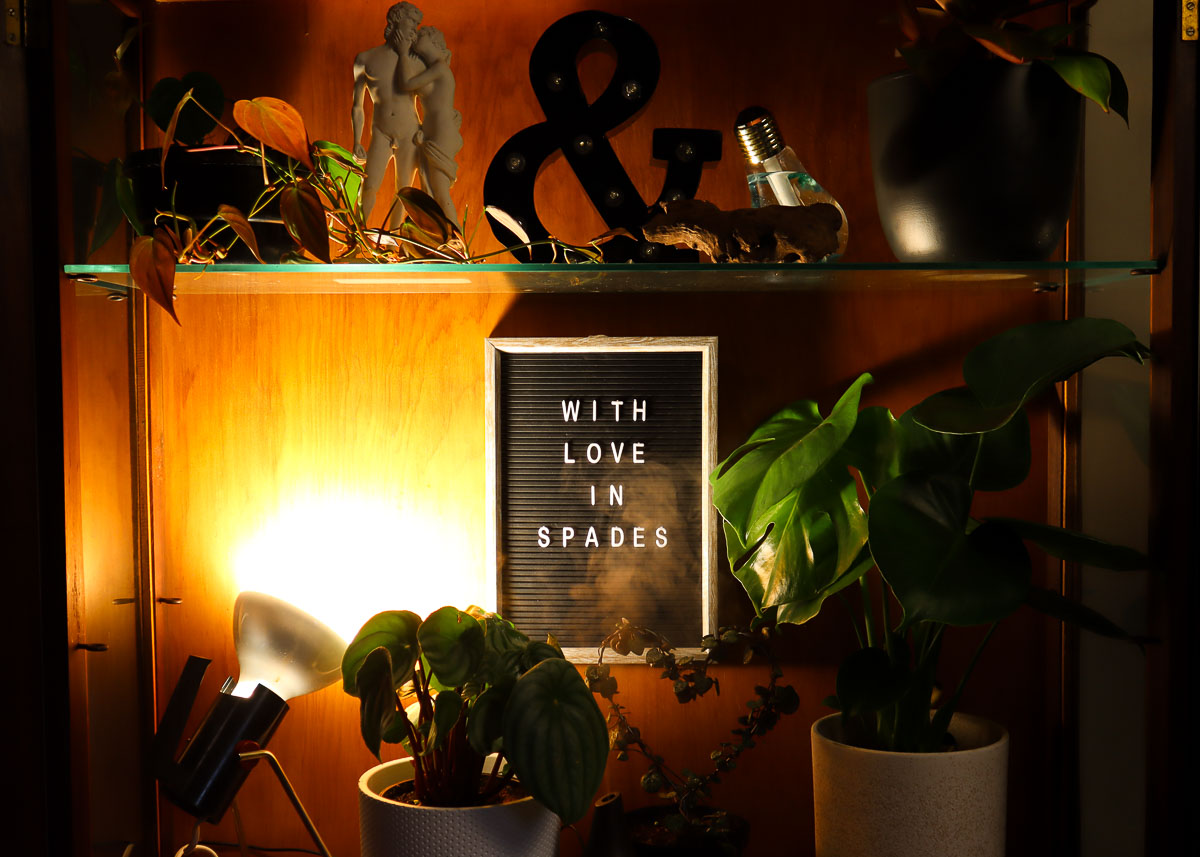
You can also add a few decorative objects, as long as they can withstand high humidity levels. I’ve chosen a statue I got in Italy a few years ago – perfect for the romantic, roman-inspired garden trend gaining popularity at the moment – a letterboard for my terrible puns, and a light-up letter to add to the moody atmosphere.
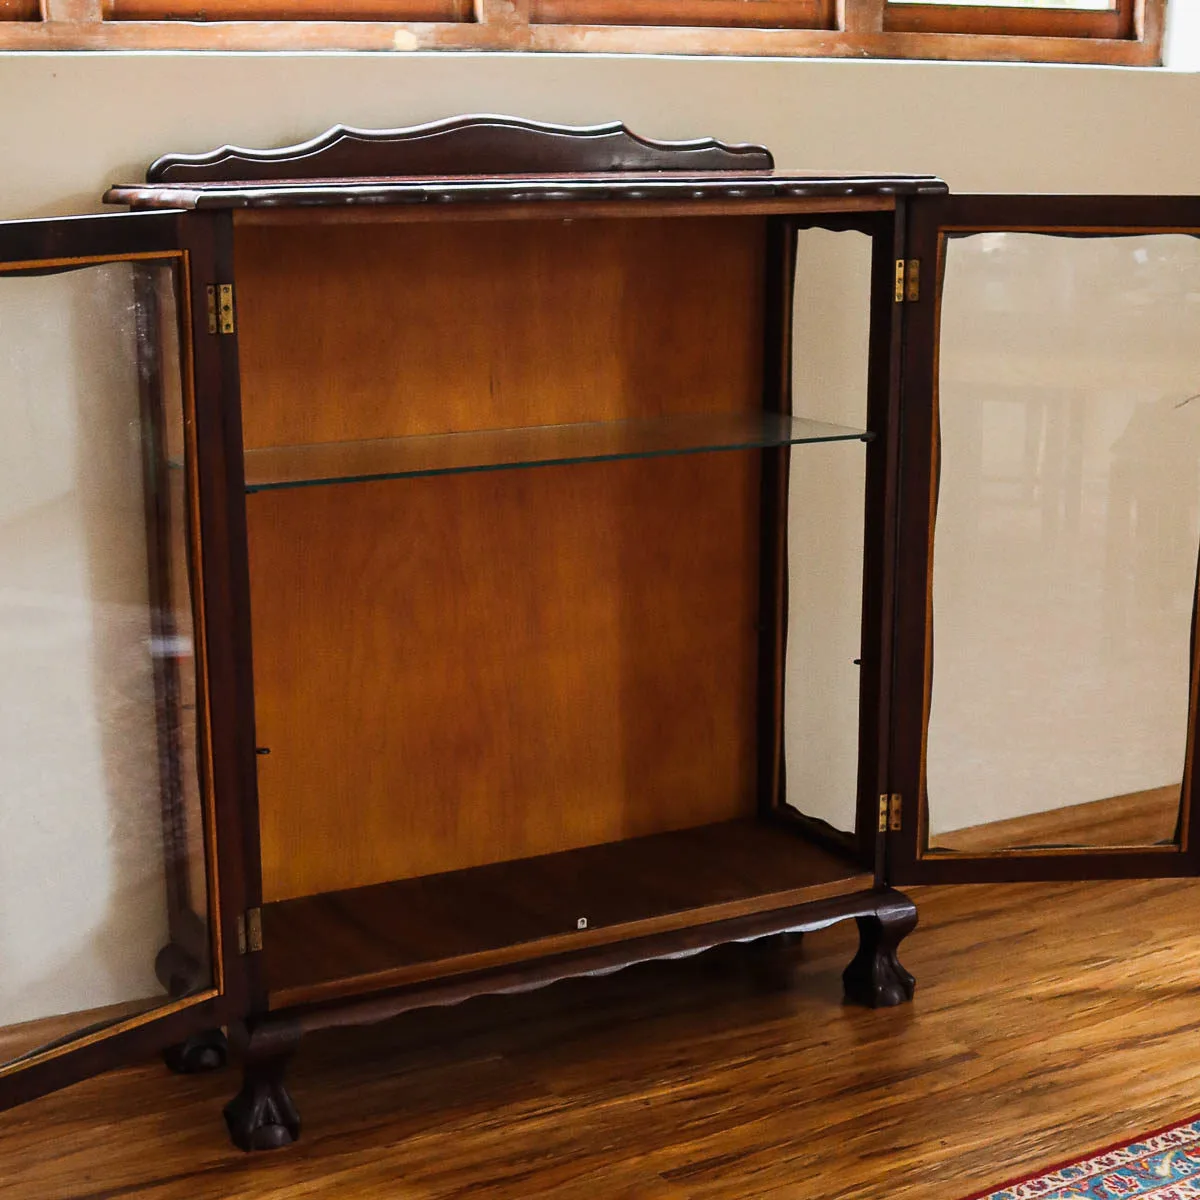
Step 3: Varnish and seal
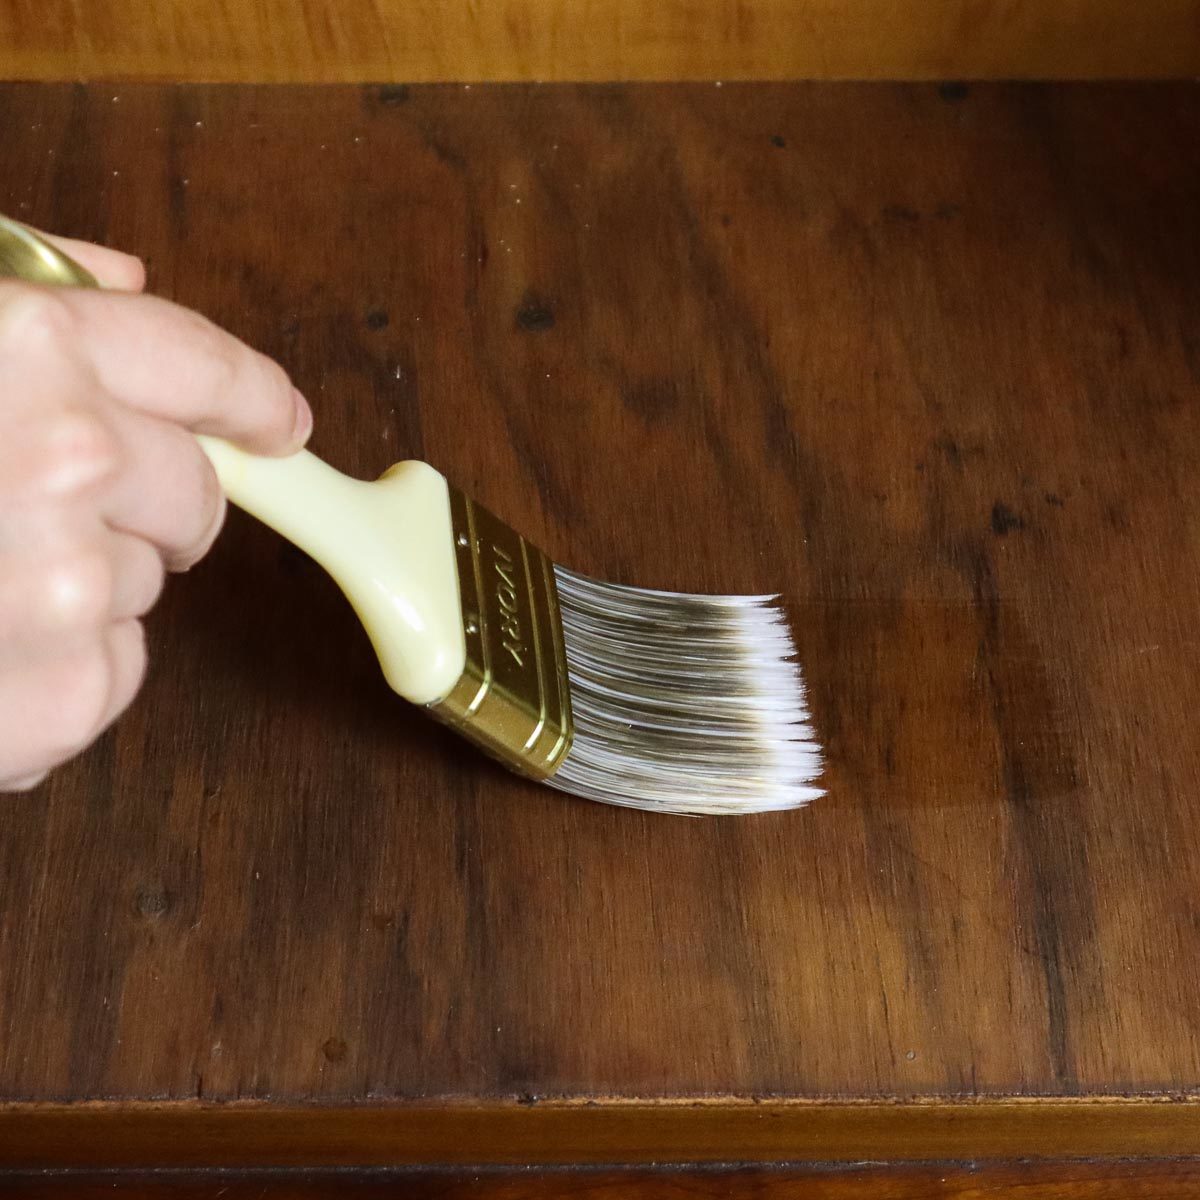

This optional step will depend on the type of cabinet you have and the materials it is made out of. Wooden cabinets may need sanding and varnishing before use to make sure they look tidy and will last for years to come.
The interiors may also require sealing due to the high levels of humidity that may build up inside. If the shelves are not also made of glass, you’ll need to consider sealing any wooden pieces inside that may get droplets of water on them when watering your plants.
Ultimately, the amount of prep you do before placing your plants is up to you and the materials you’ve chosen. Even though it can be tedious, this step can help prevent the deterioration of your indoor greenhouse down the line.
Step 4: Make space for cables

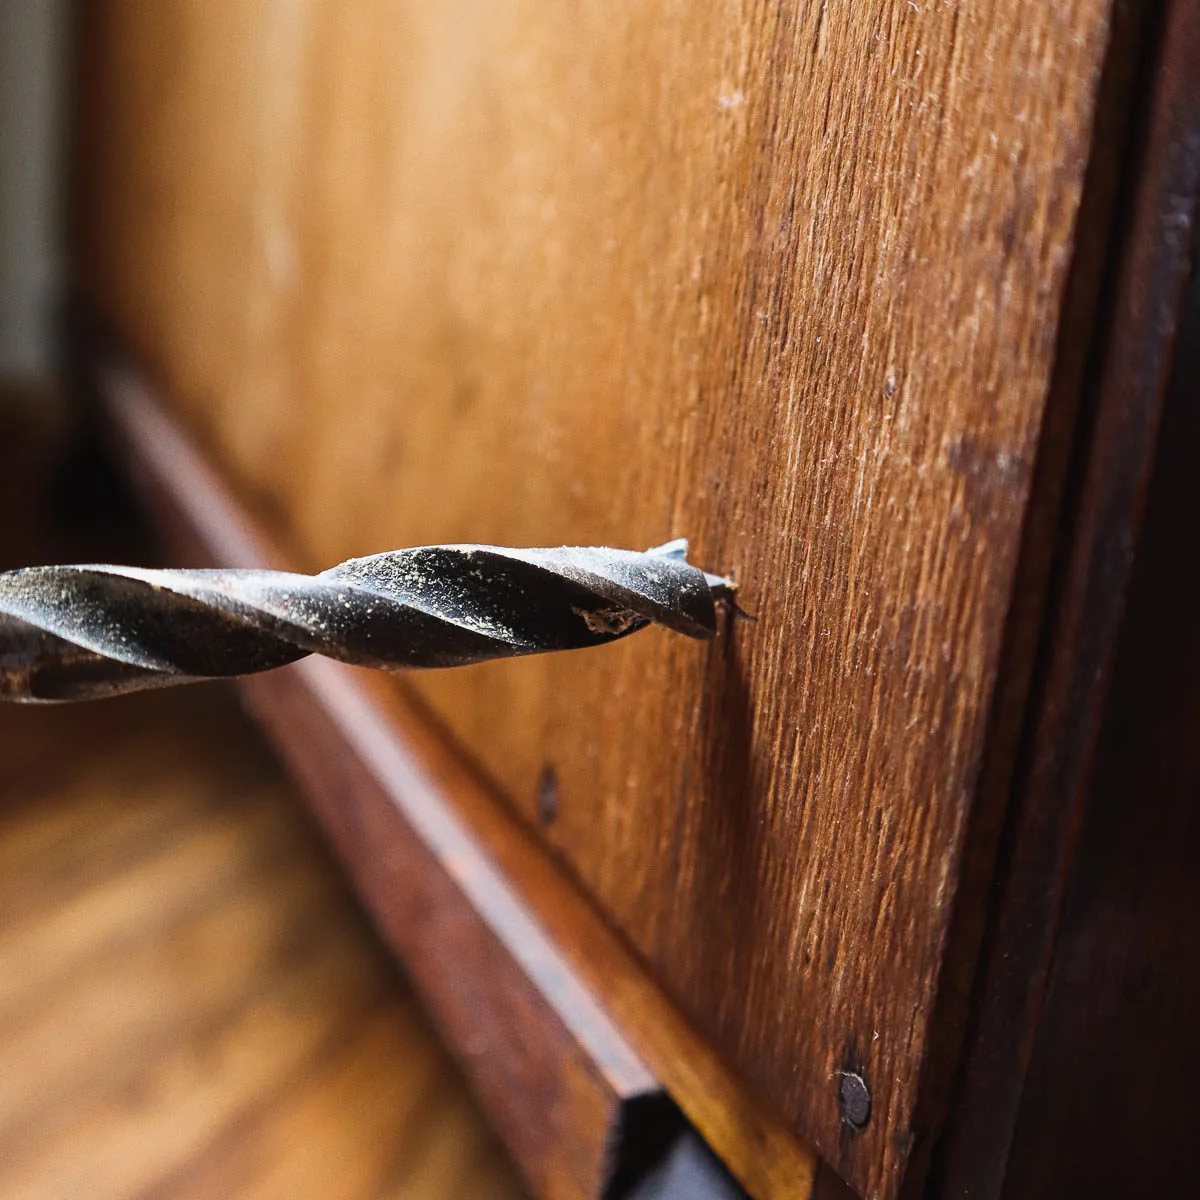
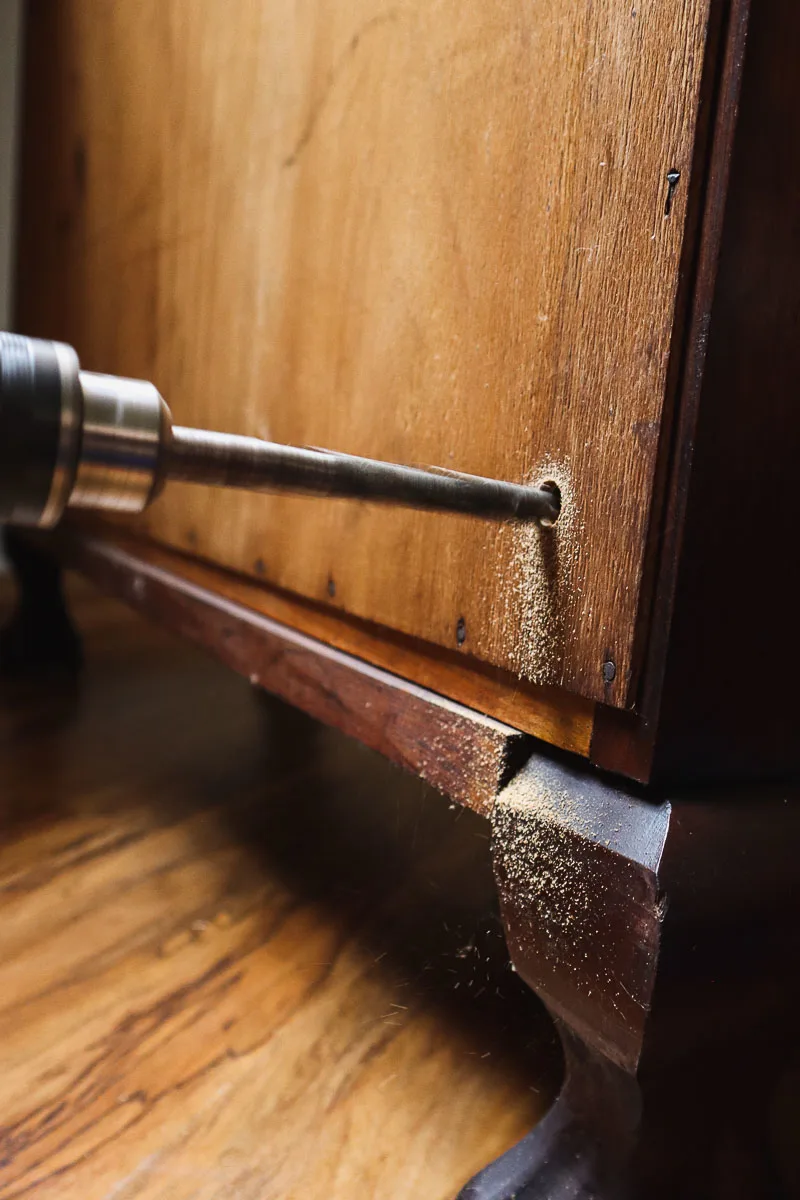
Grow lights and humidifiers, unless run on batteries, will likely need to be plugged in somewhere permanent in order to work. Considering the cabinet remains closed most of the time (and that you don’t want unsightly cables hanging out of slightly open doors), you’ll need to drill a hole to run the cables to the nearest plug.
I drilled a hole in the back corner of the cabinet, as out of sight as possible, with enough space to fit three cables. The ends of the cables for the humidifiers were quite thin so getting them through the gap wasn’t an issue.
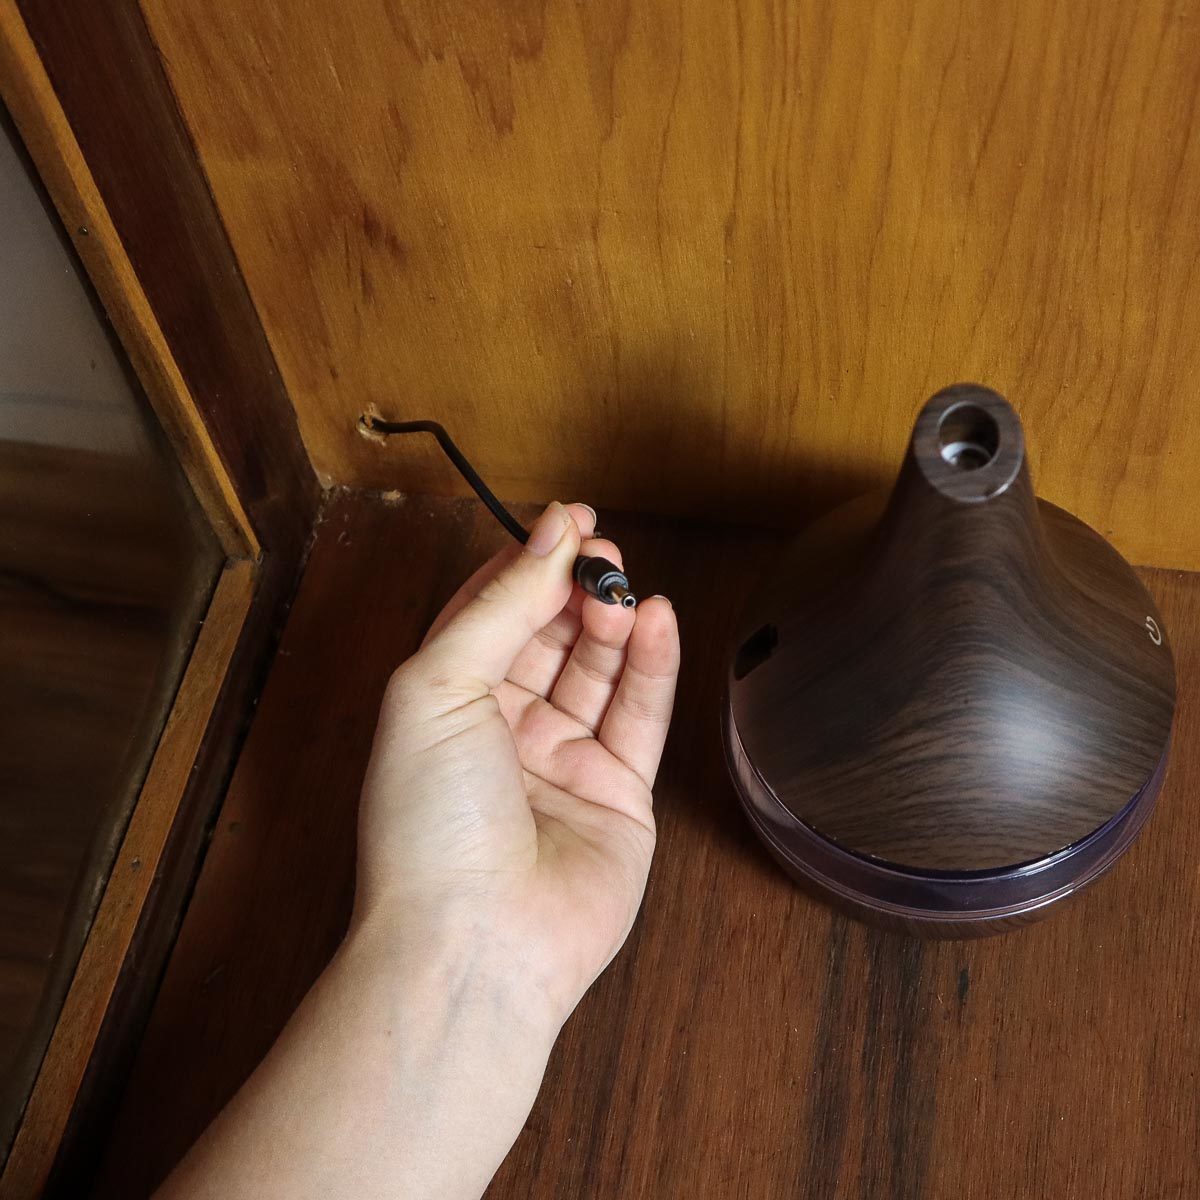

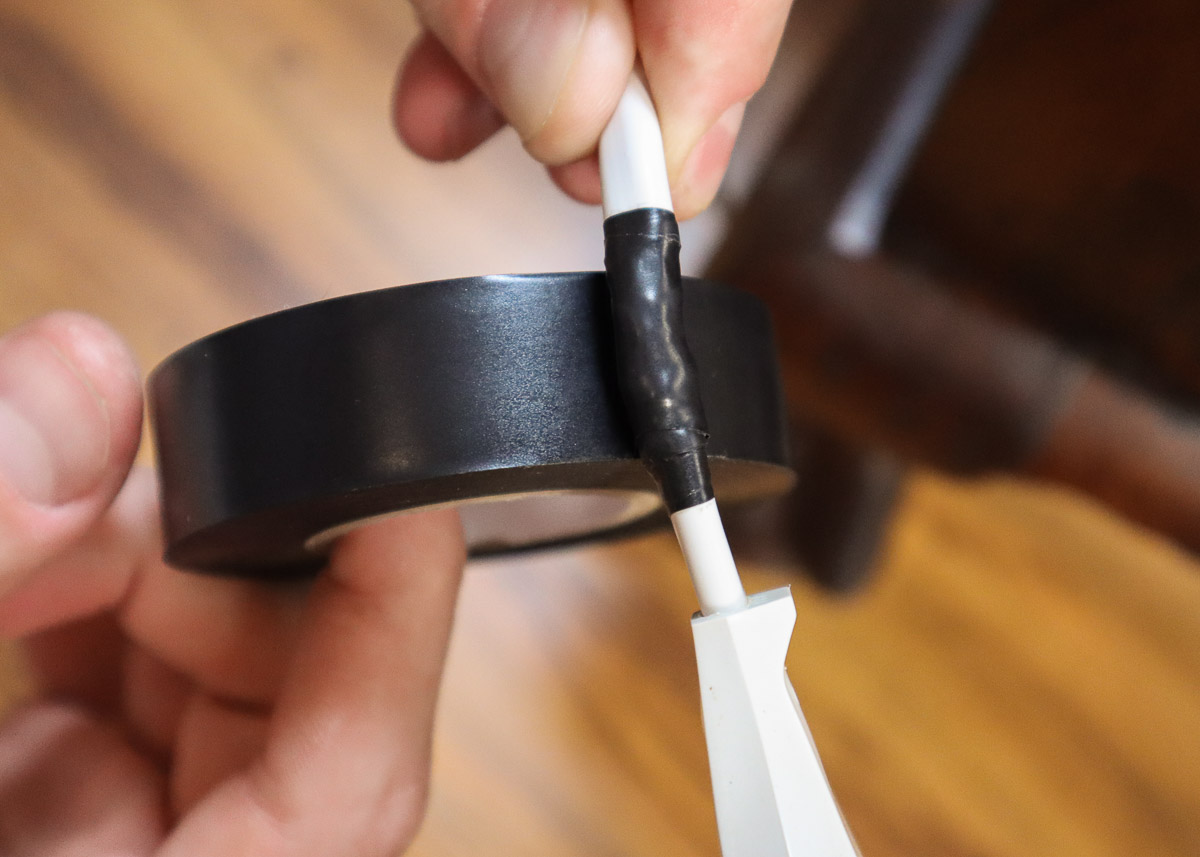
However, I did need to cut and rewire the plug for the grow light to avoid drilling a massive hole in the back of the cabinet.
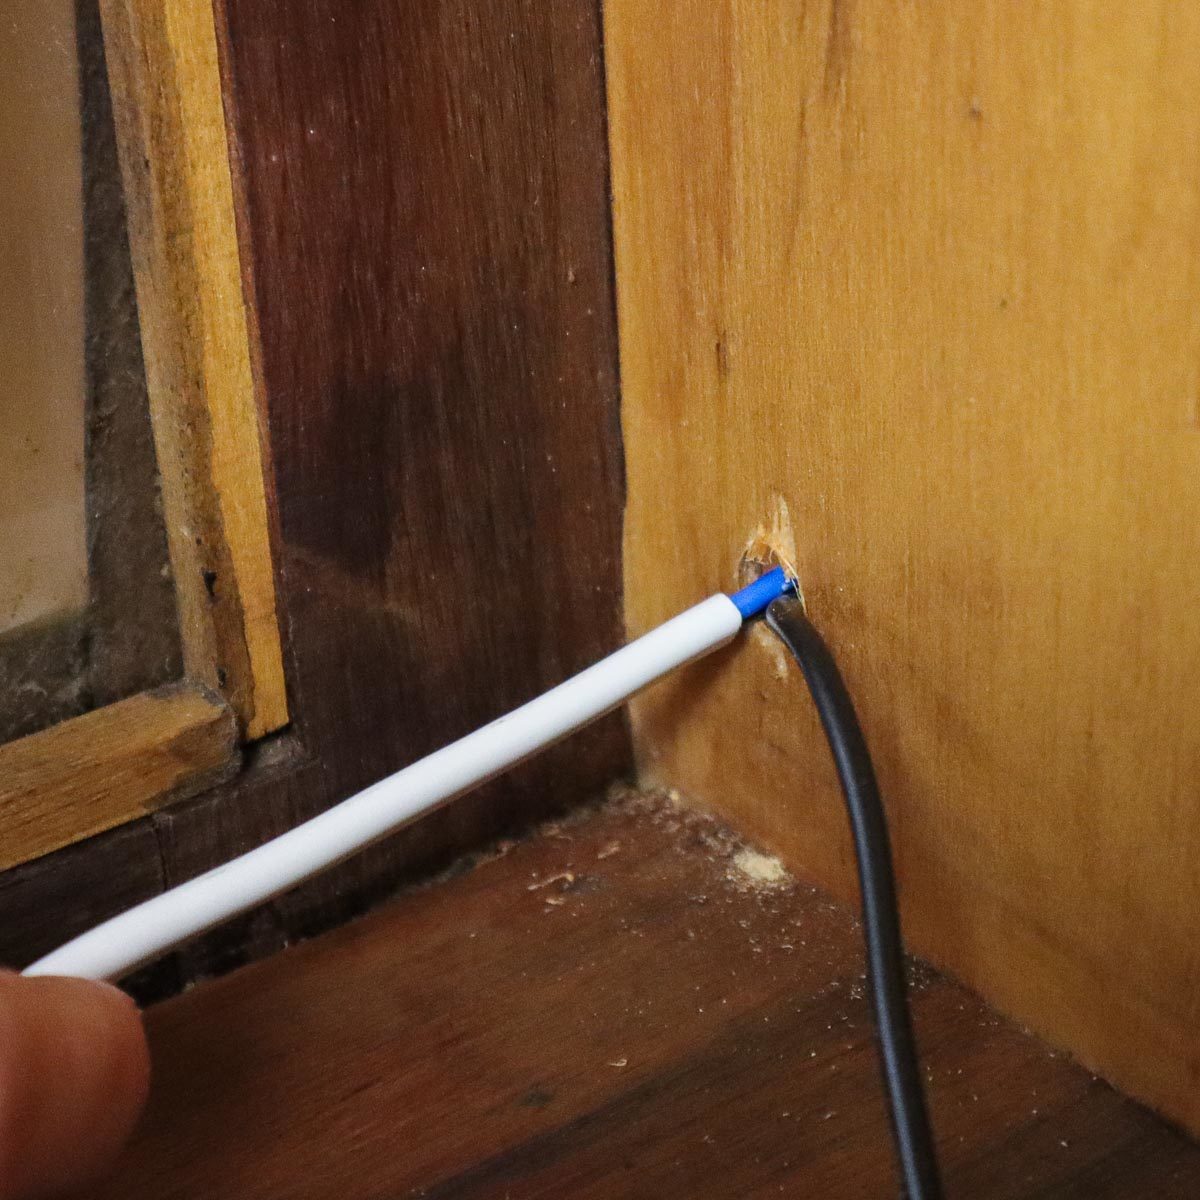
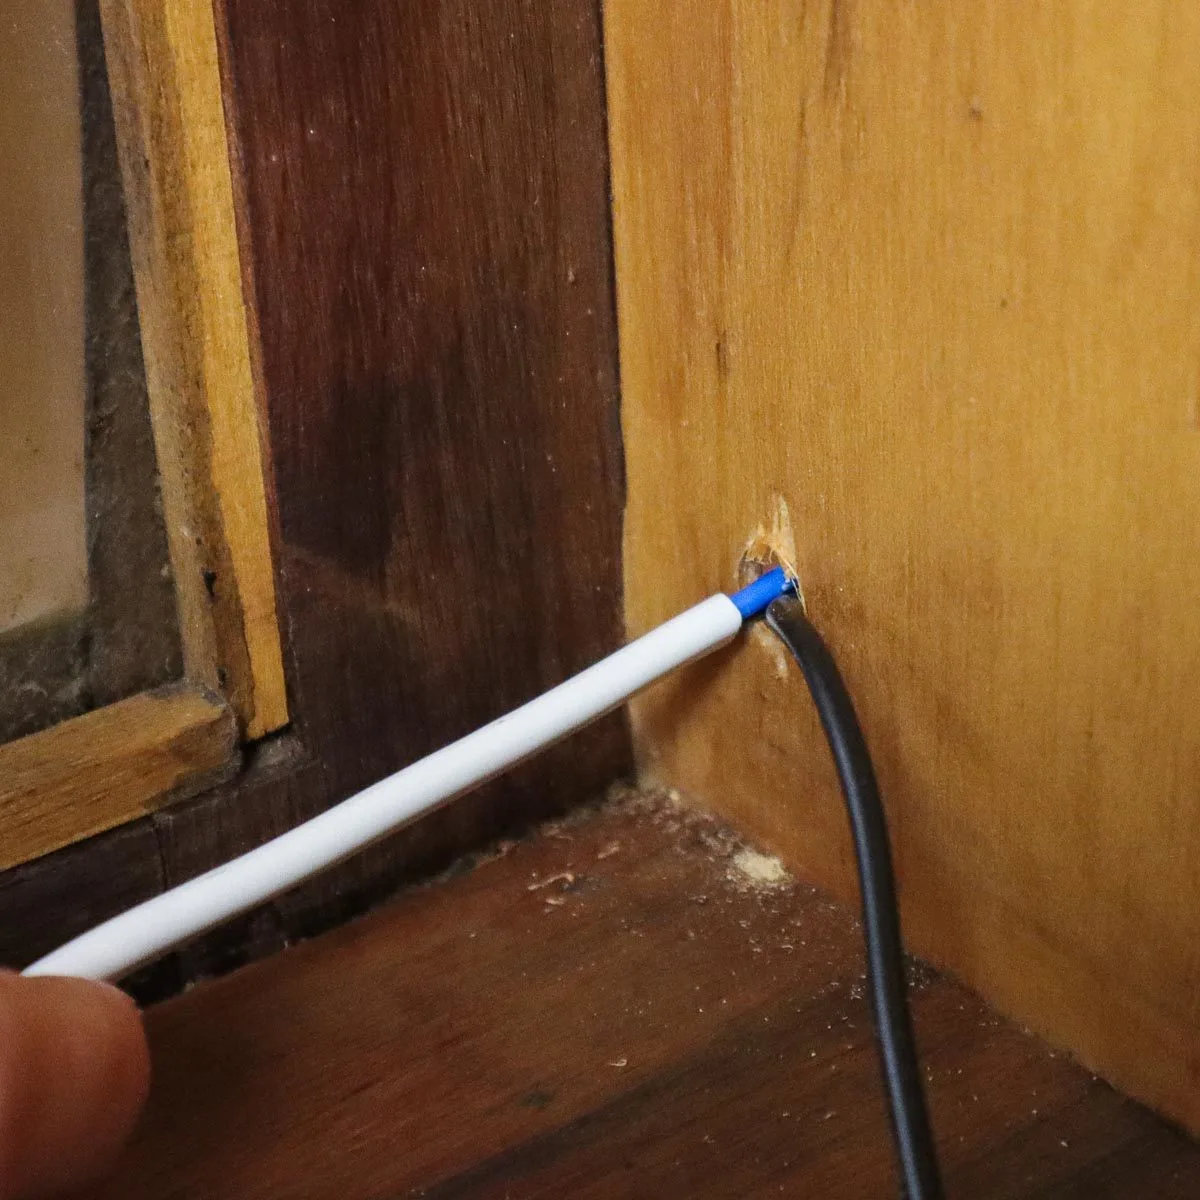

Try to keep the hole as small as possible. This will also stop any moisture from the humidifier from escaping.

Run the cables through the hole to the nearest plug point. You can also use cable clips or glue to keep the wires to the sides of the cabinet, so they look tidy.
Step 5: Fill with plants
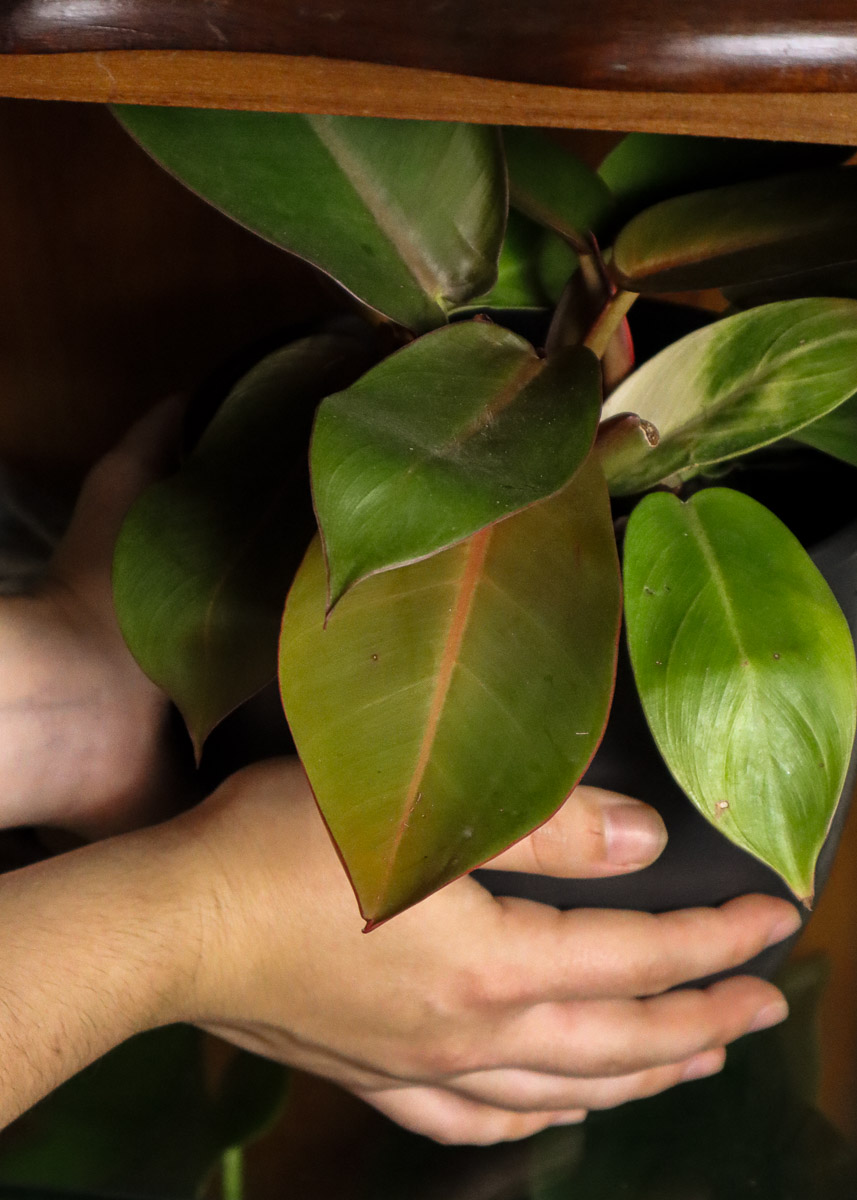

Now for the fun part – filling the cabinet with plants!
I picked a few of my existing houseplants that needed a bit more light and attention while also buying a few more to add to the collection (can you tell I have a problem?).
Adjust your grow lights to the levels required by the plants. For example, light intensities designed to grow vegetables indoors will be far too high for houseplants, leading to burning. Also, make sure your plants are a good distance away from the lights if they are harsh, as heat can build up quickly in these areas.
Don’t feel like you need to stick to one set of plants over time. The beauty of an indoor greenhouse is that you can adjust it as needed!
Although mine is packed with houseplants now, I am going to switch them out for seedling trays in late winter to prepare for quick spring planting. Maybe I’ll turn it into a succulent garden in the future, notoriously tricky plants to grow indoors. What you choose at what time of year is completely up to you.

Just a word of warning though if you do plan on moving plants often – make sure the change in conditions in their new home isn’t too drastically different from what they were used to in the greenhouse.
Sudden changes can stress plants and lead to several problems with growth. If you need them to adapt to a new environment, introduce them slowly to prevent any chances of shock.
Step 6: Close it up

Finally, with everything placed, all you need to do is close up the doors. Here, you can enjoy the look of your wonderful plants every day without worrying about their environments or how they are growing.
If humidity builds up too much inside the cabinet, make sure to open the doors for an hour or so each day to improve airflow and limit your risks of disease.

When watering, it’s best to take the plants out of the cabinet to water over the sink. Allow the excess to drain completely from the drainage holes before moving them back. Also, make sure the pots are placed on trays or in covers to avoid any water damage on the shelves.

Add a few plants to the area around the cabinet to blend in with the overall design. Then, don’t forget to invite a bunch of guests over to oh and ah at how stunning your DIY indoor greenhouse is.

Get the famous Rural Sprout newsletter delivered to your inbox.
Including Sunday ramblings from our editor, Tracey, as well as “What’s Up Wednesday” our roundup of what’s in season and new article updates and alerts.