on How to Build an Empire
 |
Wiring Railroad Signals
Introduction to Wiring Railroad Signals
Wiring railroad signals is a somewhat mysterious and intimidating aspect of model railroading. It's usually the last thing that is added to a train layout and is often never added at all. However, it is really cool to have a nice signal system on your layout, and it does help in engineering the trains around your track to know where your trains can proceed safely and where they cannot.
Before getting into wiring, it might help to refresh your memory about what the signals mean...
There is no national standard for wiring railroad signals in North America, unfortunately. Each prototype has its own system. However, in general, the following rules usually apply, especially for the purposes of model railroading:
· Red – the block of track ahead is occupied. Stop and wait till the light changes to yellow or green indicating that the track ahead is clear.
· Yellow – Slow down. The block ahead of this next one is occupied.
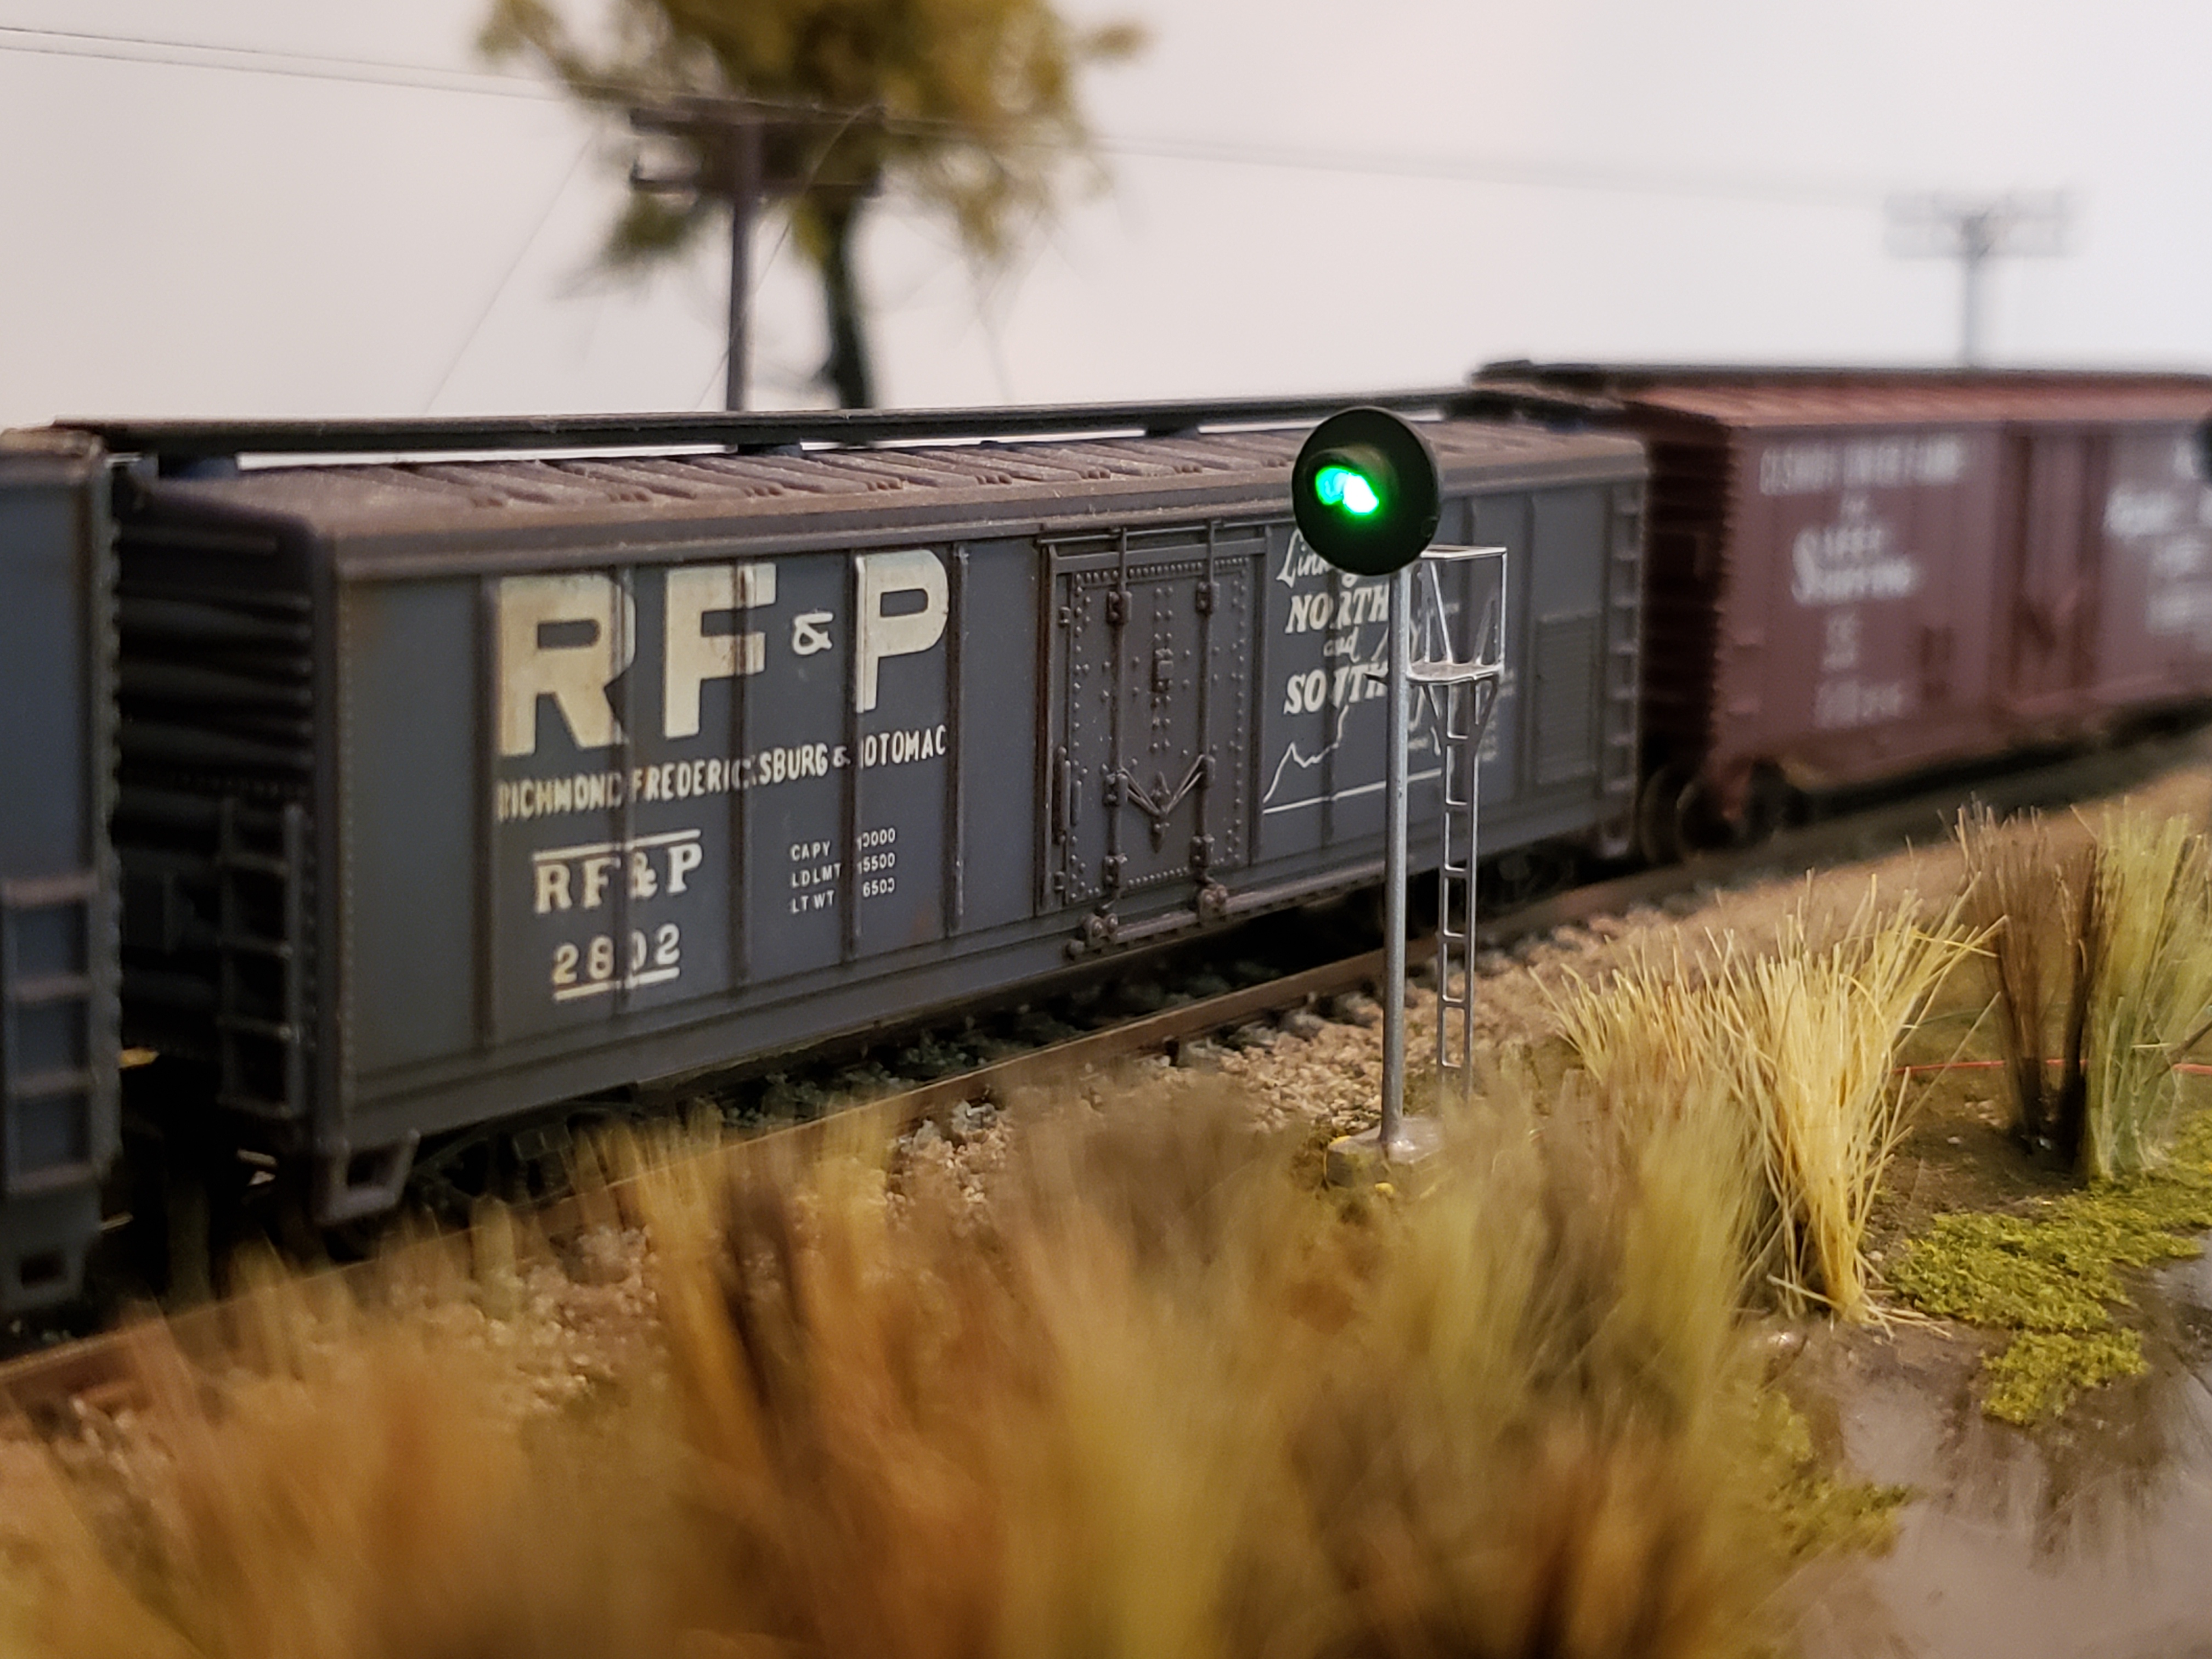
· Green – Both this next block and the one after that are unoccupied, and it’s okay to proceed.
See the Signals Page for more information on this and a video on the CSX prototype signal operation.
Simple Manual Signal Operation

Most signals when you buy them have a black wire connected to a resistor, then two or more additional wires depending on how many lights are in the signal. So, if you have a three-light signal, then you will have one black wire and three colored wires – one for each of the colored lights, usually red, yellow and green.
· The black wire, with the resistor usually already installed, goes to the positive terminal of the power transformer, or battery, or to the positive rail of the track itself, whatever the power source may be.
· You will need three SPST toggle switches that contain either red, green, or yellow covers for the toggles so you know which one is which. Alternatively, you could just paint the toggle with the appropriate color or label it on the facia board where you will be mounting them.
· The red, green and yellow wires each separately go to one of the two terminals on its corresponding toggle switch.
· Another wire, in a different color (blue is shown in this drawing) is attached to the second terminal of each toggle switch. All of the blue wires can be connected together to go to the negative rail or the negative terminal on the power pack or battery.
So now, when power is applied, you can turn each light on or off separately using the different toggle switches.
Automated Signal Operation
This is more advanced, but not that difficult anymore thanks to folks like John at Azatrax, who has created a circuit-board for almost every automated train operation you can think of, including those required for wiring railroad signals.
Rather than reinventing the wheel, I think the best thing to do to provide you with the information you need for this is to show you the following video about how to install a Custom Signal System using Azatrax Circuit boards. Be sure to check out the References that follow.
Searchlight-Style Signals for DC Layouts
 Pro-Tech Signal
Another type of signal specifically for DC layouts, made by a company called Pro-Tech, is probably the easiest of all to install. They come with only 2 wires that can be powered by your track - one wire to each rail - or by a separate DC power device, like a DC transformer. It is important to remember NOT to hook them up to DCC-powered track or to any AC current, or the LEDs will burn out in a matter of seconds. They are high quality photo-etched signals made true-to-scale currently for HO and N scale. All are pre-wired with resistors.
They come in two varieties - one in which the signal aspect is either green or off. The second is one where the signal aspect is either green or red.
The light changes automatically when the polarity of the track changes. They also work well with opto- or IR sensors that detect the presence of a train on the block ahead.
These are available online at trainstoreonline.net.
References on Wiring Railroad Signals:
- Azatrax Block Signal Control
- How to Install 3-Wire Signals Using Atlas Relay Switches
- Ty's Model Railroad Wiring Diagrams
- More information about what railroad signals mean can be found on the Signals page of our website, or on Wikipedia.
- Also see this page on automation for DC analog layouts.
Back to Home Page
Contact Me | Blog | Photos | References | Supplies | GiftShop | Sitemap | Search | Comment | Privacy Statement | Disclosures
Tracks Newsletter: Sign Up Here!
√ = ad or sponsored link
What's New on BYMRR.com?
Recent Articles
-
DC and/or DCC on the Same Layout
Mar 09, 25 10:46 AM
How to wire your layout for either DC and/or DCC operation. -
15 piece train set
Nov 24, 24 07:47 AM
I was given this train set from a uncle that passed away im not sure what it is worth but i no its a N scale model and the hobbie is quite expensive so -
Lionel Miscellaneous
Nov 24, 24 07:42 AM
I have miscellaneous Lionel trains and accessories that I would like to sell. You can view more photos at www.EastHarbor.net/trains.pdf Please call or


