

Introduction: The Beginner’s Guide to Display Text, Image & Animation on OLED Display by Arduino


![Color Recognition W/ TCS230 Sensor and Arduino [Calibration Code Included]](https://content.instructables.com/F9K/6MIC/K7BBJPVB/F9K6MICK7BBJPVB.gif?auto=webp&crop=1%3A1&frame=1&width=130)
In this article, we’ll talk about OLED displays story and their differences, how to run them by simple controllers and display text and images on them. At the end of this article, you will be able to:
- Explain OLED display theory
- Run OLED displays by Arduino
- Display all type of text or images
- Display simple animations
Step 1: OLED; What’s the Theory?

An organic light-emitting diode (OLED) is a high-contrast and high-resolution display, making it easy for users to be readable. This kind of displays doesn’t have a backlight and create the backlight themselves and this makes them sharper, clearer and smoother than LCDs. American physical chemist Ching W. Tang and Steven Van Slyke at Eastman Kodak built the first practical OLED device in 1987. Nowadays we can see the upgraded generation of OLED like Super AMOLED and AMOLED Plus of SAMSUNG and POLED of LG.
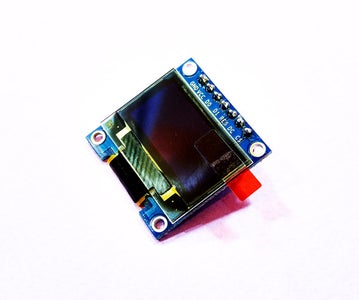
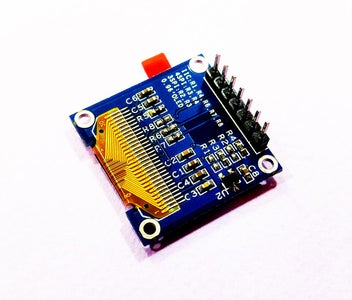
Small OLED modules are very useful in electronics projects. Simple wiring and high readability of displays are suitable for showing data, numbers and simple images. You can find different size and colors of these panels with different resolutions. Based on your project, you can choose parallel, SPI or I2C model. There are monochrome, 2 colors and 16-bit full-color panels to use. We choose a 128*64, 0.96 inch, SPI OLED display with SSD1306 driver and Arduino UNO. Read the rest of this article to learn how to display text and images on OLED displays.
Step 2: Required Materials

Step 3: Circuit

There are different SPI OLED displays with different pin names. Use the circuit illustration above to find out the meaning of your module pin names. Most of the OLED modules work with 3.3 Volt power too. You can change the pin of Arduino but you must change it in code too.
Step 4: Simulation

If you don’t have the components or don’t want to buy them, you can try it by Proteus simulation and edit it by your interest. Download the following project file.
Attachments

Step 5: Code
There are a lot of Libraries written for OLED modules. In this article, We choose the WaveShare OLED SSD1306 Library. It’s not complicated and you can even change the library according to your code. You must first add the library and then upload the code. If it is the first time you run an Arduino board, don’t worry. Just follow these steps:
- Go to http://www.arduino.cc/en/Main/Software and download the software of your OS. Install the IDE software as instructed.
- Run the Arduino IDE and clear the text editor and copy the following code in the text editor.
- Navigate to sketch and include the libraries (Download libraries from the following links). Now click add ZIP library and add the libraries
- Choose the board in tools and boards, select Arduino UNO.
- Connect the Arduino to your PC and set the COM port in tools and port.
- Press the Upload (Arrow sign) button.
- You are all set!
Step 6: Assemble


You can use a breadboard and male to male jumper wire to do it.
Now upload the code.
Step 7: Display Image and Animation

To display an image, you have to convert it to a hex code. There are several applications that convert an image and to a hex code. You can download one of them from the following link. First, run the software and open an image from File menu. Your image size should be smaller than 128*64 pixels. Then click conversion from Option menu and be sure the settings are the same as the following image. Download software from here.
Click Convert from File menu . Now open the .c file and copy the hex code. In the main code, add the hex code in the following format:
const uint8_t SAMPLE_NAME [] PROGMEM = {0x00, 0x00, 0x00, 0x00 .... 0xFF };
Now, add the following line to the loop.
SSD1306_bitmap(0, 0, SAMPLE_NAME, 128, 64, oled_buf); // (x location, y location, Name of image, width, height)
It’s done, Upload the code to Arduino.
Step 8: What’s Next?

For more practice, we add an example gauge and text animation. try to edit it and make your own animation on the display.


