


How to Change Public to Private Network Profile in Windows 10

Just like in Windows 8, Windows 10 allows your PC to categorize its network connections as either Public or Private.
The type of connection Windows thinks you have will determine how your PC interacts with other devices on the network.
The problem is that Windows assigns a public or private profile to your network connection when you first make the connection, which may result in users accidentally choosing the wrong label.
Situations may also change, requiring you to reclassify the location at a later date. In either case, having an incorrect network profile for your connection may cause security issues or prevent Windows features from working how you expect them to.
So here’s a look at public and private networks in Windows 10 and how to configure them to match your environment.
What is a Public and Private Network in Windows 10?
Private connections are intended for the home or a closed office network, in other words, situations where you know and trust all of the other devices your PC may connect to.
While the way that Windows treats public and private network locations can be modified, by default private network connections allow for features such as device discovery, printer sharing, and the ability to see your PCs in the network browser.
By contrast, Public network locations are meant to cover any situation where you don’t know and trust all of the other devices, such as coffee shops, airports, or even office networks that don’t use good security practices and allow visitors to connect to the same network as employees.
In this case, Windows works to protect you from inadvertently connecting to other devices which may be malicious by turning off default sharing features and network broadcasts.
This doesn’t mean that you can’t connect to other devices or share files on a public network, it just means that Windows won’t automatically do it for you, requiring you to manually connect and authenticate to another device.
Identifying Network Profile in Windows 10
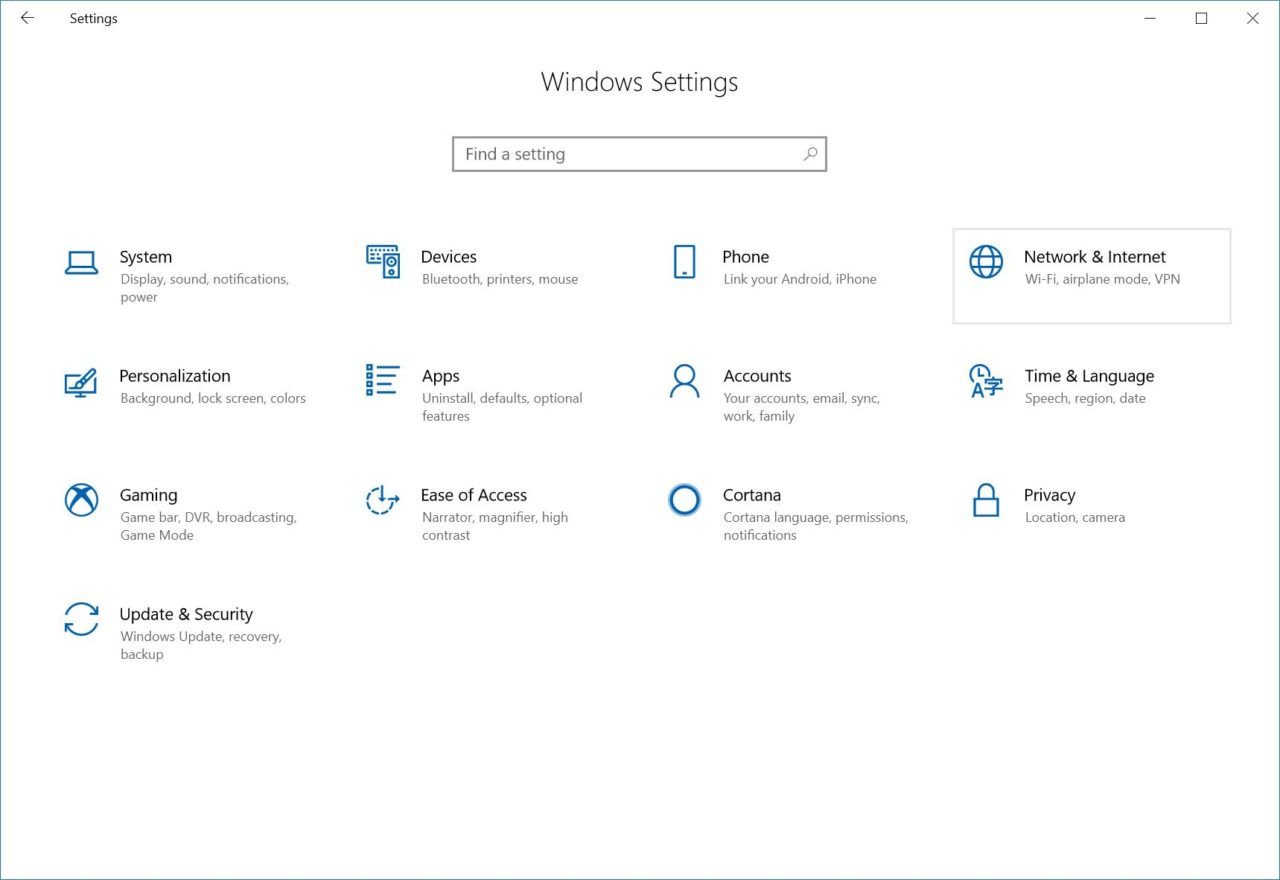
If you don’t know whether your network connection is currently labeled by Windows as public or private, you can find out by heading to Settings > Network & Internet.
There, make sure you’ve selected the Status tab on the sidebar and you’ll see your active network connection listed on the right.
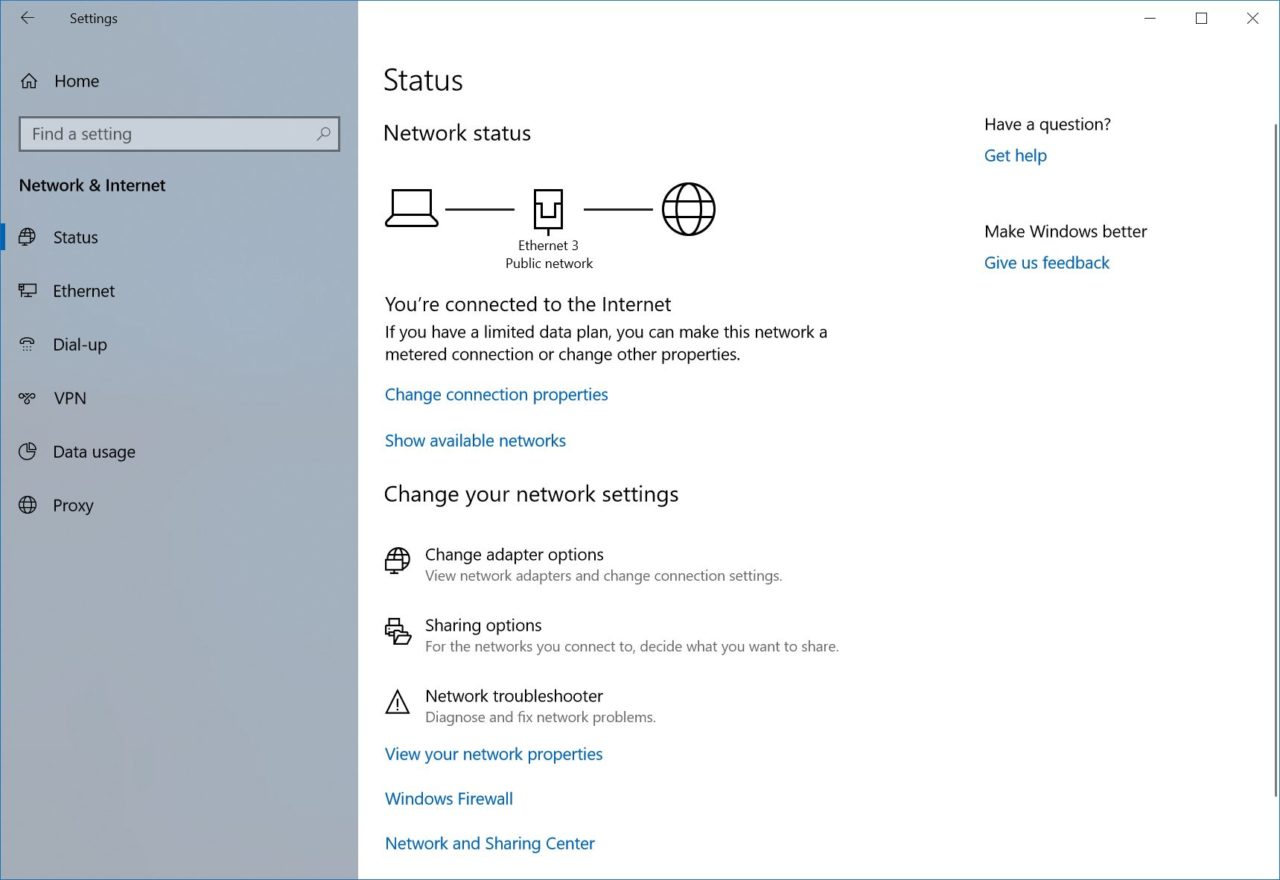
In our example, our Ethernet connection is identified as a public network. However, since this PC is located at the office where we used a closed network, it’s better to change its label to a private network.
How do I change from Public to Private Network in Windows 10?
To change your network location type from public to private (or vice versa), stay on the same Network & Internet settings page described above and look for your network connection in the sidebar on the left.
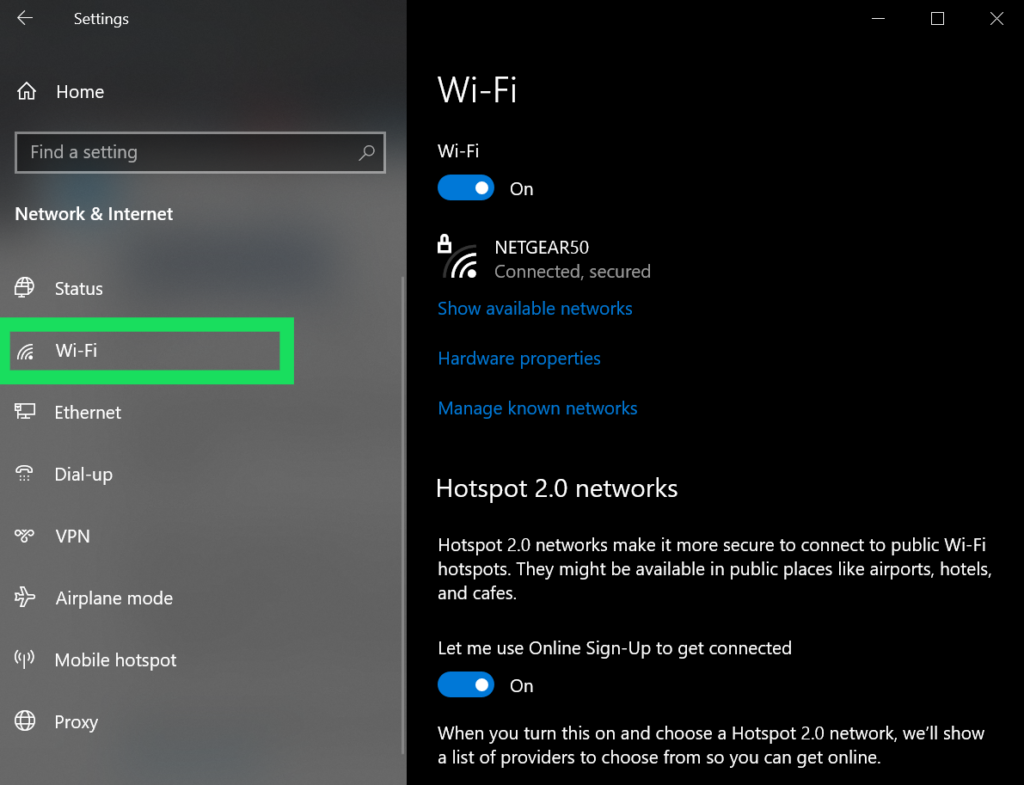
In our example we’re using a desktop PC with a wired Ethernet connection, so we’ll choose Ethernet. For laptops or desktops with wireless cards, look for Wi-Fi.
Note that Microsoft has and will continue to make significant changes to Windows 10. This tip and its screenshots reference the most current build of the operating system as of the date of publication (Version 1803, Build 17134) but steps may change in future releases.
Related TechJunkie article: Quick Tip: How to Find Your Windows 10 Build Number
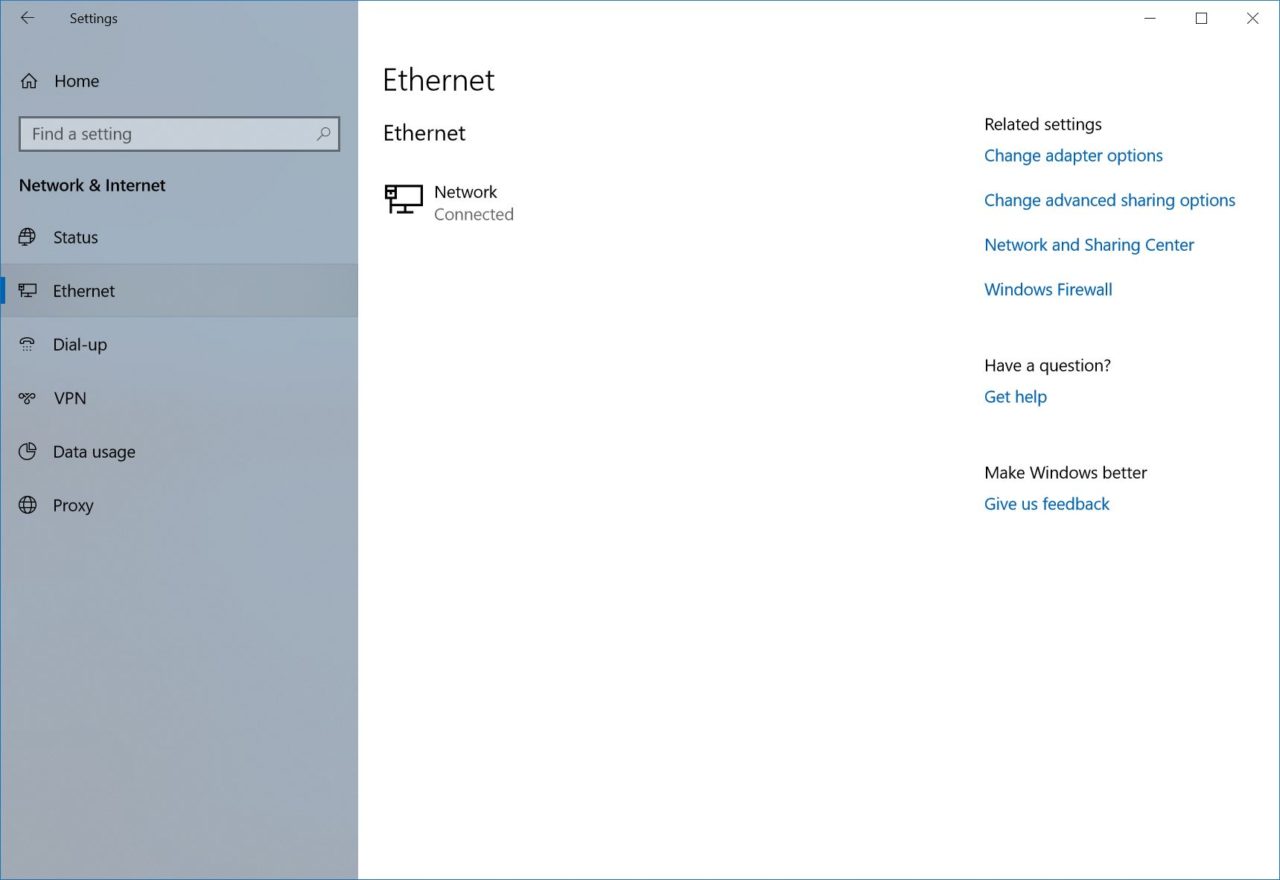
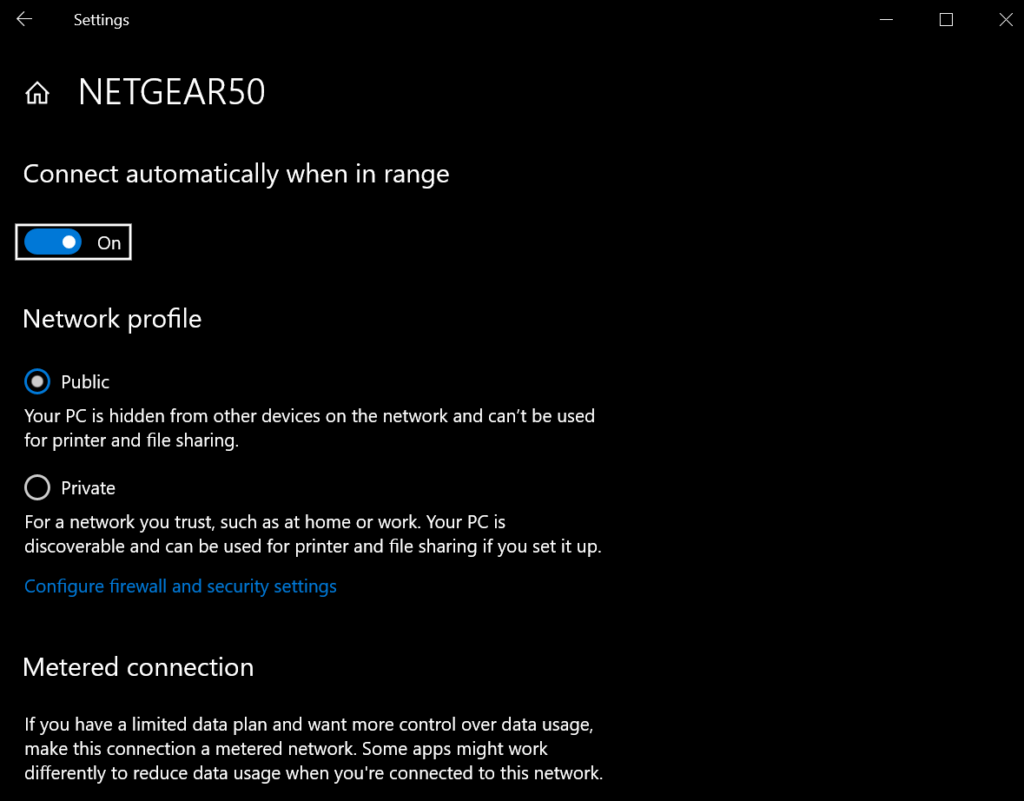
Select the appropriate Ethernet or Wi-Fi entry and you’ll see a list of all of your connections of that type (in our example, we only have a single connection). Click on the desired connection to see its properties.
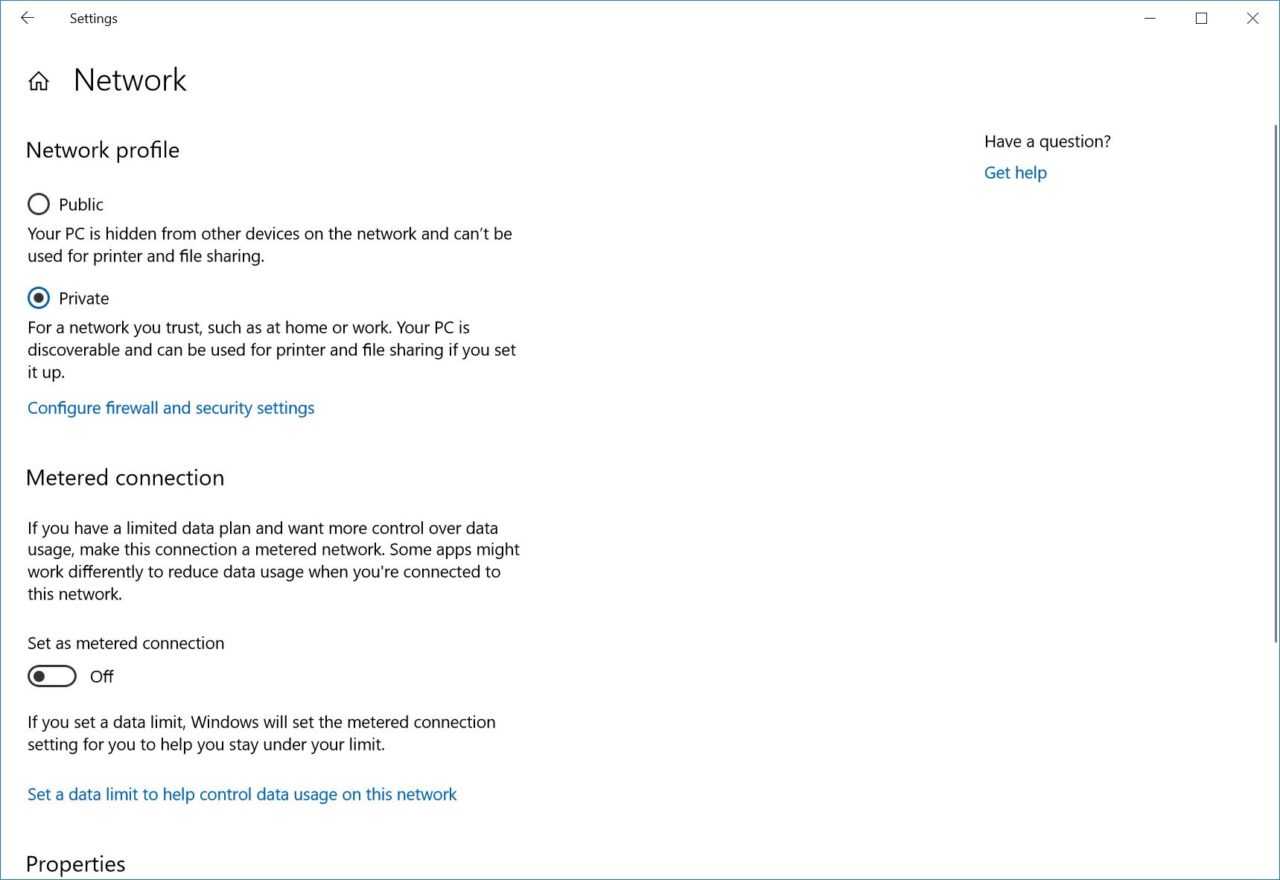
At the top, you’ll see a section labeled Network Profile. Click the correct public or private location to make the change. In our case, we’ll change from Public to Private. Once you’re done, you can close Settings or hit the back button in the upper-left corner to return to the Status page and verify the change.
If you don’t see the option to change your network, try this instead:
Click on the wifi icon located at the bottom-right of your computer screen.

Click on ‘Properties’ under your network.
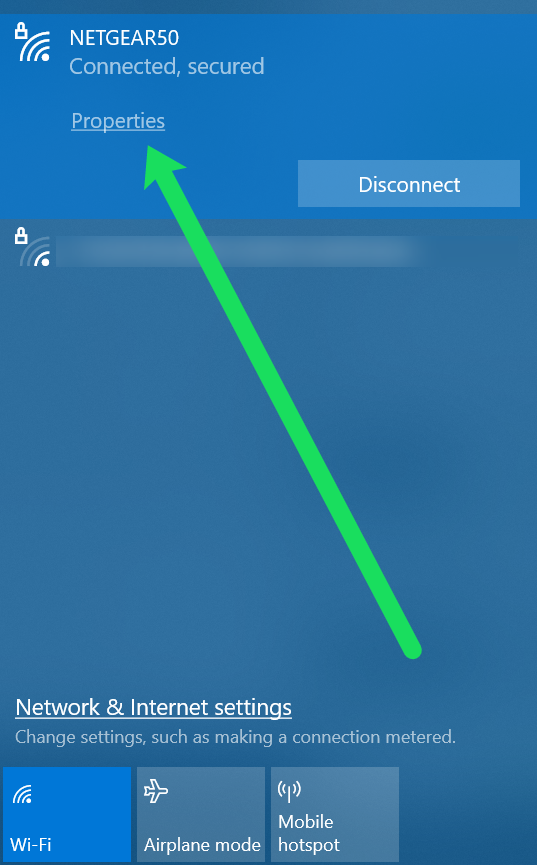
Now follow the steps above to change from a Public to Private Network.
How to Change from Public to Private Network in Windows 8, 8.1, and 7
In Windows 8.1, follow these instructions:
- Open the Charms bar then click Change PC Settings at the bottom of your screen.
- Then click Network
- From the list of Network connections, choose the appropriate connection, such as wireless (if you are using WiFi) or ethernet.
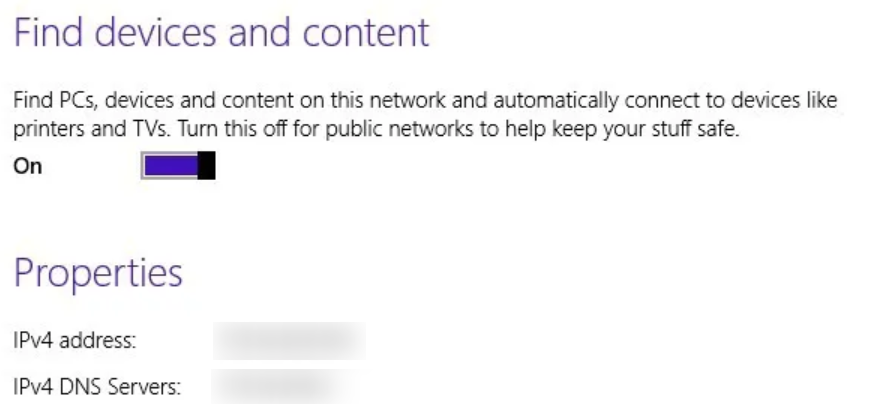
- If switching to a private network, turn on the Find devices and content which you will want to be turned OFF for a public network and ON for a private network.
For Windows 8 follow these instructions:
- First, click Open Network and Sharing Center
- Next, you can change the network from private to public or from public to private.
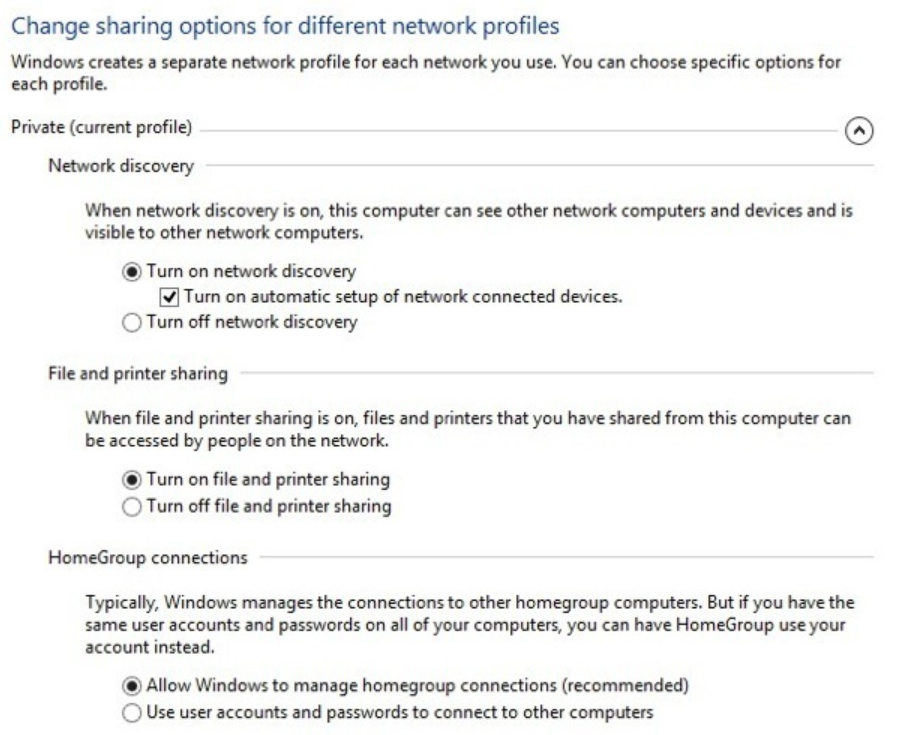
- Click Change advanced sharing settings in the left-hand navigation.
- For a private network, Change advanced sharing settings should have the following settings: Turn on network discovery, Turn on file and printer sharing, and Allow Windows to manage homegroup connections.
- For a public network, the above should Turn off network discovery and Turn off file and printer sharing.
- Then, go back to Settings > Network > Turn sharing on or off
- Finally, choose Yes if you want your network to be treated like a private network, and No if you want it to be treated like a public network, which will finalize the settings change you are making.
If you’re still using Windows 7, follow these steps:
- Click on the Network icon on your Windows taskbar.
- Click ‘Open Network & Sharing Center‘
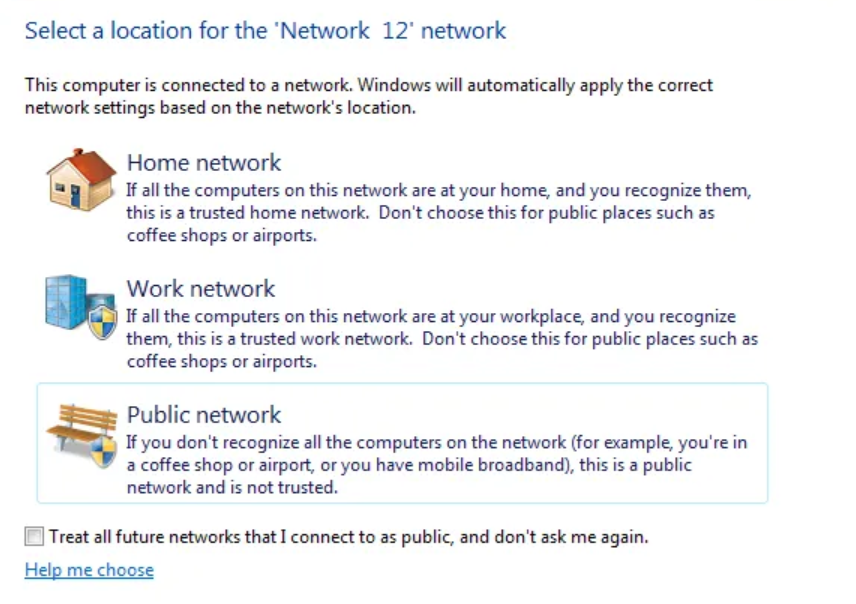
- Locate the ‘View your active networks‘ heading and select the hyperlink under the network that appears (it may say ‘Home Network,’ ‘Work Network,’ or ‘Public Network’).
- Choose your Network type from the list of available options. Or, choose the ‘Help me choose‘ hyperlink at the bottom for more information.
Do you have any tips and tricks for changing your network from private to public and from public to private? If so, please leave us a comment below!


2 thoughts on “How to Change Public to Private Network Profile in Windows 10”