We’ve written more about the interactive Christmas tree project over on its catalogue page but thought it would be nice to give a glimpse behind the scenes at the work that goes into building something like that.
The Build
The first step was planning out what we were aiming for and working out what we needed to order. That meant many iterations through our bill-of-materials spreadsheet as we found suppliers, juggled budget and chased down power consumption to put as many lights as possible onto the tree without overloading the supply.
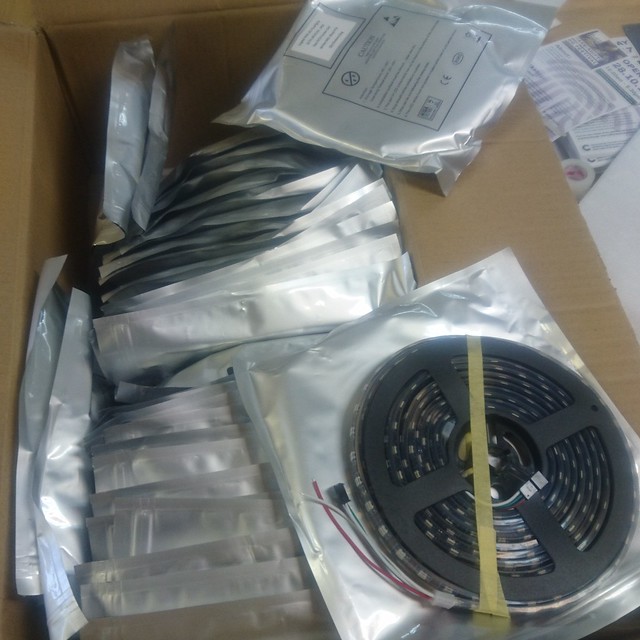
As components started to arrive (like the 170 metres of WS2812b RGB LED Neopixels shown above) we could work on the software and assembly processes. This was some of our early experiments to see how resonsive the capacitive touch sensing could be (although in the end, electrical noise from the massive 240A power supply driving it all forced a switch to pressure sensing instead).
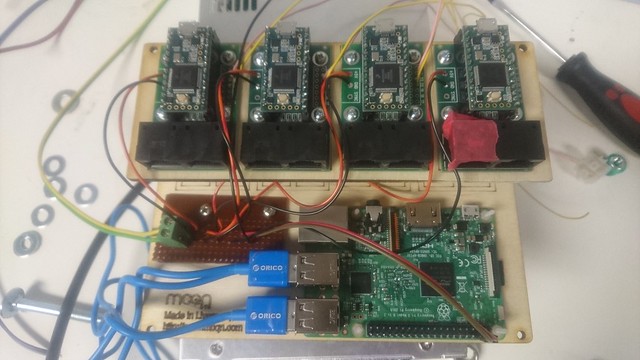
Given how many LEDs we had to light up, we used the excellent work Paul Stoffregen has done with the OctoWS2811 library for his Teensy boards. That, along with the accompanying OctoWS2811 adaptor boards let us run Ethernet cables up into the tree to then fan out to the individual baubles.
We ended up with four Teensy boards driving the LEDs and monitoring the touch sensors, with a Raspberry Pi acting as a message broker to communicate messages between them.
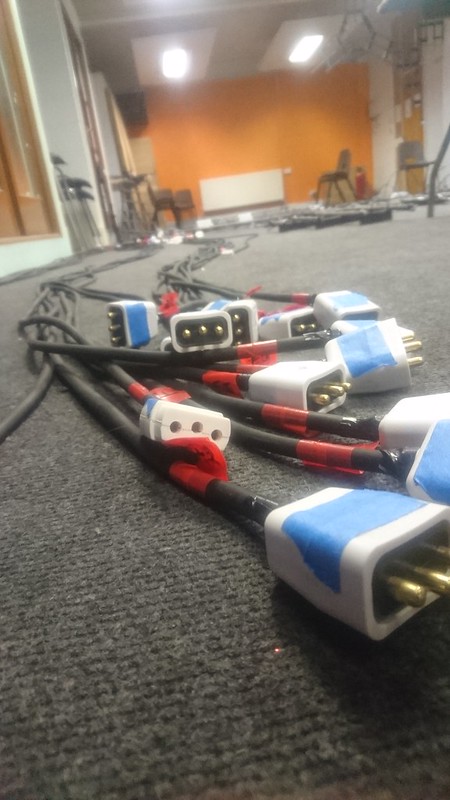
Assembling the baubles took the bulk of the time on the project. The neopixel strips are all IP68-rated (essential when they’re being installed outdoors) but all of the joints needed the same level of protection from the elements. The strips were all cut to length; contacts exposed; wires soldered on to join them to the next segment; wires and joins sealed and heatshrunk; connectors added; and then fixed to the custom frames.
There was much rejoicing when the final connection was complete.
Testing
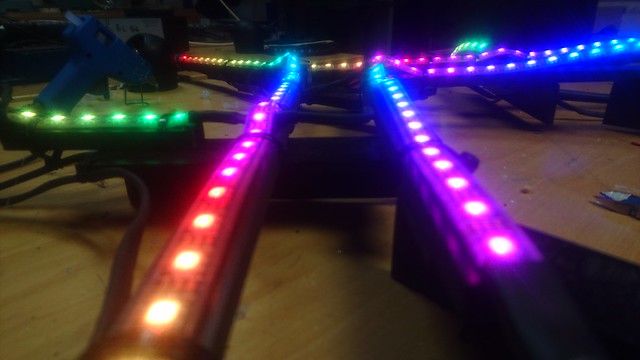
As assembly neared completion we could set up more and more of the system for testing.
This let us try the lights out with the production power supply and with the longest runs of cable that the power and signals would all need to traverse. Hooking up the oscilloscope let us see how no-longer-square the data signal was as it reached the baubles. This was the view after 15 metres of Ethernet cable—not great, but still good enough for the LEDs to work as expected.
The corridor of DoES Liverpool stood in for the trunk of the Christmas tree…
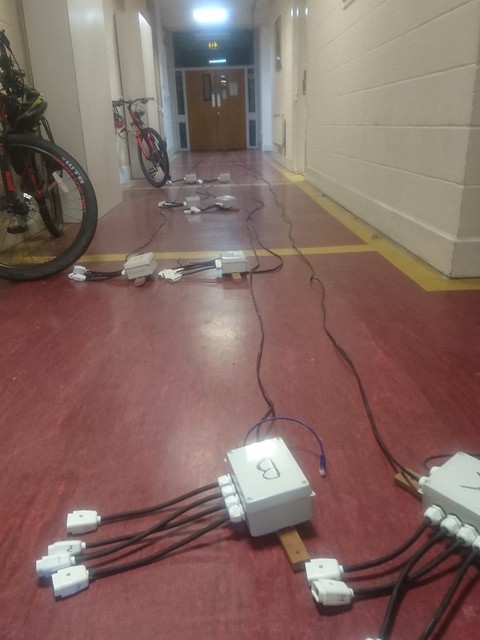
…and luckily we could take over an entire room to lay out the baubles for final testing.
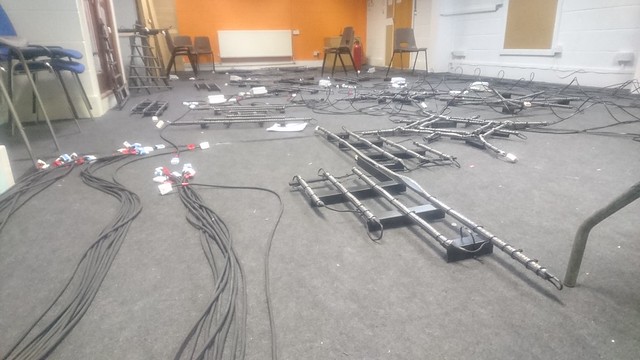
Cables were laid out and labelled, with liberal use of coloured masking tape to show which had been through the QA process (or any which had failed).
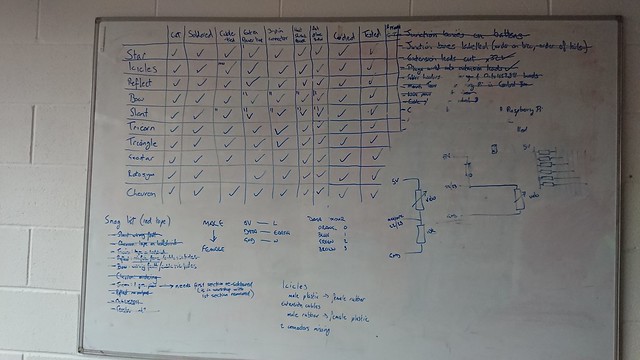
The project management was generally done online, in the issue tracker alongside the code, but in the final throes of the build we switched to a huge matrix of checkboxes and to-do lists on a whiteboard. More immediate and accessible to everyone with the range of different people and trades involved.
Deploying to the Square
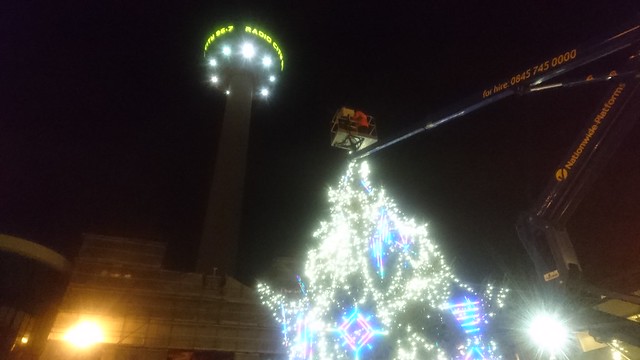
With everything built and tested, action switched to Williamson Square to hang the decorations on the tree.
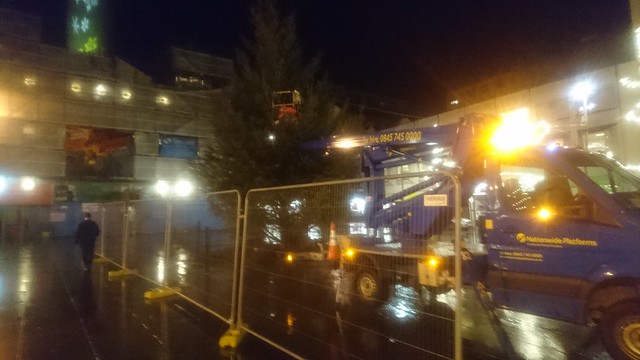
As the tree is in the centre of Liverpool’s shopping area most of the installation had to take place outside of the main shopping hours. We worked with the city council’s tree team who worked tirelessly over a few late nights to get everything up and on the tree.
And with it all in place, it was ready for the public to enjoy…
Passers-by #PlayTheTree from MCQN Ltd on Vimeo.