3 Mistakes Even the Pros Make When Replacing a Wheel Hub Assembly
Even though wheel hub assembly replacements are a routine auto repair service and the process is easy and straightforward for professionals and DIYers alike, improper installations are still pretty common.
It’s important to do it right the first time because an improperly installed wheel hub assembly leads to a variety of problems, including:
- Unnecessary stress and strain on the hub, CV joint, axle, and transmission
- The wheel seizing up
- Damaged wiring
- Uneven rotor or brake pad wear
It’s likely that you already know some basic mistakes to avoid. However, to really decrease your chances of messing up the installation, you have to know and avoid the most common mistakes a professional might make. We’ll cover three of them:
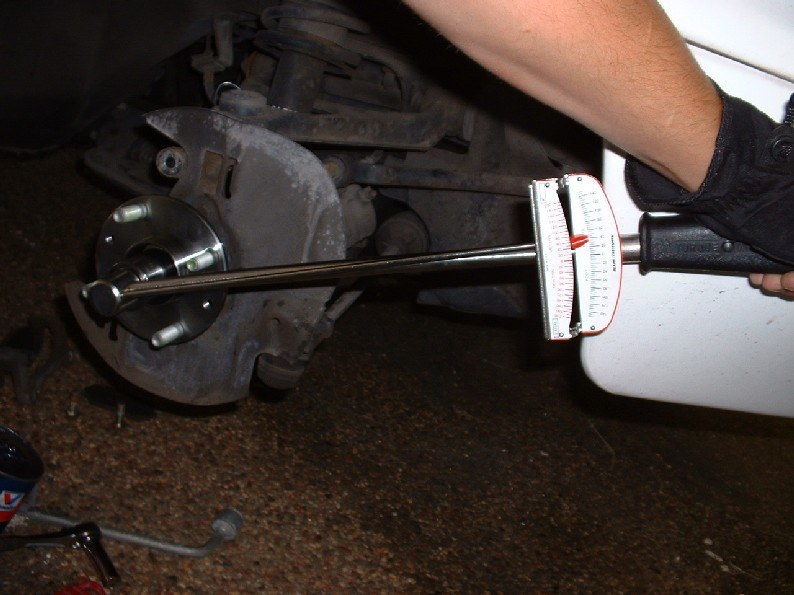
1. Failing to Torque the Axle Nuts to the Manufacturer’s Specs
Photo credit: Miata.net
Auto technicians are busy people, and some of them forget to tighten the axle nuts the right way. That includes using anything other than a torque wrench and neglecting to follow the manufacturer’s specs, which are outlined in the service manual.
The amount of torque you use while tightening the axle nuts affects the car’s performance more than you think. Over-torquing leads to excessive load and over-compression of the new bearing. Under-torquing may lead to reduced bearing lifespan and/or the bearing assembly falling apart.
A torque wrench is the only correct tool to use while tightening the axle nuts. Some auto technicians opt to use an impact wrench. That’s a bad idea because doing so usually results in over-torqued axle nuts and/or damaged axle nut threads and CV joints.
To avoid making this mistake, all you have to do is to use a torque wrench to tighten the axle nuts to the manufacturer’s specs.
2. Using a Cheap Replacement Wheel Hub Assembly With an Undersized Bearing
You may feel tempted to save a few bucks on a replacement wheel hub assembly. Don’t worry; you’re not alone. Plenty of auto repair shops do the same thing. And we’re here to tell you that it’s a bad idea.
A low-quality replacement wheel hub assembly doesn’t hold up over time and will not perform as well as an OEM-grade unit. It’s even more unreliable with an undersized bearing.
Some shops use cheap wheel hub assemblies not only to save money but also to keep their inventory turnover high. Many car owners don’t realize the importance of using good-quality wheel hub assemblies, so they’re quick to forego the OEM-grade wheel hub assembly in favor of a cheaper one that’s lower in quality.
What many people don’t realize is that while an OEM-grade wheel hub assembly is more expensive upfront, it’s actually less expensive in the long run because it’s reliable and built to last a long time. A low-quality wheel hub assembly can hurt your car’s performance and is much more likely to fail prematurely.
To avoid making this mistake, buy an OEM-grade wheel hub assembly that’s built well with high-strength steel, like one from GMB.
3. Not Testing the Wheel Hubs After Replacement
American business guru Tom Peters once said, “Test fast, fail fast, adjust fast.” Even if you’re not a businessperson, there’s a lot to take from that lesson.
Professional auto technicians should always test the wheel hubs thoroughly after replacement to avoid inconveniencing their customers who have to come back if something goes wrong. A good professional tests, fails, and adjusts all in one sitting. DIYers should do the same.
There are a lot of things that could go wrong while replacing a wheel hub assembly, and many of these issues won’t crop up until later when your car has been on the road for some time. The most common issues include misalignment of the bearings and under-torqued or over-torqued axle nuts.
To avoid making this mistake, thoroughly test your replacement wheel hub assembly to ensure that everything went smoothly during installation.
MORE CONTENT
Stay current!
Sign up here to get the latest news
and updates on all things GMB.
Sign Up To Receive GMB News & Updates!


