How to Use the Auto Mask Feature in Lightroom to Target Your Edits
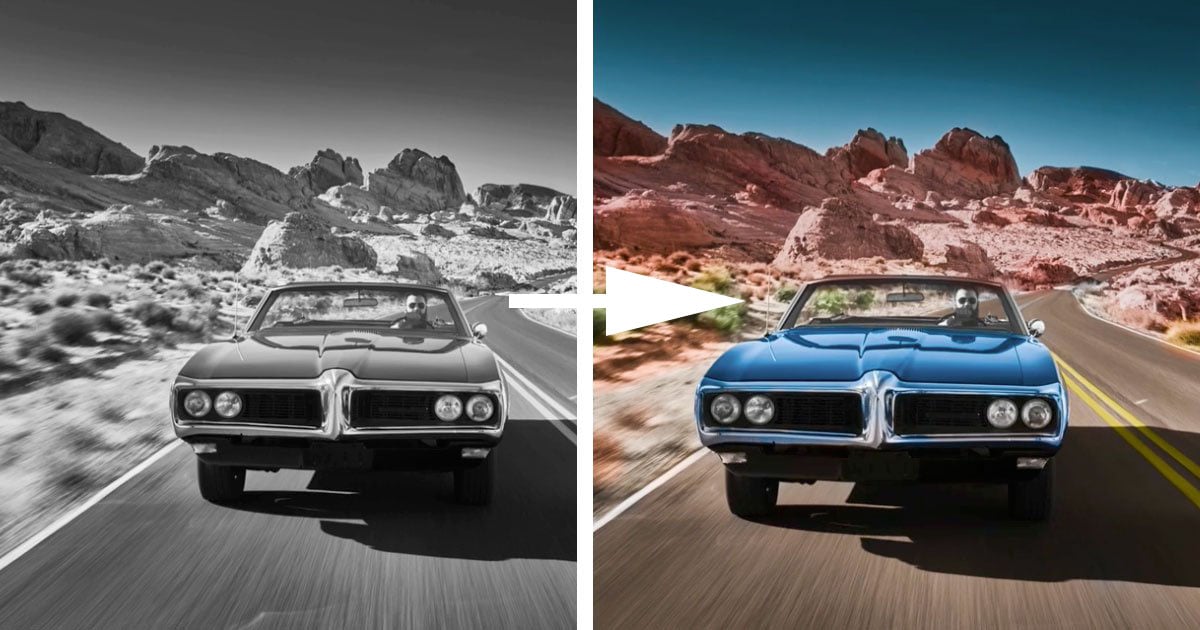
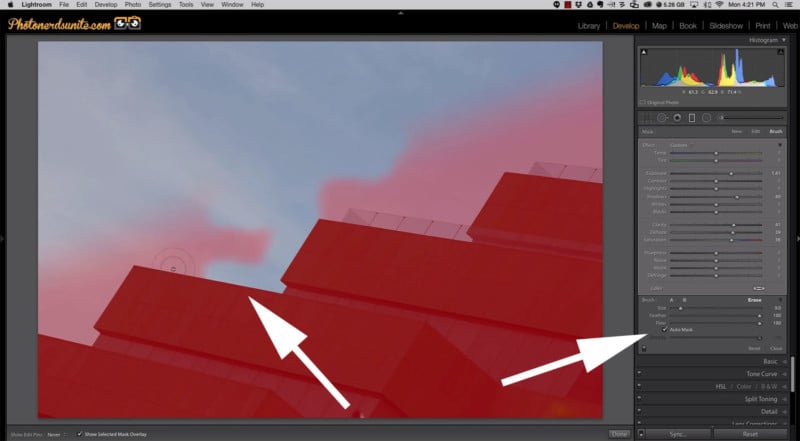
Did you know that Lightroom has powerful smart masking features that can help you target your adjustments to specific parts of your photo? The feature is called Auto Mask, and here’s a 5-minute tutorial by Photonerds University that introduces how it’s used.
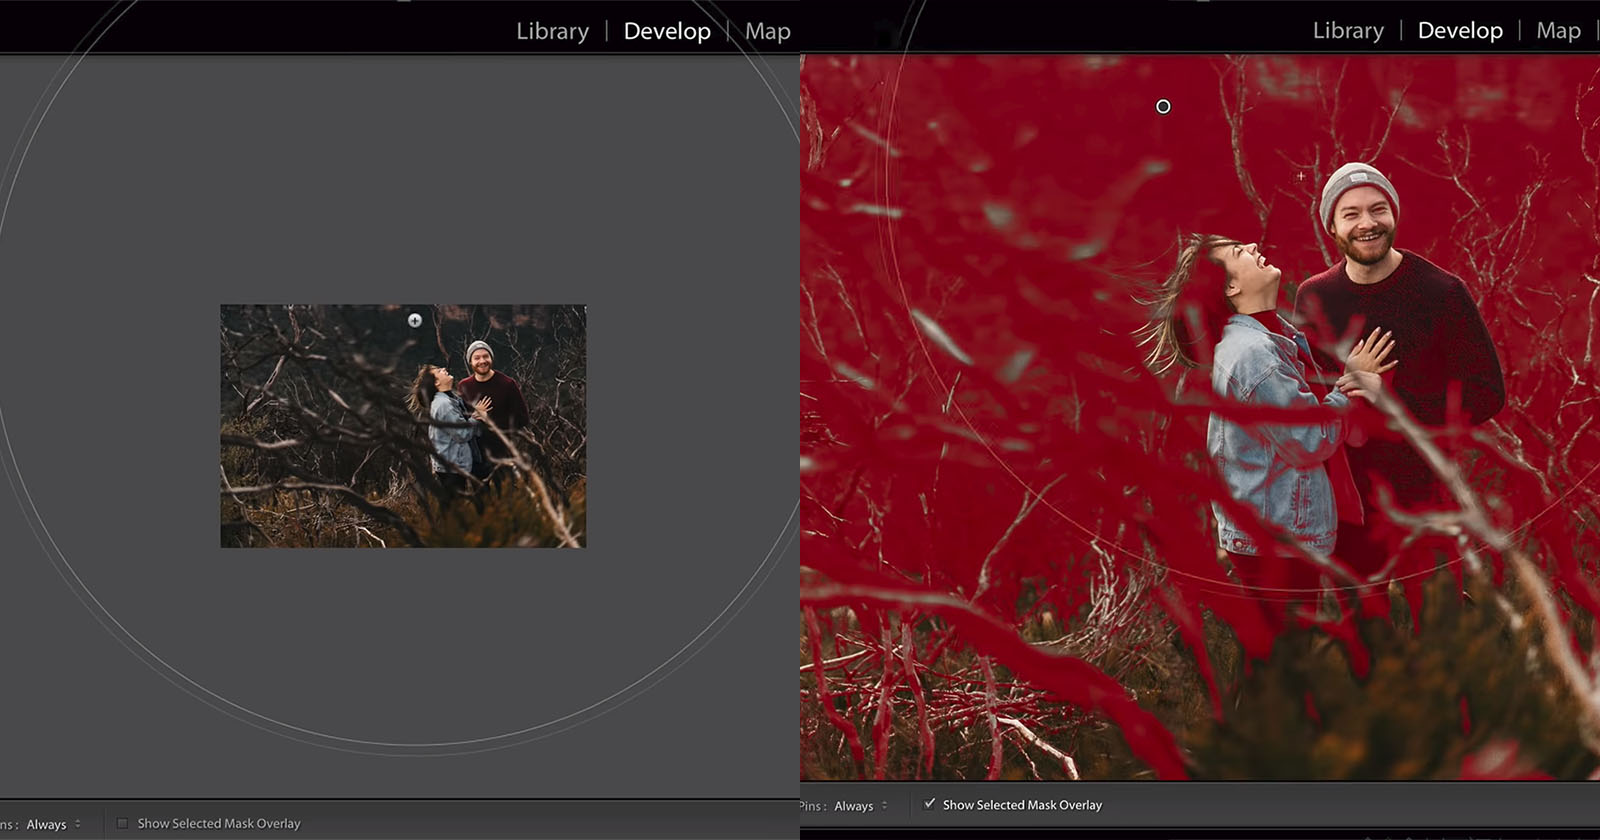
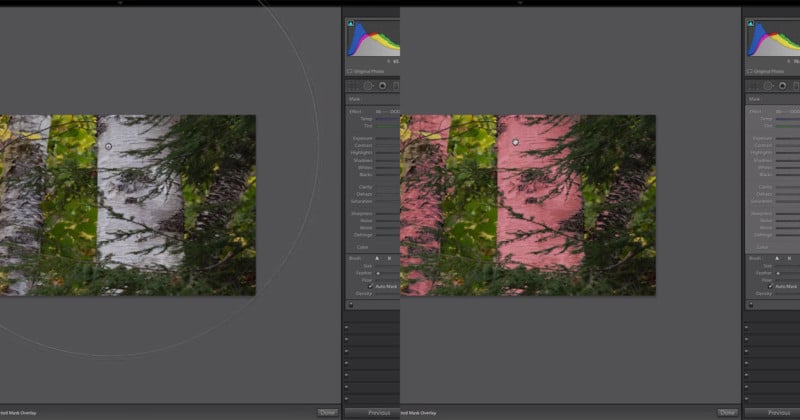
If your scene is more complicated with overlapping patterns, textures, and details, there’s a different Auto Mask trick you can use to target your adjustments based on color. Here’s a 9-minute tutorial by Photonerds University showing how it’s done:
After selecting your Adjustment Brush, turn on Auto Mask, set Size, Flow, and Density to 100, and drop Feather down to 0. Then max out your brush size and make sure it covers your entire photo. Finally, click a specific color in the photo you’d like to target, and voila!
In the tutorial above, Photonerds U targets the white tree trucks in a complex outdoor shot containing a lot of leaves and branches. The Auto Mask trick helps select only the white trunks with a single click:
If you’re just starting out in Lightroom (or even if you’ve been using it for a while), hopefully you learned a few new tricks for your post-processing toolkit. You can find more video tutorials by Photonerds University on its YouTube channel.