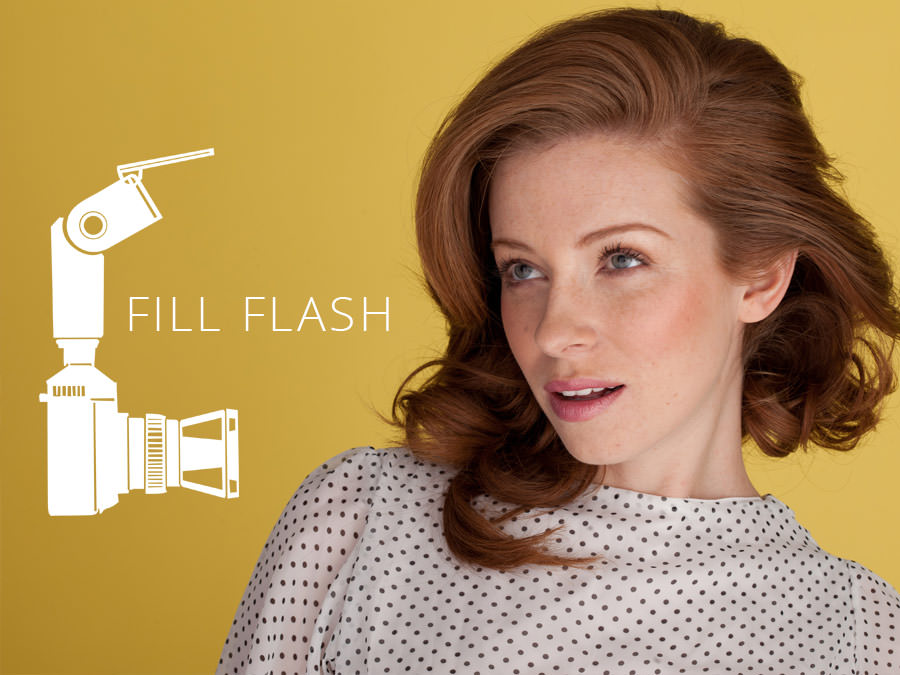
I have met a lot of beginner and amateur photographers who would stay away from flash photography because, according to them, flash would make their photos look unnatural. They would therefore settle for ambient light. While ambient light is enough in most situations, there are conditions when you cannot rely on sunlight alone, particularly when shooting on sunny days.
So let's have a look at five valuable indications that will help you understand and properly use fill flash. What you're going to need is a DSLR and a dedicated flash with a TTL mode.
1. Use TTL
TTL stands for Through The Lens. The camera and flash combination work together in this mode to get the optimum reading. So when you want to use fill flash for an outdoor portrait, TTL will measure the scene and fire the flash at the right power to give you a proper exposure on your subject's face.
2. Use a fast shutter speed
For outdoor flash photography, high shutter speeds are preferred. Just remember to enable your flash to sync at faster speeds.
(Success Tip #1:The easiest way to learn photography when you have little time to spare )
3. Shooting modes
For best results with fill flash photography outdoors, I recommend using the P and AV modes. The P mode is basically an automatic mode that takes a lot of the weight of setting exposure. Av is aperture priority mode and it is especially handy for outdoor portraits because it allows you to use a wide aperture, like f2.8 , to create that nice, blurry background. When using these modes, you have two valuable settings that can influence exposure. The first one is flash exposure compensation which changes the flash output, the second is the exposure compensation scale that you can use for adjusting ambient light.
4. Low ISO
Use a low ISO setting, preferably under 400. Sometimes using the lowest value isn't the way to go because your camera will then need a slower shutter speed which can result in motion blur and lack of detail.
5.Use a diffuser
In fill flash photography, the flash head is aimed straight at the subject most of the times and this can produce an unnatural glare in the eyes. The way to adjust that is by using a modifier. It can be something as simple as a white shopping bag over your flash to restore things to normal and give you the right results. Also, if the location allows it, try bouncing the light from the flash off a wall. The result will be even more interesting and the light will be softer.
(Success Tip #2:How even the hobbyist photographer can make money with their photography )
So these are the five tips to get you started in using the fill flash. For more info, check out this cool video Ed Verosky. Last but not least, pick up your camera and flash and start experimenting until you master this useful technique.
Learn more about flash photography from these recommended books:
- Sketching Light: An Illustrated Tour of the Possibilities of Flash
- The Hot Shoe Diaries: Big Light from Small Flashes
- Understanding Flash Photography : How to Shoot Great Photographs Using Electronic Flash

